Loading…
←Back to Newsletters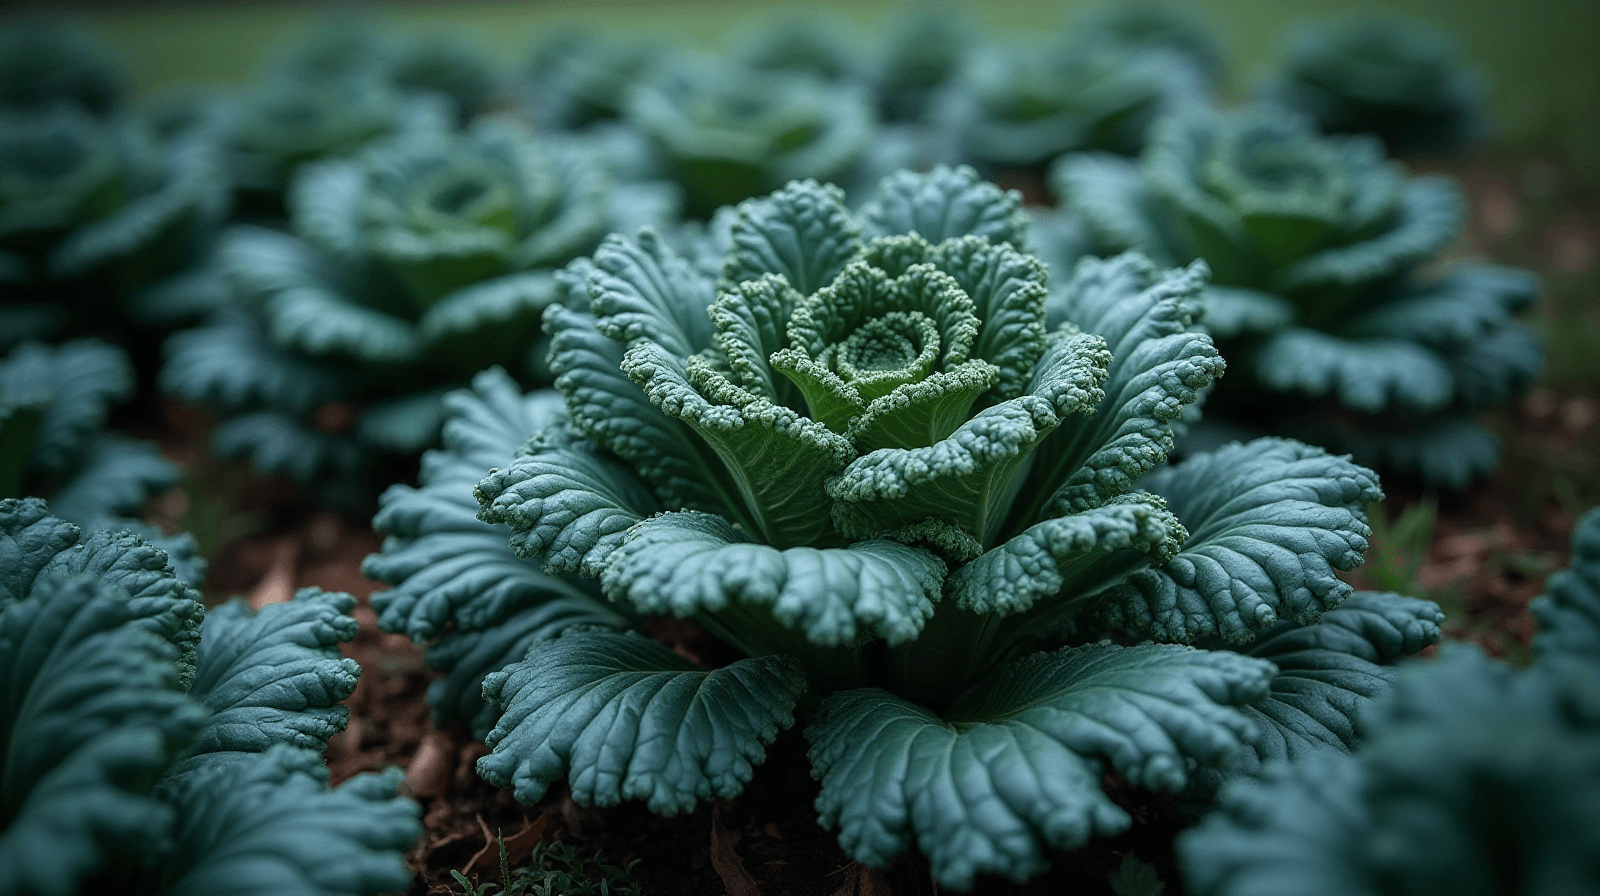

Why Lacinato Kale Is the Underrated King of Cool Weather Gardens
Written by David Rodgers — 2026-10-17
A guide to maximizing fall harvest and using its dark leaves for year-round color.
The newsletter for gardeners who'd rather learn from a mistake made 40 years ago than repeat it themselves.
cool weather cropsleafy greensfall gardeningcold hardiness
Why Are We Talking About Kale? (It's More Than Just a Superfood)
If you’ve spent any time in a garden during the transition from late summer into fall, you know that keeping things interesting in the soil can be a challenge as the heat breaks. This is where Lacinato kale—often called "dino" kale because of its long, pointed leaves—really earns its keep. Unlike some varieties that get huge and floppy, Lacinato stays compact and holds its shape beautifully.
I started growing it years ago because I wanted something that could stand up to the cooling temperatures while still looking decent in the garden. It isn't just a "superfood" for your smoothie; it’s one of the hardiest greens you can put in the ground. Its dark, pebbled leaves offer a different texture and flavor profile than standard curly kale, making it much more versatile in the kitchen. Beyond the harvest, I love it because it stays vibrant even as other summer crops begin to fade. It provides that deep, moody green color that anchors a fall garden bed when everything else is starting to turn yellow or brown.
When to Plant: Getting laying Started Right for Your Zone
The biggest mistake I see people make with kale—and honestly, many other cool-weather greens—is planting the whole crop at once. If you put every seedling in the ground on the same day, you’ll have a massive amount of produce all at once, and then nothing left for the late-season harvest when the frost really starts to bite.
To get the most out of your season, I recommend staggering your plantings. In many regions, this means planting one batch in late summer and another about three or four weeks later. This ensures you have a steady supply of greens as the weather cools down. Timing is everything here; you want the plant to establish its root system before the heavy frosts arrive, but you also want it to experience those first few "chilly" nights, which actually improve the flavor by concentrating the sugars in the leaves.
| USDA Zone | Typical Planting Windows | Strategy |
|---|---|---|
| Zones 3-6 | Late Summer / Early Fall | Stagger plantings every 3 weeks to extend harvest into the first frosts. |
| Zones 7-9 | Mid-Summer to Early Fall | Focus on late summer starts to ensure large, mature plants before winter. |
| Zone 10+ | Spring and Fall Cycles | Utilize two distinct seasons; plant early enough for fall growth to stabilize. |
The Common Kale Killer: Managing Pests and Keeping it Tidy
If you’ve ever pulled up a kale plant only to find the bottom half of the stalk is hollowed out, you know the struggle with cabbage worms and aphids. I learned this the hard way early on; I used to just look at the top of the plants once a week, which was enough time for pests to move in and take over.
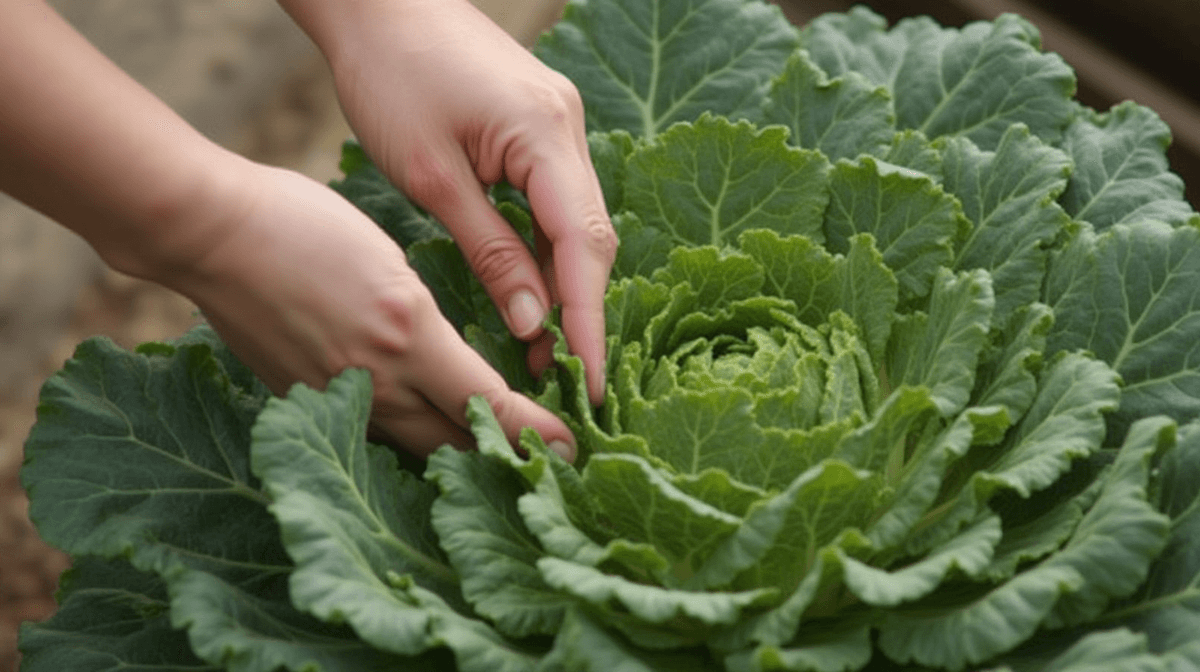
Now, my rule is to actually get down on my knees and check under the leaves. That’s where they hide. If you see small green worms or clusters of tiny aphids, you need to act fast before they spread to the rest of the row. You don't necessarily need a heavy chemical rotation for this; often, a firm blast of water from the hose can knock enough bugs off to stop an infestation in its tracks.
Another common issue is spacing. It’s tempting to crowd your greens to get more per square foot, but overcrowded kale leads to poor airflow and makes it much harder to spot those pests. Give them some breathing room—about 12 to 18 inches apart—so you can walk through the rows easily and keep things tidy.
From Kitchen Staple to Garden Decor: Using Kale for Fall Color
One of my favorite things about Lacinato kale is that it functions as a "living" part of your landscape design. While many people think of kale purely as something they'll chop up and throw into a sauté, its aesthetic value in the fall is significant. Because of those deep, forest-green hues and the distinct upright growth habit, it creates a wonderful visual anchor in a garden bed.
I like to plant Lacinato near things that offer high contrast. Think about placing it next to bright orange pumpkins or pale yellow mums; the dark, textured leaves make those colors pop much more than lighter greens would. It doesn't just provide "food"; it provides structure. Even when you start harvesting for the winter months, the remaining stalks and outer leaves continue to hold their color well into the late autumn. It’s a hardy choice that stays looking intentional and organized even as other plants begin to go dormant for the season.
Advanced Harvest and Preservation Tips (Freezing & Drying)
If you find yourself with more kale than you can possibly eat in one week—which happens often if you have a productive fall garden—you need a plan for preservation. You don't want it sitting in your crisper drawer until it turns to mush. The key here is "blanching." This sounds like a fancy culinary term, but it’s just a quick way to stop the enzymes that cause the greens to lose their color and texture when frozen.
For those who want to freeze kale for winter soups or salads:
- Blanch: Submerge the chopped leaves in boiling water for about 2 minutes.
- Shock: Immediately move them into an ice bath (or very cold water) to stop the cooking process.
- Squeeze & Freeze: Drain them well, squeeze out the excess moisture, and pack them into freezer bags.
If you prefer a shelf-stable option, drying is also effective. You can hang large bundles of kale in a dry area or use a dehydrator until they are brittle. Once dried, they can be pulsed in a blender to create a powder for adding to stews, ensuring that the flavor and nutrients stay available well into the winter months when fresh greens are hard to find.
A Quick Note on Soil: What Kale Needs to Thrive
While kale isn't as finicky about soil chemistry as some specialty crops, it does have a few non-negotiables for success in a backyard setting. The most important factor is drainage. Because these are leafy greens, they don't want their "feet" sitting in soggy mud after a heavy rain; that leads to root rot very quickly.
You want soil that feels loose and crumbles in your hand rather than forming hard clumps of clay. If you have heavy soil, consider building up your beds with some compost or aged manure to improve the structure. Regarding pH, most kale varieties are happy in a slightly acidic to neutral range (6.0 to 7.0), which is standard for most backyard gardens. You don't need to go out and run professional laboratory tests every year; just focus on keeping your soil fed with organic matter annually. Healthy soil leads to thick-stemmed plants that can withstand the weight of frost, making it much easier for you to harvest a successful crop when the first cold snap hits.
Your turn
Do you have an ornamental crop that keeps coming back year after year? Share your favorites in the comments! If this guide saved you a trip to the garden center, please share it with a fellow backyard grower.
🌿 Get Seasonal Gardening Tips
New guides, planting reminders, and growing tips — straight to your inbox.
No spam. Unsubscribe anytime.
About the Author
David Rodgers is the Founder & Head Gardener of Planting Atlas. With over 40 years of hands-on gardening experience in Oklahoma's Zone 7 climate, he researches, writes, and personally tests every guide on the site.
David draws from real backyard trials, soil testing, and trusted sources like Oklahoma State University Extension and USDA data to deliver practical, zone-specific advice that actually works.
Read more about David and Planting Atlas →