Loading…
←Back to Newsletters
What Yellowing Tomato Leaves Are Really Telling You
Written by David Rodgers — 2026-08-15
A guide to differential diagnosis for your backyard harvest.
The newsletter for gardeners who'd rather learn from a mistake made 40 years ago than repeat it themselves.
TomatoesTroubleshootingNutritionPests
First things first: Don't assume the worst (or easiest) case
When you walk out into your garden and see that first yellow leaf on your tomato plant, it’s easy to panic. Your mind might jump straight to "pest invasion" or "fatal disease," while another part of your brain might think, "I just need to throw more fertilizer on it." Both are common reactions, but in my experience over the last few decades, jumping to a conclusion is usually where things go wrong. Yellowing—or what the experts call chlorosis—is rarely a single "problem" with one simple fix; instead, it’s a symptom. Think of it like a fever. A fever tells you something is wrong, but it doesn't tell you if it's an infection, dehydration, or just a reaction to extreme heat.
To figure out what your tomatoes are trying to tell you, we have to look at the "where" and the "how." Is the yellowing happening on the bottom leaves only? Is it affecting the entire plant uniformly? Or is it concentrated in spots? By looking for these specific patterns rather than just reacting to the color change, you can narrow down the cause significantly. We aren't going to guess; we’re going to investigate the evidence left behind by the plant itself before we start changing your watering routine or grabbing the sprayer.
Is it the water? Overwatering vs. Underwatering signs.
Water issues are some of the most common reasons for yellowing leaves because they are so easy to get wrong, especially in our fluctuating climates. The key here is distinguishing between too much and too little.
When a plant is consistently overwatered, the roots are essentially suffocating in soggy soil. Because the roots can't breathe, they begin to decay, and the plant struggles to pull up nutrients. This usually shows up as yellowing starting at the bottom of the plant (the older leaves) and moving upward. You might also notice that the lower leaves feel slightly limp or "mushy" before they turn yellow.
Under-watering looks different. In a dry spell, the plant is trying to survive by sacrificing its oldest foliage to keep the new growth alive at the top. These bottom leaves will often turn yellow and crisp up while the upper leaves remain green but may begin to wilt during the heat of the day.
To help distinguish these quickly in your own yard:
| Symptom | Likely Cause: Overwatering | Likely Cause: Under-watering |
|---|---|---|
| Location | Bottom leaves first, then moving up | Bottom leaves turn yellow/dry; top stays green |
| Soil Texture | Heavy, wet, or "clumpy" feel | Dry, cracked, or dusty surface |
| Leaf Feel | Slightly limp or soft to the touch | Brittle, crispy, or curled edges |
| Timing | Constant throughout the day | Worse during peak afternoon heat |
The nutrient suspects: Nitrogen fade and Iron/Magnesium deficiency
If your water levels are consistent but you still see yellowing, we have to look at what’s in the soil. Not all nutrients behave the same way inside a plant's system. Some are "mobile," meaning if the plant is hungry, it will literally move these nutrients from its old leaves to its new growth. Others are "immobile" and stay where they are.
Nitrogen (N) is highly mobile. If your tomato plant is starving for nitrogen, it will pull what little it has out of the bottom leaves to feed the top of the vine. This results in a very uniform yellowing of the lower foliage while the new growth stays green for longer. It’s often a sign that you need more organic matter or a balanced fertilizer.
Magnesium (Mg) and Iron (Fe), however, are less mobile. If your plant is lacking these, it won't be able to "move" them around effectively. Magnesium deficiency usually shows up as yellowing between the veins of the leaf, while iron issues often show up on younger leaves at the top of the plant. Identifying whether the yellowing follows a specific pattern—like staying strictly between the veins or only hitting certain areas—is how you tell if it's a broad nutrient lack or a specific deficiency that might be caused by soil pH levels being out of whack.
When a plant is stressed by its environment (Heat, pH, etc.)
Sometimes, the problem isn't what’s in the soil or how much water you gave it; it's the world around the plant. In many regions, especially during those brutal July stretches in Zone 7, extreme heat can cause "heat stress." When temperatures soar and humidity drops, a tomato plant can experience a form of physiological shock. The leaves might turn yellow or even develop scorched-looking edges as they struggle to regulate their internal temperature.
Another silent culprit is soil pH. This isn't about the acidity of the dirt itself, but rather whether that level makes nutrients "available" to the roots. If your soil is too alkaline (common in some areas) or too acidic, it can chemically lock certain minerals away from the plant. Even if you have plenty of magnesium in the ground, a high pH might make it impossible for the tomato's roots to grab hold of it.
When environmental stress occurs:
- Heat: Look for yellowing that coincides with a multi-day heatwave (95°F+).
- Drainage: If your bed sits in a low spot and holds water after rain, the roots may be "drowning" even if you aren't watering them manually.
- Soil Chemistry: If the yellowing is persistent and consistent across multiple plants in different locations, it’s time to consider a soil test rather than just adding more fertilizer.
Pests and Diseases: What to look for beyond just yellowing leaves
It is very easy to mistake a disease or a pest infestation for a simple nutrient deficiency because they both result in yellowing. However, if you take a closer look at the leaf surface, there are usually "clues" left behind by the invaders.
Fungal issues, like Early Blight, often start with small, brown, concentric rings on the lower leaves before they turn yellow and drop off. These spots provide a clear distinction from a nutrient issue, which would be more uniform in color. Similarly, if you see "speckling" or tiny dark dots on the underside of the leaf, you might be dealing with aphids or spider mites.
Some pests don't just eat the plant; they suck the life out of it. When insects like thrips or whiteflies feed on the sap, the area around their feeding site may turn yellow or brown much faster than a nutrient deficiency would. If you see any "sooty mold" (a black, dusty substance) or sticky residue on the stems and leaves, that is a definitive sign of an insect problem rather than a soil issue. Before reaching for your fertilizer bag, always check under the leaves first to ensure something isn't literally moving in.
The Quick Fix Checklist: Next steps when diagnosis is tough
If you aren't sure which "category" of problem you’re facing yet, don't panic and start guessing with chemicals. Instead, take these three practical steps to stabilize your plants while you observe them over the next week. These are the moves I usually recommend to my neighbors when they show me a struggling row of tomatoes.
- The Finger Test: Stick your finger into the soil up to the second knuckle. If it feels like a wrung-out sponge, your moisture levels are good. If it’s bone dry and dusty, you need to increase your watering frequency—but do so deeply (once every few days) rather than lightly every day.
- The "Rule of One" Rule: If only one or two plants in a row have yellow leaves while the others look healthy, ignore the soil chemistry for now. A localized issue is almost always a pest, a specific disease, or a drainage problem with that specific plant’s location.
- Mulch Heavily: If you haven't already, put down 2-3 inches of straw or shredded leaves around your plants. This regulates soil temperature and keeps moisture consistent, which eliminates several "environmental" variables from the equation.
If these steps don't change the look of the leaves within a week, then we can start looking at more specific interventions like foliar sprays for fungus or targeted micronutrient applications. For now, keep it simple: check your water, check for bugs, and give them some shade if the afternoon sun is getting too brutal.
Your turn
What’s the weirdest tomato problem you’ve ever had? Tell me in the comments below! Did this article help save your crop?
🌿 Get Seasonal Gardening Tips
New guides, planting reminders, and growing tips — straight to your inbox.
No spam. Unsubscribe anytime.
About the Author
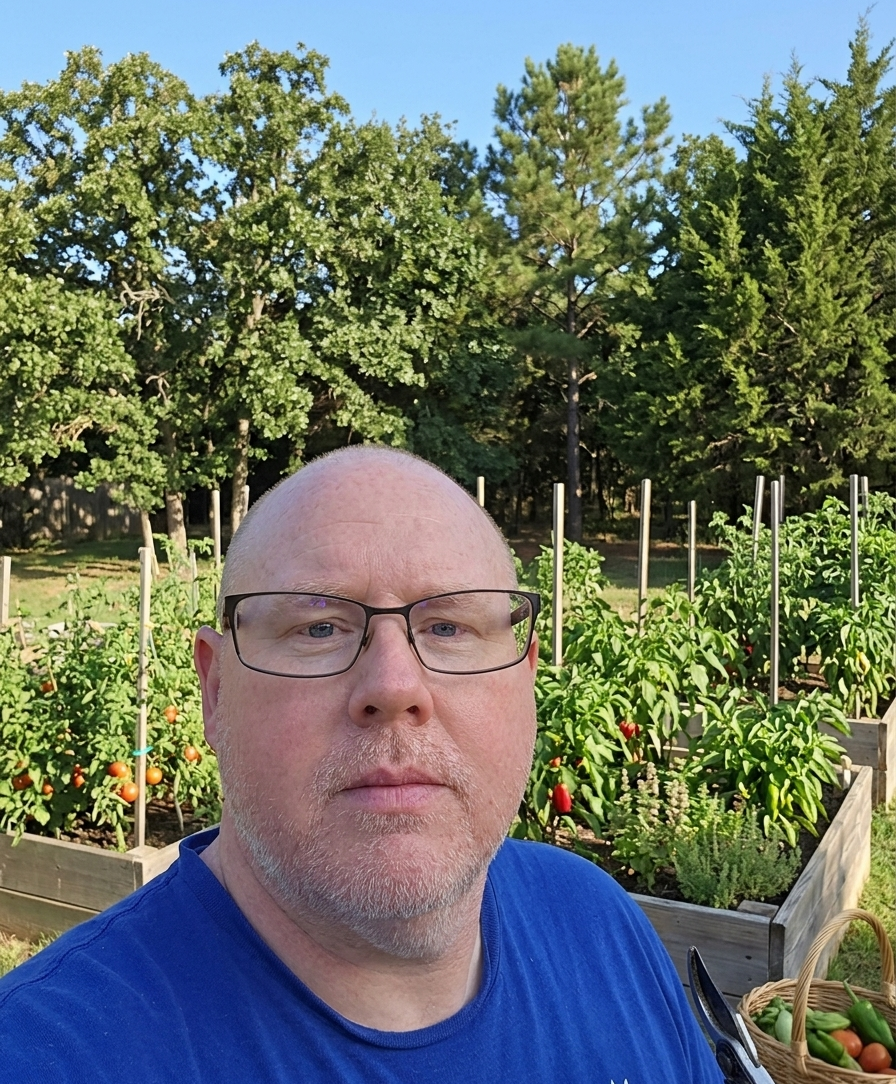
David Rodgers is the Founder & Head Gardener of Planting Atlas. With over 40 years of hands-on gardening experience in Oklahoma's Zone 7 climate, he researches, writes, and personally tests every guide on the site.
David draws from real backyard trials, soil testing, and trusted sources like Oklahoma State University Extension and USDA data to deliver practical, zone-specific advice that actually works.
Read more about David and Planting Atlas →