Loading…
←Back to Newsletters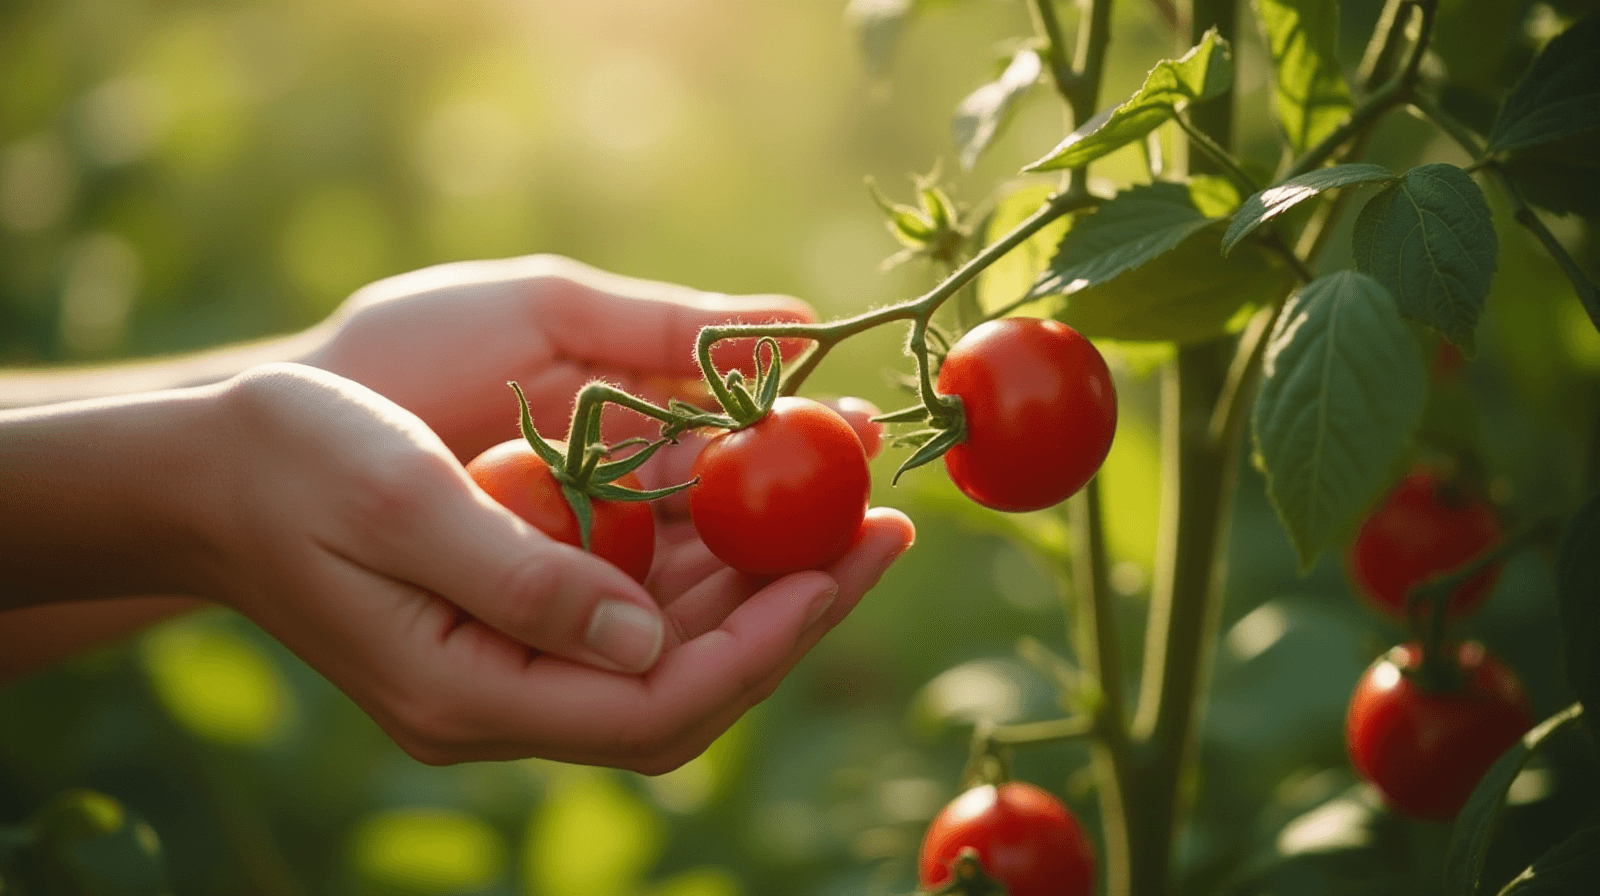
What to do when you've got too many tomatoes
Written by David Rodgers — 2026-08-03
A practical guide for preserving the bounty from a good season.
The newsletter for gardeners who'd rather learn from a mistake made 40 years ago than repeat it themselves.
tomatoespreservationharvestingstorage
The problem with too much bounty
There’s a specific kind of panic that sets in when you walk out into the garden in late July or August and realize exactly how many tomatoes you have. It starts as a victory—you did it, the plants thrived, and now you have heavy vines laden with fruit. But very quickly, that victory turns into a logistics problem. If you leave them on the vine because you don’t know what to do with them yet, they become targets. In my experience here in Oklahoma, if a tomato stays on the vine too long just because it's "waiting for its moment," a squirrel will find it or a heavy rain will split it open, leaving it to rot and attract pests.
The real issue is that your kitchen isn't designed to process fifty pounds of tomatoes as fast as they ripen in a hot summer. When you have an abundance, the goal shifts from "growing" to "managing." You need to move them from the vine to a processing state quickly so you can enjoy them now and preserve some for the winter months when your own garden is quiet. Having too many isn't a failure; it’s just a sign that you grew more than your immediate appetite could handle, which means it’s time to get practical about how we store that flavor.
Picking timing: don’t wait until they look perfect
One of the biggest mistakes I see people make is waiting for every single tomato to be "picture perfect" before picking. In a garden setting, perfection is a moving target. If you wait until every fruit is deep red and soft enough to give when you squeeze it, half of them will have already been claimed by birds or insects.
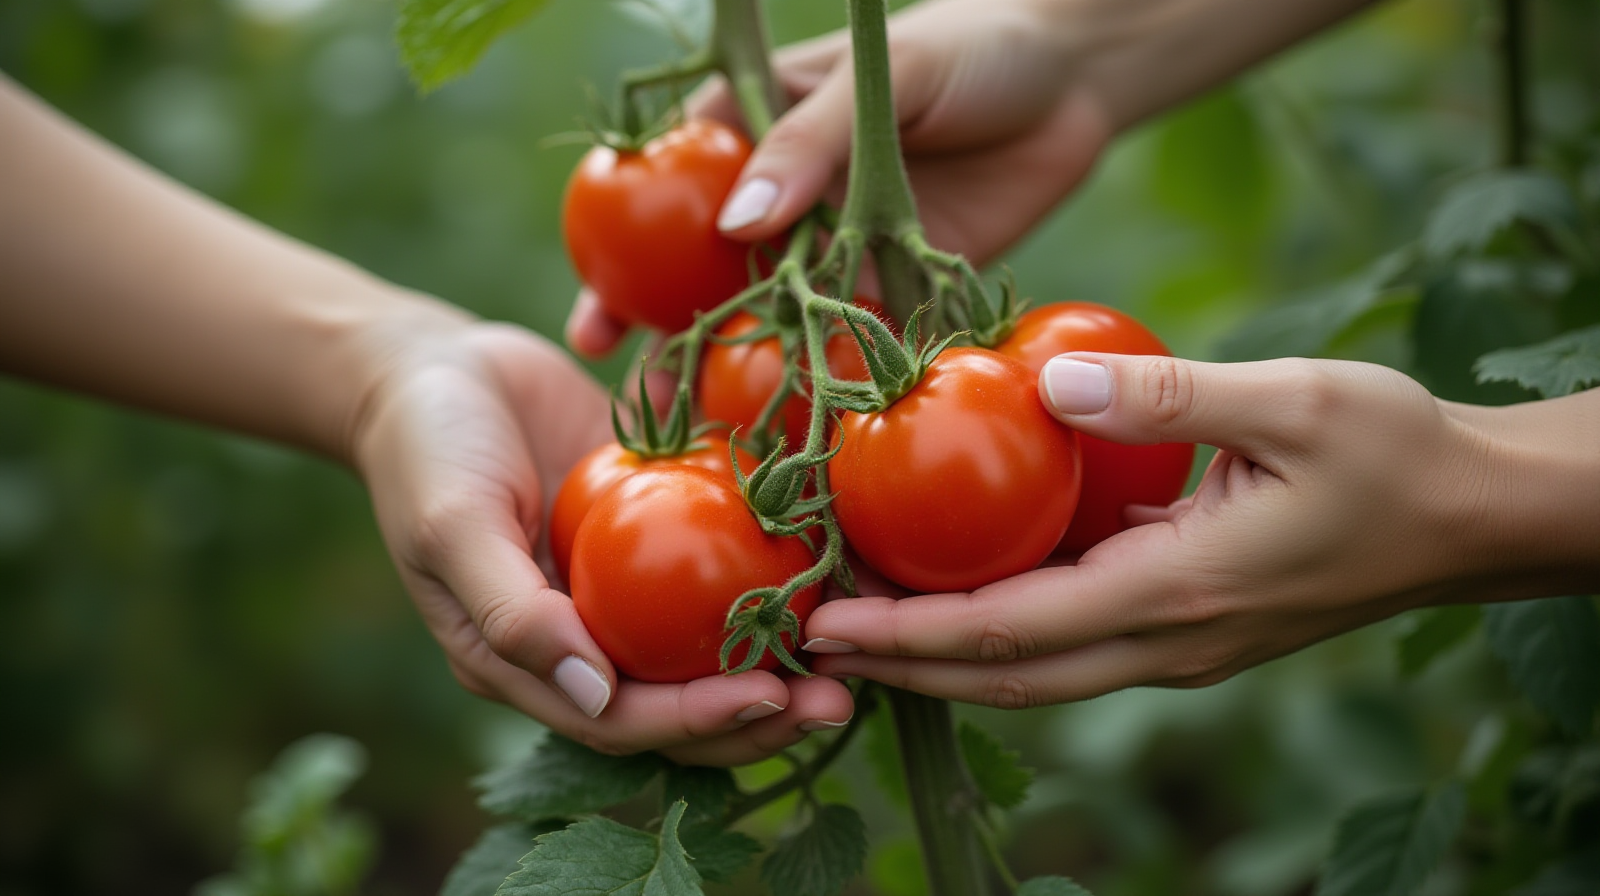
Instead, aim for the "mostly ready" stage. You want tomatoes that are at least 80% colored. For most varieties, this means they should be firm but starting to yield just a little bit under pressure. If you're dealing with a variety that stays green even when ripe (like some cherry types or specific heirlooms), look for the slight change in texture and color from deep green to a duller olive.
Determining Ripeness
| Tomato Type | Target Color | Texture Goal | Why it matters |
|---|---|---|---|
| Standard Slicer/Paste | 90% Red/Pink | Firm but yielding | Maximizes shelf life for storage. |
| Cherry/Grape | Vibrant, uniform color | Firm snap | Prevents mushiness in the freezer. |
| Heirloom Varieties | Deep, uneven colors | Softening slightly | Captures peak flavor before they split. |
In Zone 7, if you see a frost warning looming in late September or October, don't wait for that final blush of red. Pick them when they are firm and mostly colored; they will continue to ripen on your kitchen counter much faster than they will on the vine under the summer sun.
Freezing them whole or chopped? The best way to store.
Once you’ve brought the harvest inside, you need to decide how much effort you want to put in now versus later. Freezing is one of the most reliable ways to "stop time" for your tomatoes, but the method you choose changes how you'll use them later.
Frozen Chopped or Puréed
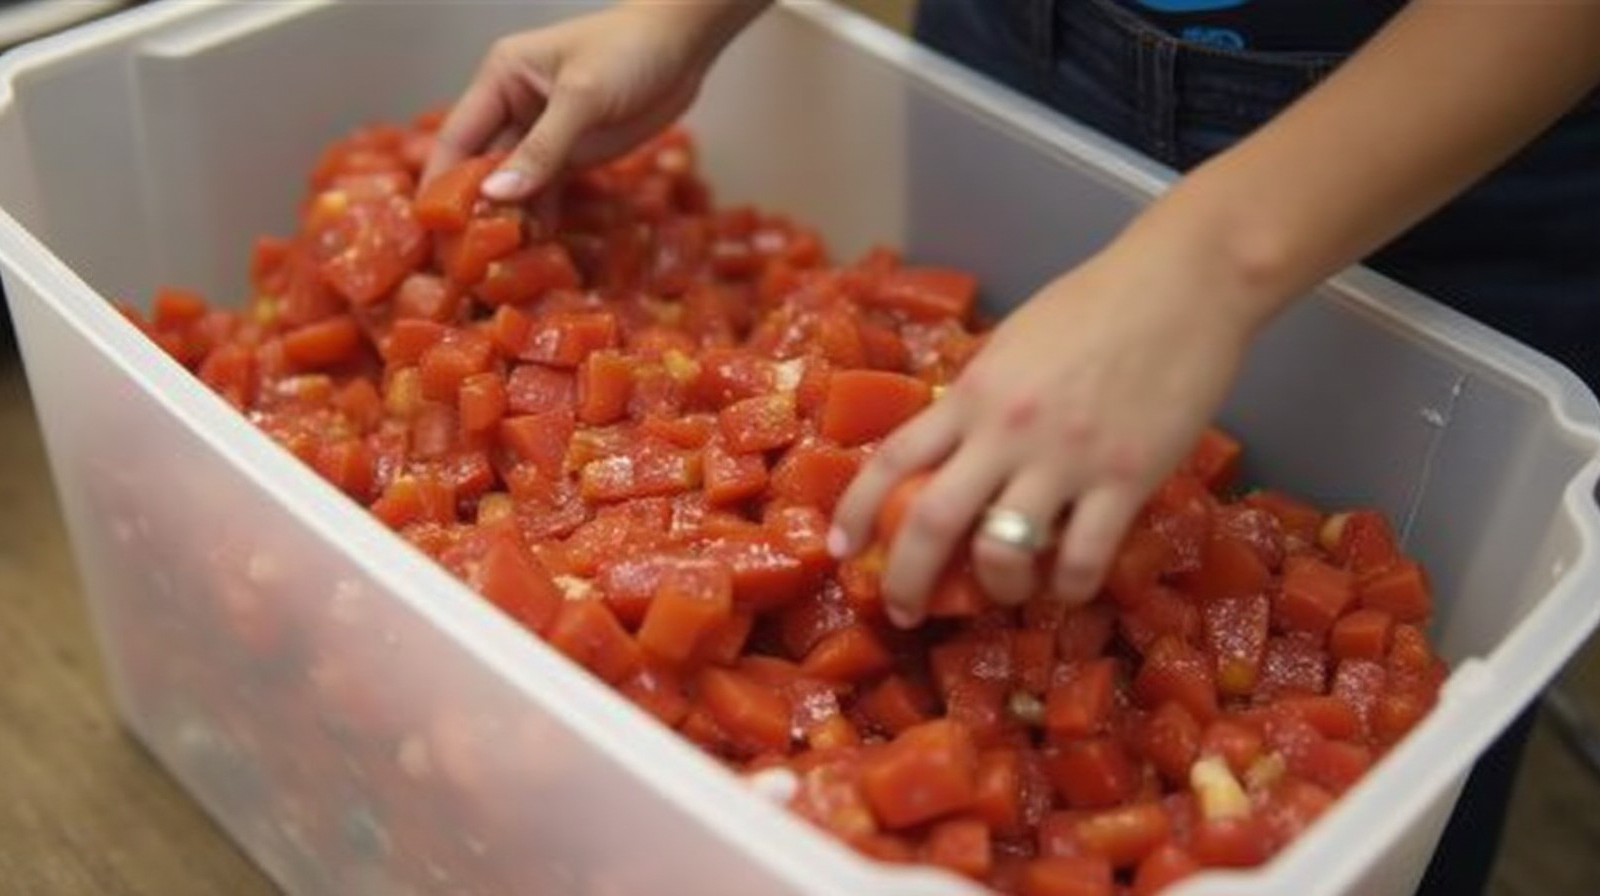
If you know you plan on making a big batch of sauce, salsa, or even just adding cooked tomatoes into a stew, don't bother freezing them whole. Instead, wash them, roughly chop them (no need to be precise), and pack them into heavy-duty freezer bags.
I recommend flattening the bags out before they freeze. This makes it much easier to break off "chunks" of frozen tomato directly into a pot without having to thaw the entire bag first. If you really want to save space, you can pulse them in a food processor until they are a coarse pulp before freezing.
Frozen Whole
You should only freeze tomatoes whole if you plan on using them for specific recipes where texture matters or if you're just trying to get through a massive haul quickly. However, be aware that freezing breaks down the cell walls of the tomato. When you thaw a whole frozen tomato, it won't have that "fresh" snap; it will be much softer and more like a thick pulp. It’s still great for roasting or making a rustic sauce, but if you want a firm slice for a sandwich, freezing isn't the right path.
Drying, roasting, or turning into sauce
When you move beyond simple freezing, you start looking at ways to concentrate the flavor of those hundreds of tomatoes. This is where you can turn "too many" into a concentrated culinary win.
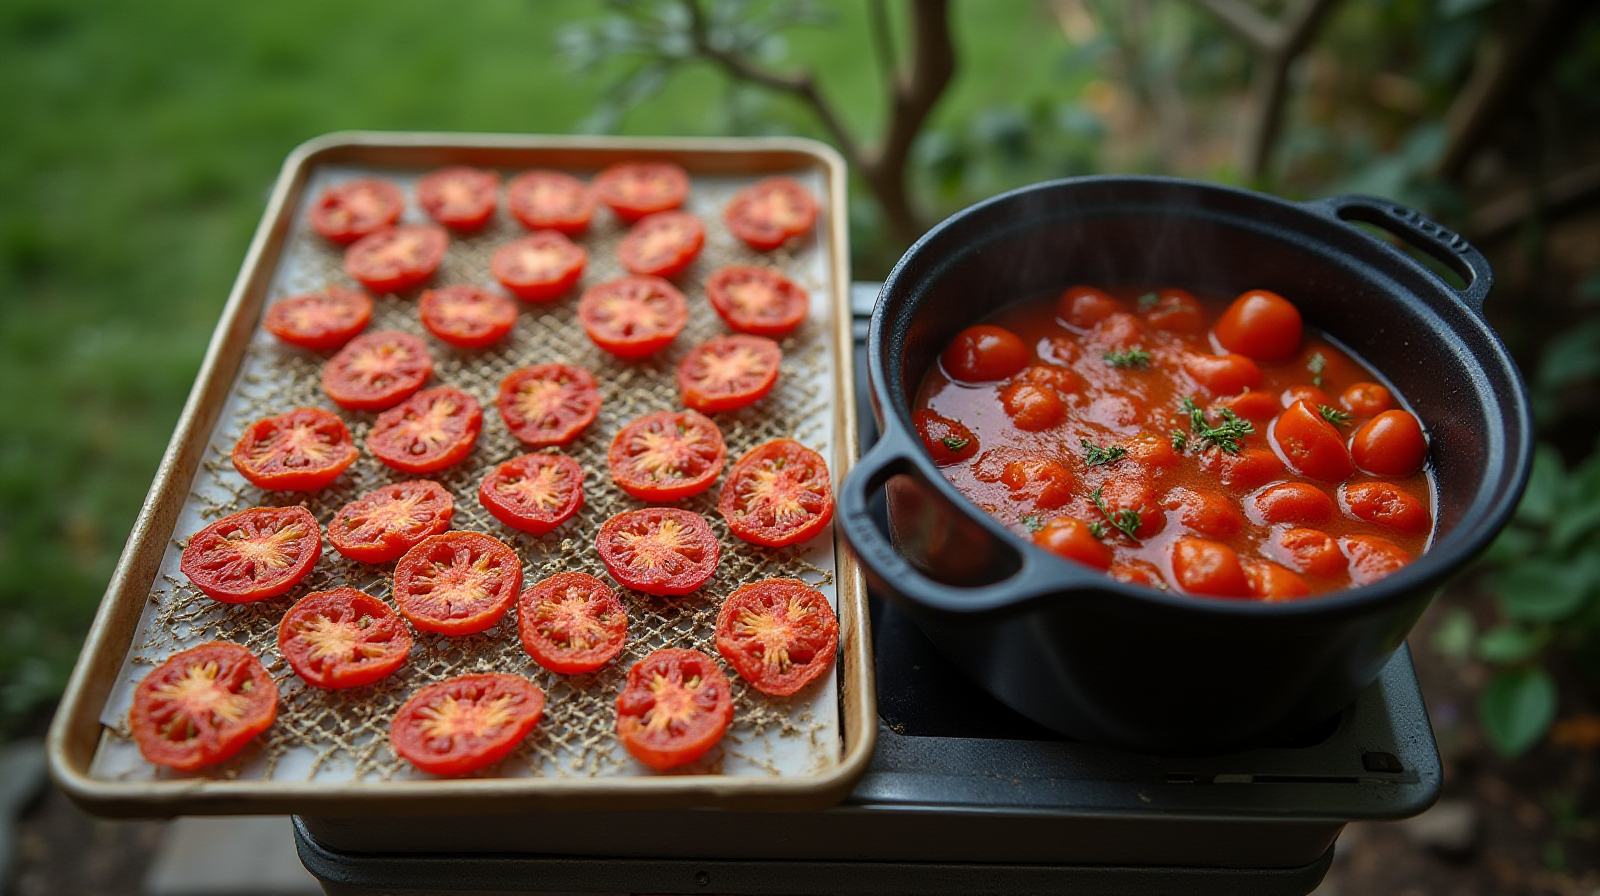
Roasting and Sauce-making: This is my preferred method for preserving the deep, savory notes of a summer tomato. Roasting your tomatoes with garlic, onions, and herbs concentrates their sugars. If you roast them until they are soft and then simmer them down into a thick sauce or "pasta base," you can freeze that concentrated liquid in portions. A gallon of finished sauce takes up much less room than ten pounds of raw fruit, and it tastes like the height of summer every time you open a container.
Drying: Drying is different—it's about texture as much as flavor. If you want to make "tomato jerky" or use dried pieces in bread and spice mixes, drying is excellent. You can use a low-temperature dehydrator (staying under 130°F) or an oven on its lowest setting with the door cracked. This removes the moisture so they won't spoil for months. Just keep in mind that once you dry them, their flavor becomes much more intense and "earthy."
The forgotten bounty: saving seeds from your crop
While everyone is focused on what to do with the fruit today, don't forget about next year’s garden. If you have a particularly high-performing variety—one that resisted the pests or stood up well to the summer heat—you should save some of its seeds.
To do this successfully, you need to be selective. Don't just grab any tomato from the pile; pick out a few of your "best" ones: those that are perfectly shaped, heavy for their size, and have no signs of blossom end rot or scarring.
The Seed Saving Process
- Selection: Choose large, healthy fruit from the best-performing plants.
- Extraction: Scoop out the seeds and pulp. You can do this by hand or with a sieve to wash away some of the "gunk."
- Rinsing: Wash the seeds thoroughly in a bowl of water until the water runs clear.
- Drying: This is the most important step. Spread the seeds out on a paper towel or a screen in a dry, well-ventilated area out of direct sunlight. They must be completely dry before storage to prevent mold from ruining the batch.
Once they are bone-dry and feel like grains of sand, store them in a small glass jar or envelope labeled with the variety name and the year you harvested them.
Plant health after the big pick
Once the last tomato is off the vine and your kitchen is full of sauceed jars, it’s time to look back at the garden itself. The plants have done their job, but they still need some care before the winter sets in. In a Zone 7 environment like ours, this transition period is vital for keeping the soil healthy and the area tidy.
Pruning and Topping: Once your heavy harvest is finished (usually by late September), you should "top" or prune back the main stems of your indeterminate varieties. This involves cutting the main stalk down to about 12-18 inches above the ground. This helps stop any desperate, late-season growth that might be susceptible to frost damage and makes it easier to clear out the stalks in the fall.
Clearing the Bed: Remove the spent vines from your garden beds as soon as possible after the final harvest. Leaving them to rot on the surface can attract pests over the winter or harbor diseases like early blight that can overwinter in the plant debris. If you have a particularly productive patch, consider pulling up the roots of the plants and composting them (unless they showed signs of disease) to clear out the space for your fall crops or spring prep. A clean garden is a healthy start for next year's first seedings.
Your turn
What is your favorite way to preserve a massive harvest? Share your tips in the comments below!
Apply this next
🌿 Get Seasonal Gardening Tips
New guides, planting reminders, and growing tips — straight to your inbox.
No spam. Unsubscribe anytime.
About the Author
David Rodgers is the Founder & Head Gardener of Planting Atlas. With over 40 years of hands-on gardening experience in Oklahoma's Zone 7 climate, he researches, writes, and personally tests every guide on the site.
David draws from real backyard trials, soil testing, and trusted sources like Oklahoma State University Extension and USDA data to deliver practical, zone-specific advice that actually works.
Read more about David and Planting Atlas →