Loading…
←Back to Newsletters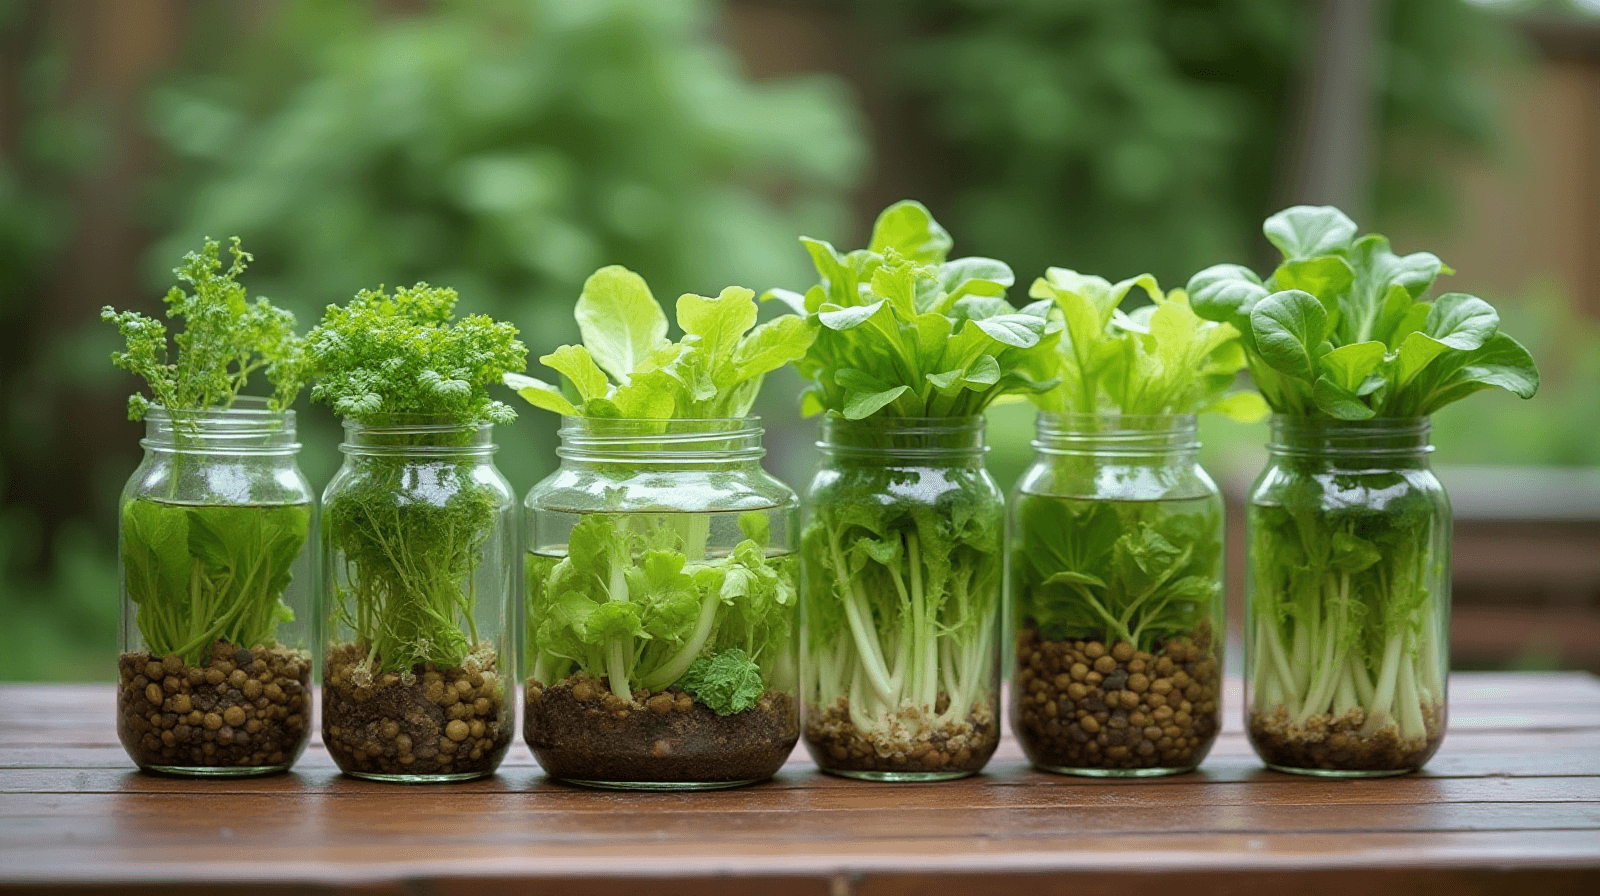
Hydroponics From Scratch · Part 2
The Kratky Method: Letting Plants Grow Without Soil or Electricity
Written by David Rodgers — 2026-10-18
A low-tech guide to starting hydroponics with simple containers and nutrient water.
The newsletter for backyard growers tired of complicated systems that require electricity or constant monitoring.
hydroponicsbeginner gardeningsoilless culturekratky method
Why is hydroponics even an option for my backyard?
I used to think hydroponics was something reserved for high-tech labs or massive commercial greenhouses—something far beyond the reach of a guy with a few raised beds and some stubborn Oklahoma clay. But after years of battling drainage issues and trying to coax things out of heavy, compacted soil that seemed to hold water like a sponge (or wouldn't let it in at all), I realized that "soil-less" isn't just for scientists; it’s a practical tool for the home gardener.
For many of us in Zone 7, our biggest hurdle is often the ground itself. Sometimes you have a spot where nothing will grow because the soil is too heavy, or perhaps you want to grow something—like certain varieties of lettuce or herbs—that prefers a very specific moisture level that’s hard to maintain in traditional beds during our humid summers. Hydroponics levels the playing field. It takes the guesswork out of "is my dirt good enough?" by moving the root system into a controlled environment. It isn't about avoiding the earth; it’s about removing the obstacles that your specific backyard presents so you can actually enjoy the success of a harvest.
What the Kratky method actually is (and why it’s easy)
If hydroponics sounds intimidating, the Kratky method is the antidote to that fear. It is arguably the simplest form of hydroponics because it is entirely passive. Unlike other systems that require pumps, aerators, or constant electricity to move water and oxygen around, a Kratky system sits still.
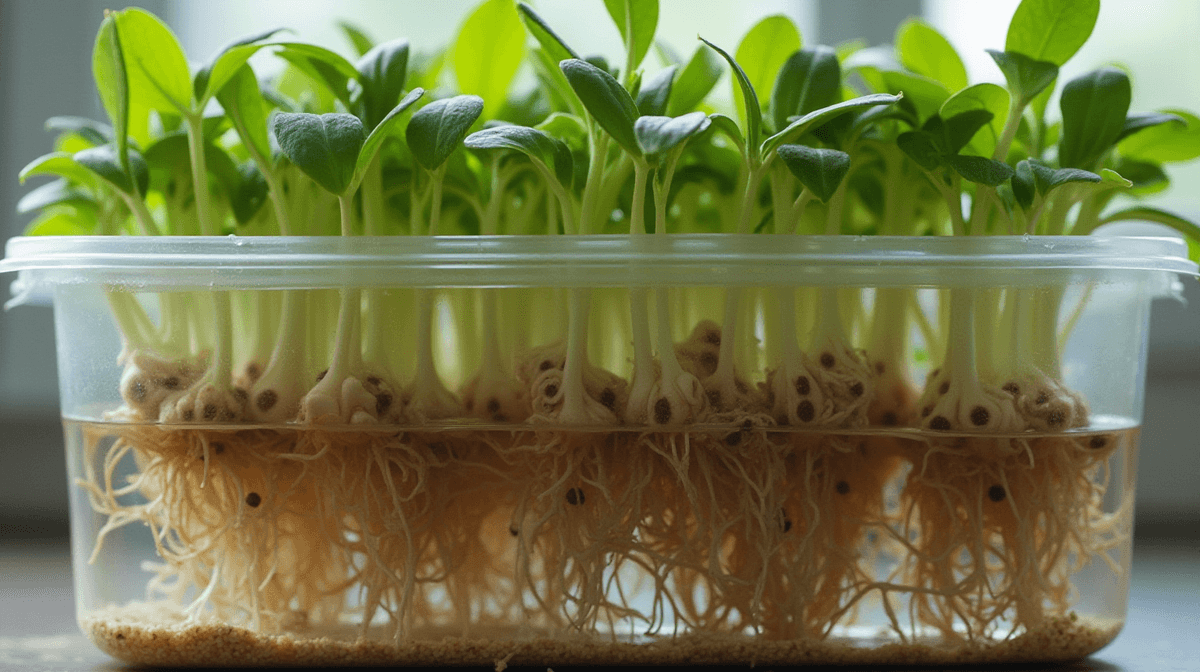
The concept is straightforward: you place your plants in a container (like a bucket or a large pot) filled with a "growing medium" like clay pebbles or rockwool. Beneath those growing materials is a reservoir of nutrient-enriched water. As the plant grows, its roots reach down into this reservoir. The key is that only the bottom portion of the root system stays in the water; the top part sits in the air gap between the media and the water line. This allows the roots to "breathe" while still drinking. Because there are no moving parts or complex plumbing, it’s incredibly forgiving for a beginner. You aren't managing a machine; you’re just managing a container of nutrient-rich water that stays put. It works beautifully for leafy greens and herbs because they don't require the heavy aeration systems that larger fruiting plants might need in more complex setups.
The biggest mistakes beginners make (and how to avoid them)
The reason many first-timers fail with Kratky isn't usually a lack of "green thumb" talent; it’s often overlooking two specific physical realities: algae and evaporation.
First, the most common mistake is using a clear or translucent container. If you can see the water, sunlight will reach it. In our hot climate, that light triggers an explosion of algae growth. Algae competes with your plant for oxygen and nutrients, and eventually, it can clog the system and rot your roots. You must use an opaque container—something like a heavy-duty plastic tote or a bucket where no light penetrates the sides.
Second, many beginners forget how much water actually evaporates in a hot backyard. In a Kratky system, as water evaporates, the concentration of minerals (the "nutrients") stays behind. If you don't monitor this, the salt levels can spike to toxic levels, essentially "burning" the roots. I’ve seen plenty of beautiful starts turn into mush because the gardener didn't realize that a shrinking volume of water meant a much higher concentration of chemicals. Always start with a slightly diluted solution and check your water levels regularly—especially during those long, dry stretches in July.
Keeping it alive in the Oklahoma heat (Zone 7 tips)
Growing anything in Zone 7 means dealing with intense summer heat and high evaporation rates. In an Oklahoma backyard, the sun is relentless from June through September. When you’re running a Kratky system outdoors or even on a covered porch, that heat can bake your reservoir.
To combat this, I recommend "insulating" your setup. If you use a large bucket, adding a layer of mulch or even some decorative stones over the top of your growing medium (the pebbles) helps create a buffer against the sun's direct heat. Additionally, because our humidity fluctuates so wildly, keeping an eye on the water level is non-negotiable. You want to ensure that as the plant grows and drinks, you aren't letting the water drop so low that the top part of the root zone dries out completely before it can reach the bottom reservoir.
| Challenge | Problem | The Fix |
|---|---|---|
| Algae Growth | Sunlight hits the water; algae steals oxygen. | Use 100% opaque containers (dark buckets/totes). |
| High Evaporation | Water disappears in July heat, spiking nutrient levels. | Top off with plain, dechlorinated water as needed. |
| Root Rot | Roots sit in stagnant water without air space. | Ensure enough "media" is above the water line. |
Step-by-step setup: Starting your first Kratky crop
Setting up a Kratky system doesn't require a trip to a specialty hydroponic store; most of what you need can be found at a standard garden center or hardware store. Follow these steps to get started correctly:
- Select your container: Find an opaque plastic bucket or tote (at least 5 gallons for a larger crop). Ensure it has a lid if possible, as this helps control the environment and reduces evaporation.
- Prepare the "Net Pot": You can use standard plastic nursery pots with holes in the bottom, or "net pots" specifically designed for hydroponics. These sit into the top of your container.
- Choose a growing medium: Since there is no soil, you need something to hold the plant's roots and provide some structure. I recommend expanded clay pebbles (LECA) because they are easy to clean and don't break down in water.
- Mix your nutrients: Use a high-quality hydroponic nutrient solution. Follow the instructions on the bottle, but start with half the recommended strength for your first run—it’s easier to make a "weak" solution stronger than it is to flush out a system that has too much salt in it.
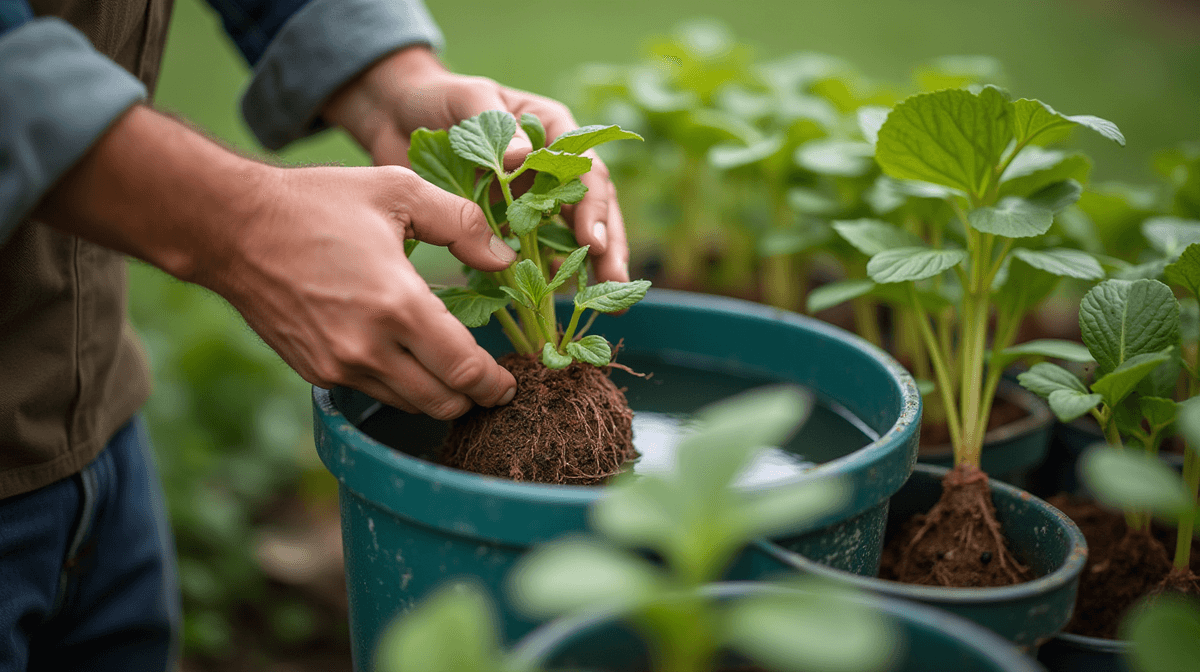
- Planting: Place your seedling into the net pot filled with clay pebbles. Ensure the plant is stable and won't tip over.
- Fill the reservoir: Fill your main container with the nutrient solution. The level should be high enough to touch the bottom of the net pot, but not so high that it covers the entire root mass inside the pot.
Troubleshooting checklist for common problems
When something goes wrong in a Kratky system, the symptoms usually fall into two categories: "too much" or "not enough." Identifying which one is happening will tell you exactly how to fix it.
Root Rot (The "Too Much" Problem)
Symptoms: The bottom of your plant looks wilted, and if you lift the net pot, you see brown, slimy, or smelly roots. The Cause: This usually happens when there is too much water in the system—specifically, if the "air gap" between the top of the water line and the bottom of the net pot isn't large enough. The upper part of the root system is drowning and can't get oxygen. The Fix: Reduce your initial water level so that only the bottom 1/3 to 1/2 of the root zone is submerged in water, leaving plenty of room for air.
Nutrient Burn (The "Concentration" Problem)
Symptoms: The tips and edges of the leaves turn brown or yellow and look "crispy," even though the plant seems well-watered. The Cause: This happens when the water evaporates too quickly, leaving behind a concentrated sludge of salts and minerals that are toxic to the plant's tissues. The Fix: Dilute your reservoir with plain, dechlorinated water. If you find this happening every season in July, consider moving the system into a shaded area or using a more insulated container to slow down evaporation.
Slow Growth/Yellowing (The "Not Enough" Problem)
Symptoms: The plant stays small and its leaves turn pale yellow. The Cause: This is usually an indicator that the nutrient levels are too low, or the pH of your water has drifted out of the acceptable range for your specific crop. The Fix: Test your water's pH (most hydroponic crops prefer a 5.5 to 6.5 range). If it’s way off, you may need to adjust the balance with "pH Up" or "pH Down" solutions before adding more nutrients.
Your turn
Ready to swap dirt for water? Tell me what plants you're most interested in growing without soil! Share this with a friend who keeps complaining about their drainage issues.
Next issue
If the Kratky method is how you get started, next we tackle the three numbers—Nutrients (N), pH, and EC—that will decide if your crops thrive or just struggle along.
Apply this next
🌿 Get Seasonal Gardening Tips
New guides, planting reminders, and growing tips — straight to your inbox.
No spam. Unsubscribe anytime.
About the Author
David Rodgers is the Founder & Head Gardener of Planting Atlas. With over 40 years of hands-on gardening experience in Oklahoma's Zone 7 climate, he researches, writes, and personally tests every guide on the site.
David draws from real backyard trials, soil testing, and trusted sources like Oklahoma State University Extension and USDA data to deliver practical, zone-specific advice that actually works.
Read more about David and Planting Atlas →