Loading…
←Back to Newsletters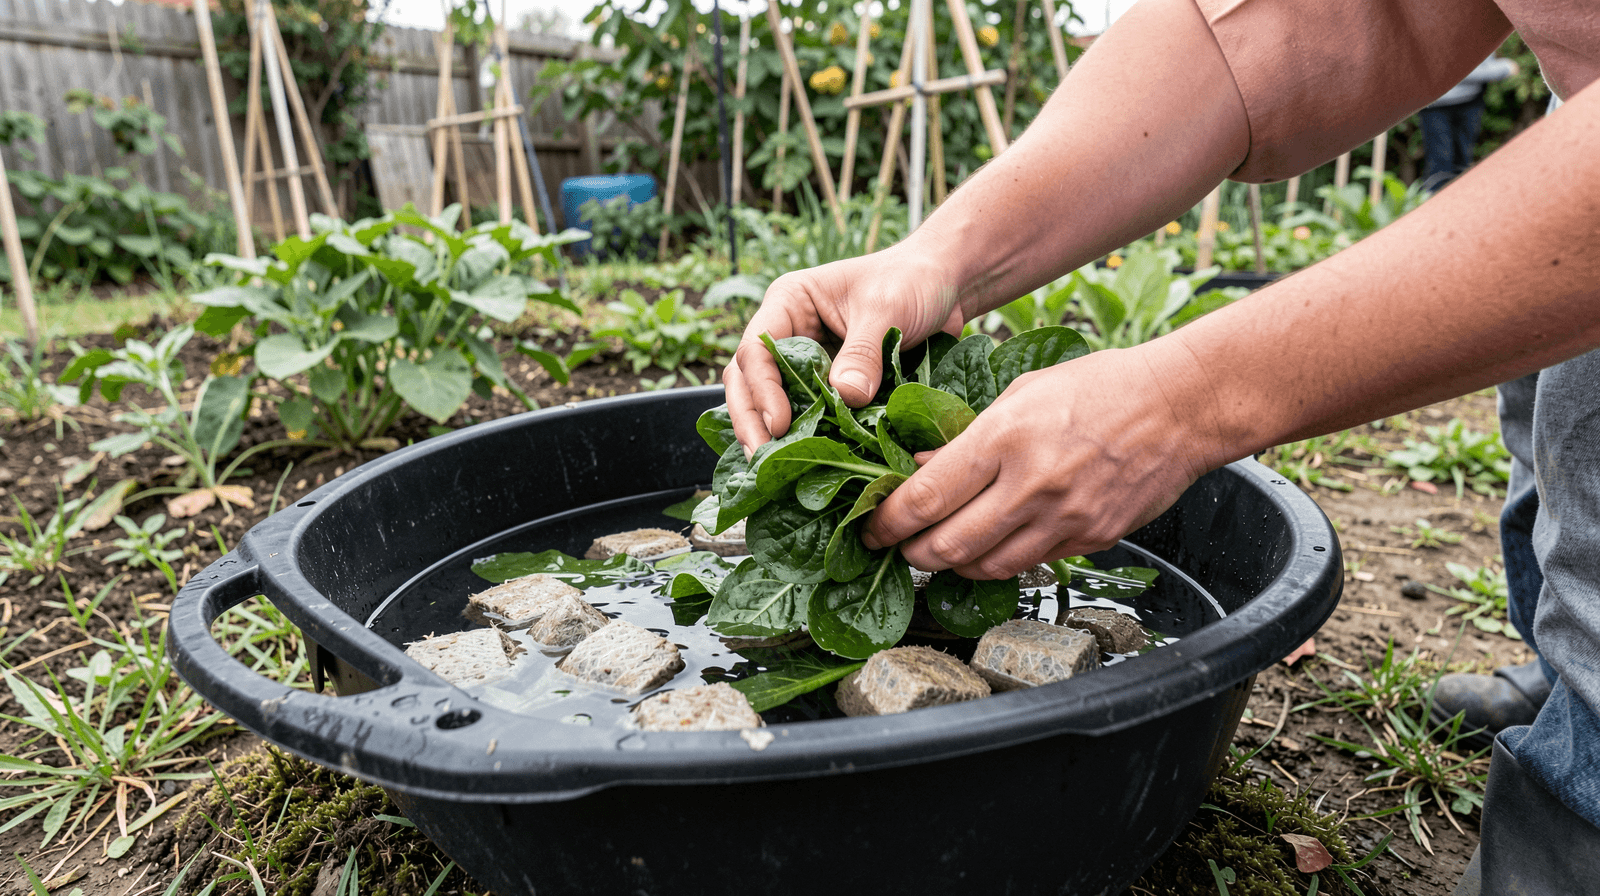
Hydroponics From Scratch · Part 2
The Beginner’s Guide to Kratky: Growing Greens Without Good Soil
Written by David Rodgers — 2026-10-26
A low-tech way to bypass heavy clay and poorly draining ground.
The newsletter for backyard growers tired of advice that ignores their actual climate.
hydroponicscontainergardeningsoilproblemskratky
When your dirt just won't cooperate
I’ve spent years watching people get frustrated with their backyard gardens because the ground just refuses to play along. If you live in a spot with heavy clay or a soil type that holds onto water like a soaked sponge, you know exactly what I mean. You try to plant out, and within a week of rain, your seedlings are sitting in a swamp. Or you try container gardening, but because the drainage is poor, the bottom of the pot stays saturated for days on end.
I’ve seen it happen more times than I can count: beautiful green leaves suddenly turning yellow, then drooping, and eventually becoming mushy at the base. That's root rot, plain and simple. When roots are drowned in heavy soil that won't drain, they suffocate. It feels like a losing battle—you want to grow things, but your backyard is working against you. This is exactly why I started looking into alternatives for those "problem" spots where traditional dirt just isn't cutting it. You don't have to accept a crop failure just because the local geology is stubborn; there are ways to bypass the mud entirely.
What is passive hydroponics? The Kratky method explained
When people hear "hydroponics," they usually picture high-tech labs with bubbling water, complex PVC piping, and expensive pumps running 24/7. While those systems work great, they aren't practical for most home gardeners who just want to grow some lettuce or basil without a massive electricity bill or a plumbing project. That’s where the Kratky method comes in.
Kratky is what I call "set it and forget it" hydroponics. It’s a passive system, which means there are no pumps, no moving parts, and zero electricity required. The concept is incredibly simple: you place your plants in a container of nutrient-rich water. As the plant grows, it drinks the water and uses up the nutrients. Because the container is sealed at the top (or covered), the water doesn't evaporate away quickly, and the plant stays fed for weeks at a time. It’s a low-tech solution designed to give you the benefits of hydroponics—faster growth and cleaner environments—without the fuss of maintaining a complex machine.
Why we don't need 'good dirt': Understanding root respiration
A lot of people think plants only need water and food, but they also need to breathe. This is where traditional soil often fails in heavy clay areas. In a packed-down pot or a soggy garden bed, the tiny air pockets between the dirt particles get squeezed out by water. Without those air pockets, the roots can’t take in oxygen. Think of it like trying to breathe through a wet towel; eventually, you just run out of air.
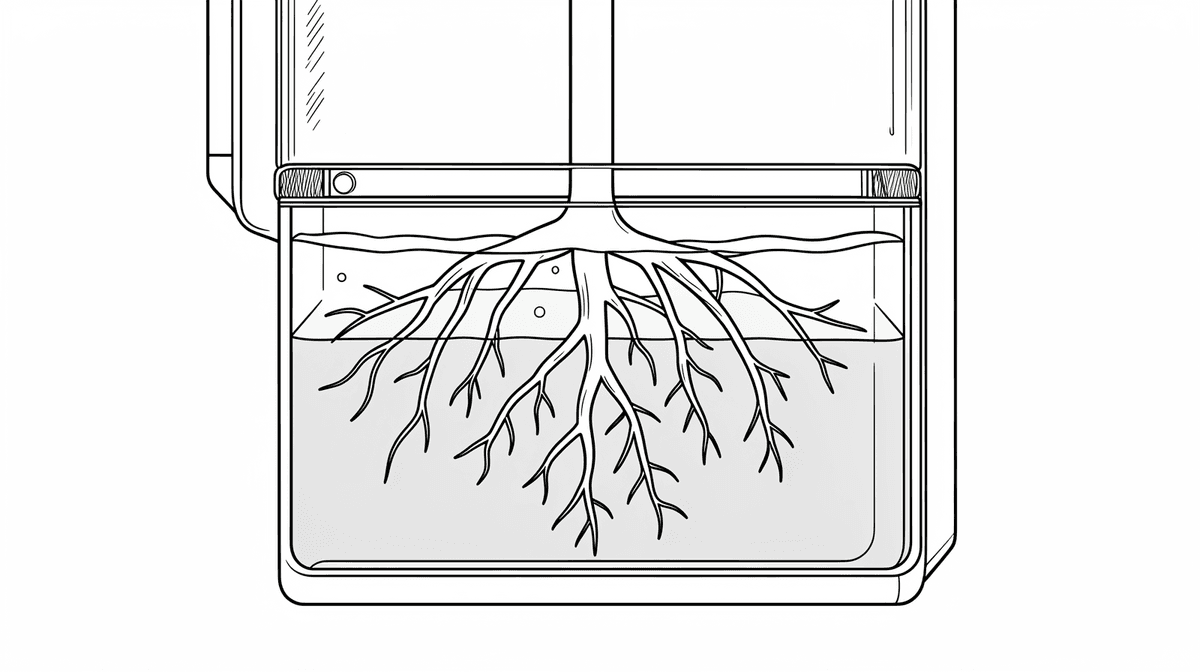
The Kratky method solves this problem by changing how we house the roots. Instead of burying them in heavy mud that holds water and blocks air, we suspend them in a way where they have access to both nutrients and oxygen simultaneously. In a Kratky setup, there is always an air gap at the top of the container. The bottom part of the root system sits in the nutrient solution to drink, while the upper part hangs out in that air gap to breathe. By removing the "dirt" factor entirely, we eliminate the risk of soil-borne pathogens and the suffocating weight of clay, giving your plants a much more stable environment to thrive in.
Getting set up: Your first zero-fuss crop
You don’t need a specialized kit to start this; you can build a basic Kratky system with items from a local hardware store or even some recycled containers. For your first try, I recommend starting with something easy like lettuce or bok choy—they are hardy and grow quickly in these systems.
The Essentials
- A Container: Use a 5-gallon bucket or a large plastic storage tote. It must be opaque (dark) to prevent light from hitting the water, which causes algae growth.
- Net Pots: These are small plastic mesh cups that hold your plant in place.
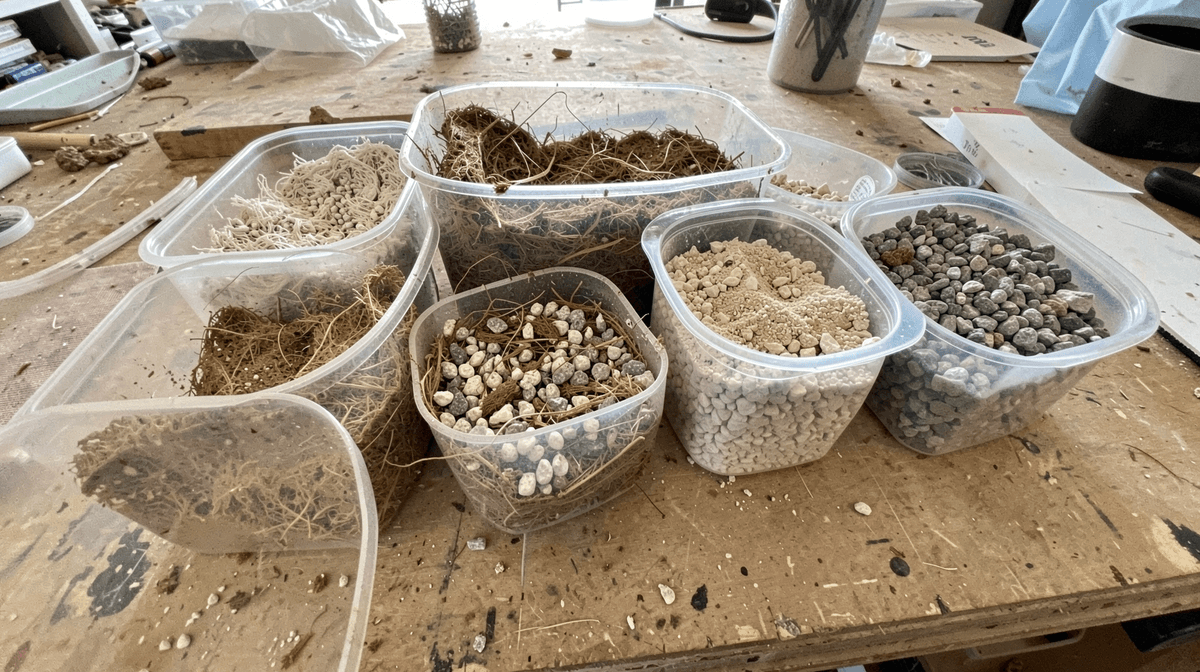
- Growing Medium: You need something to anchor the plant but let water flow through. I personally prefer "hydroton" (expanded clay pebbles) or even washed river stones. Avoid anything like cotton balls or wood chips, which will rot.
The Setup Steps
- Prep the Container: Poke a hole in the lid of your bucket/tote just large enough for the net pot to sit snugly into it.
- Mix the Nutrients: Fill the container with water and a standard hydroponic nutrient solution (you can find these at most garden centers).
- Secure the Plant: Place your seedling in the net pot, surround its roots with clay pebbles for stability, and set it into the lid.
- The Water Level: This is crucial—fill the water so that only the bottom half of the net pot (and the very bottom of the root system) is submerged. You want those top roots to have plenty of air!
Zone check: Managing greens from Zone 5 to Zone 10
Because Kratky systems are "passive," they react differently depending on how hot or cold your backyard gets. In a humid, hot climate like mine in Oklahoma (Zone 7), the biggest enemy is evaporation and algae. If you're in a hotter zone, you have to be more diligent about checking that water level stays consistent so the plants don't dry out during a heatwave.
Climate Adjustments
- Zones 9-10: In these zones, the summer sun can bake a container quickly. Ensure your containers are shaded or tucked into a cooler spot to prevent the water from getting too hot, which can stress the roots. Also, keep an eye out for green "slime" (algae); if you see it, your container isn't light-proof enough.
- Zones 5-7: You have more leeway with heat, but watch out for winter frosts. If temperatures drop significantly, move these containers into a garage or a sunroom. Unlike soil plants, they can’t "hunker down" in the ground—they need to stay above freezing.
| Zone Range | Primary Concern | Management Tip |
|---|---|---|
| Zones 5-7 | Cold snaps / Frost | Move indoors or into a garage during winter months. |
| Zones 8-9 | High Evaporation | Check water levels weekly; ensure containers are well-shaded. |
| Zones 10+ | Extreme Heat / Algae | Use insulated containers and maximize shade to keep water cool. |
Harvesting and keeping it going: The maintenance schedule
The beauty of the Kratky method is that you don't have to do much, but "doing nothing" doesn't mean "no maintenance." You need to be observant. Because there are no pumps to circulate the water, things can stagnate if left completely alone for months without a check-in.
The Routine
- The Visual Check: Once a week, peek at your container. Is the water level dropping too fast? If it is, top it off with fresh nutrient solution.
- Avoid the Overfill Trap: This is where I see people make mistakes—they see a low water level and dump in a whole gallon of water at once. Don't do that! If you submerge those "breathing" roots completely under new water, they will rot within days. Only add enough to bring the level back to the original mark.
- The Refresh: Every 3-4 weeks (depending on how fast your plants are growing), it’s a good idea to completely drain the container and refill it with fresh nutrients. This prevents mineral salts from building up too high, which can eventually "burn" the tips of your leaves.
- End of Cycle: Once you've harvested your greens, dump the old water, rinse out the container, and start over with a new batch of seeds or seedlings. It’s a clean, repeatable cycle that keeps your garden productive regardless of how much your backyard soil hates you.
Your turn
Have you tried setting up passive hydroponics before? Drop your best tips for preventing algae in containers below! Share this issue with a neighbor whose yard always seems too wet.
Next issue
If the greens are working, what about the big stuff? Next time we dive into how to manage nutrients, pH levels, and EC—the three numbers that keep any hydroponic crop alive.
Apply this next
🌿 Get Seasonal Gardening Tips
New guides, planting reminders, and growing tips — straight to your inbox.
No spam. Unsubscribe anytime.
About the Author
David Rodgers is the Founder & Head Gardener of Planting Atlas. With over 40 years of hands-on gardening experience in Oklahoma's Zone 7 climate, he researches, writes, and personally tests every guide on the site.
David draws from real backyard trials, soil testing, and trusted sources like Oklahoma State University Extension and USDA data to deliver practical, zone-specific advice that actually works.
Read more about David and Planting Atlas →