Loading…
←Back to Newsletters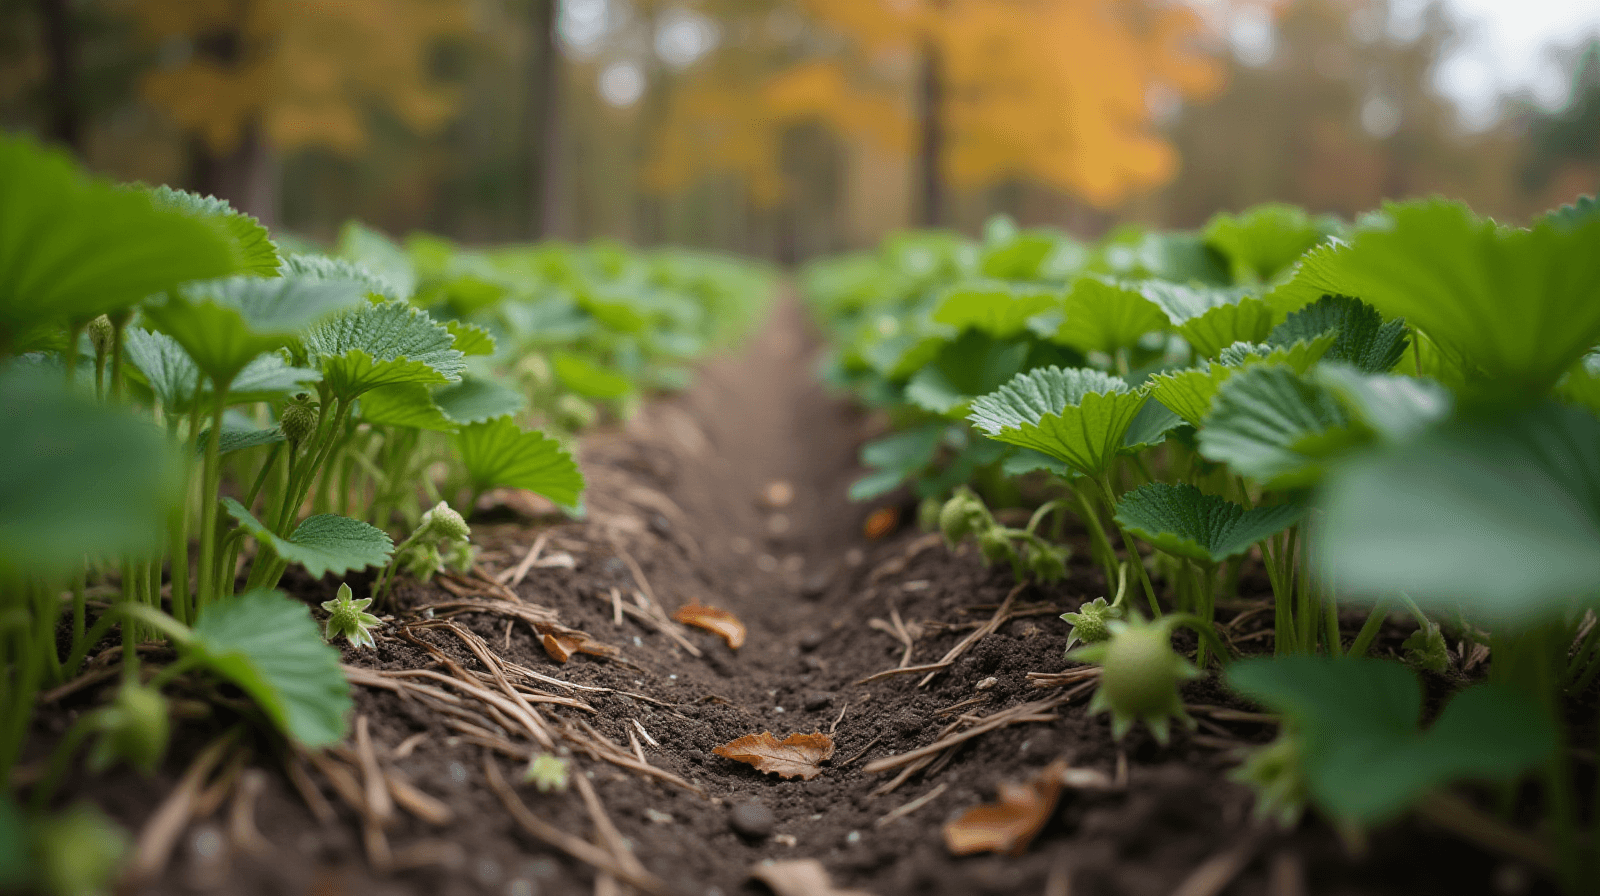

Strawberry Wintering: The Timing is Everything (or Nothing)
Written by David Rodgers — 2026-10-20
Why doing too much work in the fall can accidentally kill next year's harvest.
The newsletter for backyard growers tired of advice that ignores their actual climate.
StrawberriesPerennialsCold Weather GardeningZone Specific Care
Starting with the failure: Why did my berries look great until November?
I remember standing in my backyard about fifteen years ago, looking at rows of strawberries that were still putting out small, ruby-red fruits well into October. They looked magnificent—healthy, vibrant, and perfectly situated for winter. I was so proud of them that I decided to "protect" them immediately. I went out with a few bags of heavy mulch and buried the crowns deep, thinking I was giving them the best possible head start for next year’s harvest.
I thought more work equaled better results. In my mind, if I did it now, they'd be safe from the coming frosts. But by the time March rolled around, nearly half of those plants had turned into a mushy, grey mess at the base. They hadn't been killed by the frost; they had been rotted by moisture and fungi that thrived because I’d covered them while the ground was still warm enough for rot to take hold. It was a hard lesson in timing: in gardening, especially with things as sensitive as strawberries, doing the "right" thing at the wrong time is often worse than doing nothing at all until it's actually necessary.
The biggest mistake I see people making (and how it works)
The most common mistake you’ll see—and one I made for a long time—is over-working the garden in the fall by applying heavy mulch too early. People want to "get ahead" of winter, but strawberries are unique because they have crowns that sit right at the soil line. When you apply a thick layer of wood chips or straw while the ground is still warm and the humidity levels are high, you aren't just insulating the plant; you are creating an incubator.
If those berries get heavy rain in October or November before a hard freeze hits, that mulch holds moisture against the crown. Because it’s still "growing" season for many pathogens, they can move into the base of the plant and cause crown rot. By the time winter actually arrives to kill off the fungi, the damage is already done. The goal isn't just to keep the ground warm; it’s to wait until the soil temperature consistently drops so that any moisture trapped in your mulch won't have a chance to let rot set in before the deep freeze locks everything down.
Reading your Zone Numbers: When do you actually need to start?
You shouldn't treat every garden as if it has the same "fall" timeline. Depending on where you live, the window for winterizing is different because of how your specific climate handles moisture and temperature drops. In lower zones (like 4 or 5), you might have a longer period where things stay active, meaning you need to be even more careful about not mulching too early. In my home in Oklahoma (Zone 7), we often deal with "false" starts—warm spells that can trick us into thinking it's time to protect the plants before they actually need it.
Instead of looking at a calendar date, look at your local conditions and soil behavior. You want to wait until the ground is consistently cool and you are approaching your first hard frost.
| USDA Zone | Typical Transition Period | Key Trigger for Mulching |
|---|---|---|
| Zones 4-6 | Late October – November | Wait until soil stays below 50°F after a heavy rain. |
| Zones 7-8 | November – Early December | Wait until the first "hard" frost is expected within 10 days. |
| Zone 9+ | Late November – December | Watch for consistent overnight lows in the low 30s. |
The three steps that actually work: Clean, Cover, and Conquer
When you do decide it’s time to move in—based on your zone's timing—don't overcomplicate the process. You don't need fancy products or complex systems; you just need to follow these three steps to ensure the crowns stay healthy through the winter months.
1. Clean
Before you put anything on top of the soil, clear away old foliage and any "trash" from the summer. This includes spent leaves, old runners that have died back, and any debris like mulch from last year that has broken down into clumps. Removing this material reduces the amount of organic matter that can trap moisture against the crown and invite rot during those heavy autumn rains.
2. Cover
Once the area is clear, apply your mulch layer. I generally recommend straw over wood chips for strawberries if you have it available. Straw is lighter, handles drainage better, and won't "mat down" as heavily as wood chips when it gets wet. If you prefer wood chips, just ensure they aren't piled too high in one spot. You want about 3 to 4 inches of coverage. This isn't meant to be a heavy blanket; it’s a protective layer to buffer the soil from extreme temperature swings and excessive moisture.
3. Conquer
Once you've applied your cover, stay out of it until spring. Don't go back in to "adjust" things or add more. You want to leave the area alone so that the crown can sit undisturbed through the freeze-thaw cycles. By doing this once and doing it at the right time, you’re giving the plants the best chance to survive without being smothered by your own efforts.
What to look out for when you’re done: The winter checklist.
Once you've finished your fall tasks, take a final walk through your strawberry patch before the ground freezes solid. This is your "quality control" check to make sure you didn't fall into those common traps of over-working or under-preparing. You can use this as a quick mental list when you’re standing in the yard:
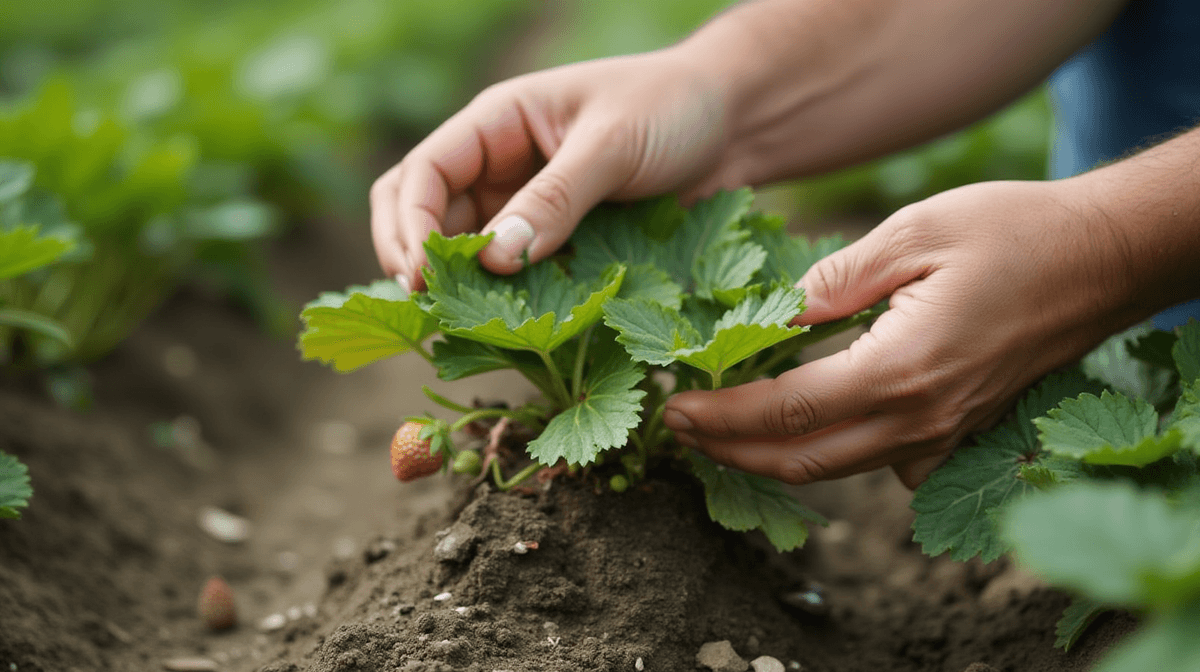
- Check for Crown Exposure: Ensure that no crown (the part where the leaves emerge from the ground) is visible above your mulch line, but also ensure it isn't buried too deep under heavy clumps of wood. It should be nestled just under the surface.
- Verify Mulch Depth: You should have a consistent 3-4 inch layer. If you see "holes" in your straw or chips where they’ve washed away, fill them in so there aren't gaps that allow water to pool directly against the stems.
- Debris Check: Look for any large clumps of old organic matter sitting on top of the mulch. These can trap moisture and become a breeding ground for mold. Remove anything larger than your fist.
- Sign of Life (or Death): If you see leaves that are turning black or slimy at the base, it’s an early sign of rot—this usually means the mulching happened too soon or was too heavy in one spot.
If everything looks clean and covered by a steady layer of straw or wood chips, you can put your tools away until the first signs of new growth appear next spring.
Your turn
What was your worst gardening mistake this season? Drop it in the comments below so we can all learn from it! Did this piece save your berry patch?
🌿 Get Seasonal Gardening Tips
New guides, planting reminders, and growing tips — straight to your inbox.
No spam. Unsubscribe anytime.
About the Author
David Rodgers is the Founder & Head Gardener of Planting Atlas. With over 40 years of hands-on gardening experience in Oklahoma's Zone 7 climate, he researches, writes, and personally tests every guide on the site.
David draws from real backyard trials, soil testing, and trusted sources like Oklahoma State University Extension and USDA data to deliver practical, zone-specific advice that actually works.
Read more about David and Planting Atlas →