Loading…
←Back to Newsletters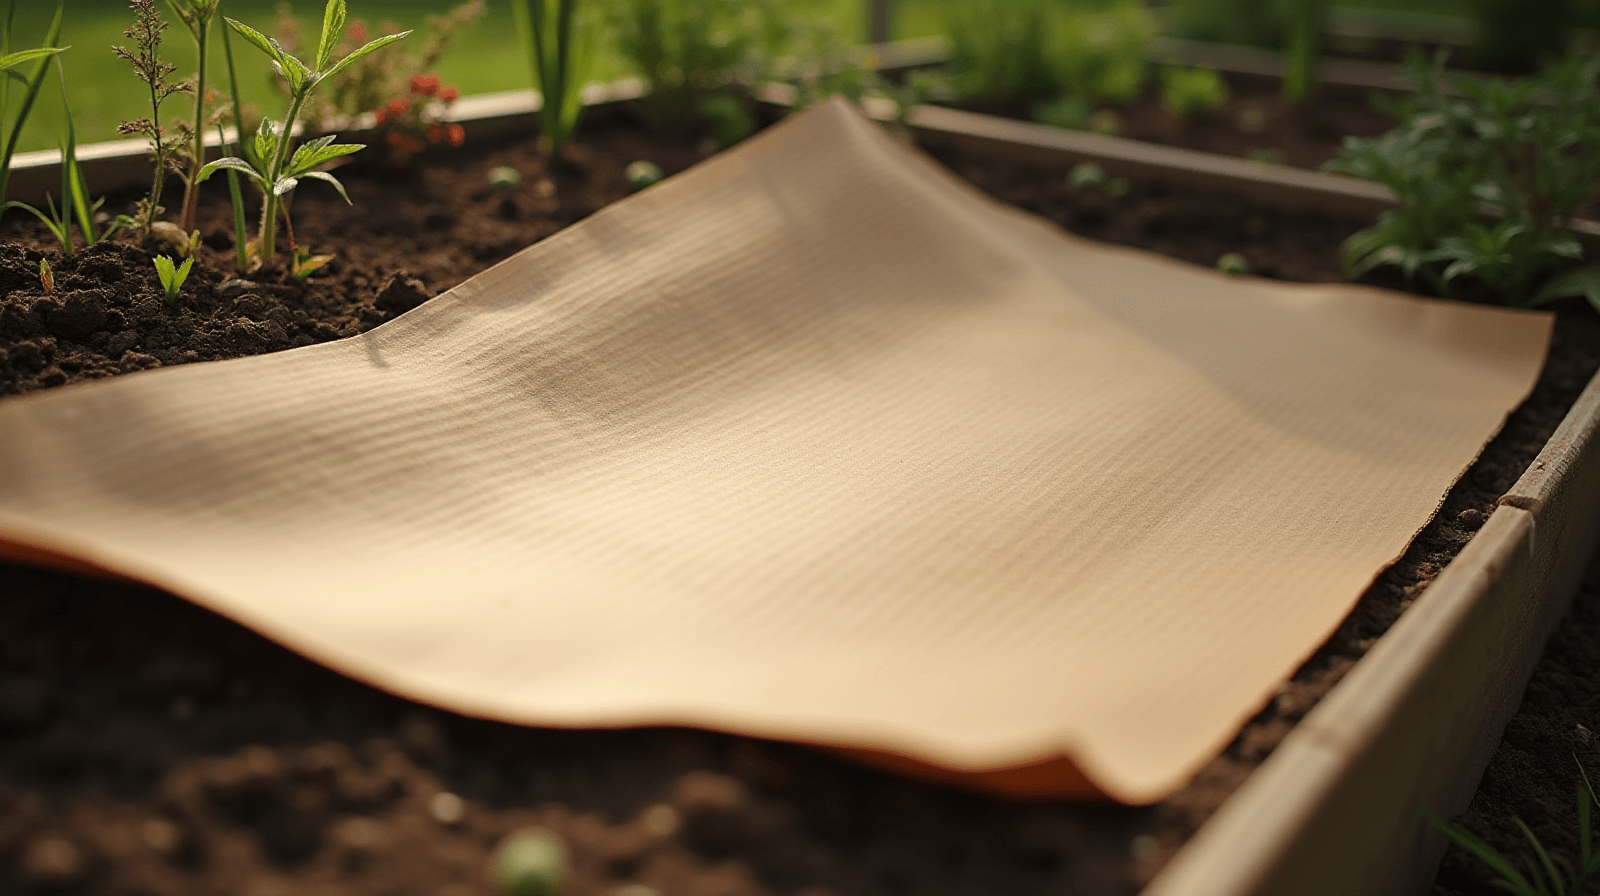
Stop Weeds and Keep Moisture: Cardboard Mulch for Your Veggie Beds
Written by David Rodgers — 2026-10-22
Using simple cardboard to improve soil structure and boost yields without buying specialty materials.
The newsletter for backyard growers tired of advice that ignores their actual weeds and soil structure.
MulchingSoil HealthWeed ControlVegetable Gardening
Why are we even talking about this? (The Problem)
If you’ve spent any time out in your garden during the peak of summer, you know that feeling of frustration when you spend all morning pulling weeds only to notice new ones popping up just a few days later. It feels like an uphill battle against nature's persistence. In many regions—and I certainly saw this firsthand in my own backyard in Oklahoma—the heat doesn’t just stress the plants we want; it bakes the moisture right out of the soil, leaving your vegetables thirsty and struggling to produce.
We often think our options are "weed every day" or "use a heavy chemical spray," but there is a much simpler, more mechanical way to handle both problems at once. I’m talking about cardboard mulching. It isn't some high-tech gardening trick; it's just using plain, old corrugated boxes as a physical barrier. By putting down a layer of cardboard before you add your top mulch, you create a "no-go" zone for weed seeds and a heavy blanket that keeps the soil cool and moist. I started doing this because I was tired of fighting the same weeds every month, and it changed how my garden behaves during those long, dry stretches in July.
What is it and how does it actually work?
To understand why cardboard works, you have to think about what a weed needs to survive: light, air, and space. When we lay down a layer of heavy-duty paper product like corrugated cardboard, we are essentially "starving" the weeds before they can even get started. Most common garden weeds need a bit of sunlight on their seeds to germinate. The cardboard blocks that light completely, creating an environment where those seeds stay dormant or die off.
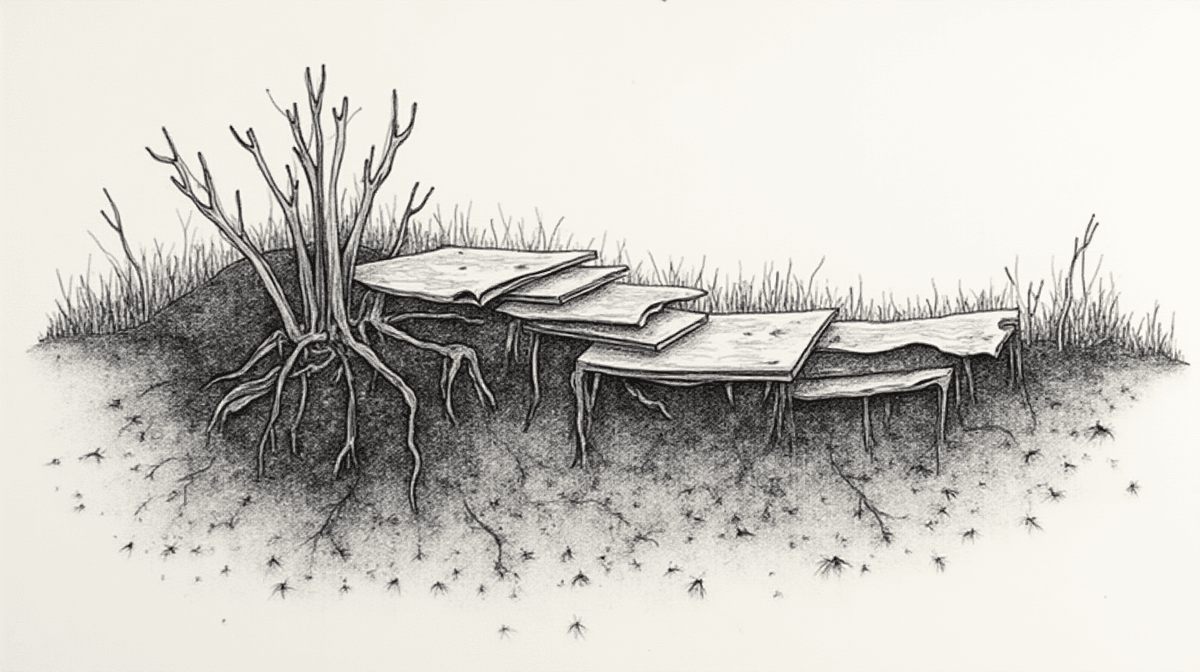
But it isn't just about stopping the weeds; it’s about what happens underneath the paper. Unlike plastic sheeting—which is a disaster for soil health because it kills everything beneath it—cardboard eventually breaks down. As it decomposes over the next year, it feeds the beneficial microbes and earthworms in your soil. It creates a transition zone that keeps moisture trapped deep in the ground rather than letting it evaporate into the air. Think of it as a slow-release carbon source for your garden. Instead of just "hiding" the dirt, you are building a foundation that makes the soil more resilient to heat and drought over time.
The three things to look out for before you start.
Before you go out and start collecting boxes, there are three specific mistakes I made in my early years that I don't want you to make. These are simple fixes, but they make a huge difference in how well the system actually works:
1. Avoid "Shiny" or Waxed Paper
You might be tempted to grab those colorful cereal boxes or the glossy printed cards from your junk mail. Don’t do it. Those often have plastic coatings or heavy wax layers to keep them waterproof. If you use these, they won't break down properly and can actually create a barrier that prevents water and nutrients from reaching your plants. Stick to plain brown corrugated cardboard—the kind used for shipping boxes.
2. You Must Clear the "Old" Growth First
You cannot simply lay cardboard over existing weeds or tall grass. If you do, those weeds will rot along with the cardboard, creating a mess of decomposing organic matter that can attract pests or lead to mold issues in some cases. You need to clear your bed first—mow it down and hoe out any large clumps—so the cardboard is sitting directly on relatively clean soil (or at least very short growth).
3. Overlap Your Seams
This is a big one for weed control. If you leave gaps between your sheets of cardboard, those are "highways" for weeds to grow through. When laying your cards down, make sure they overlap by at least 6 to 8 inches. You want a continuous blanket so that there isn't a single crack where a dandelion can find its way into your row.
Step-by-step: Laying down your cardboard layer.
Once you have your pile of plain brown boxes and your garden bed cleared, follow these steps to get the foundation right. This process is much easier than it sounds, but doing it correctly now saves you hours of weeding later.
- Prepare the Ground: Clear out any large rocks or big clumps of old weeds from your target area. You want a relatively flat surface so the cardboard doesn't buckle when it gets wet.
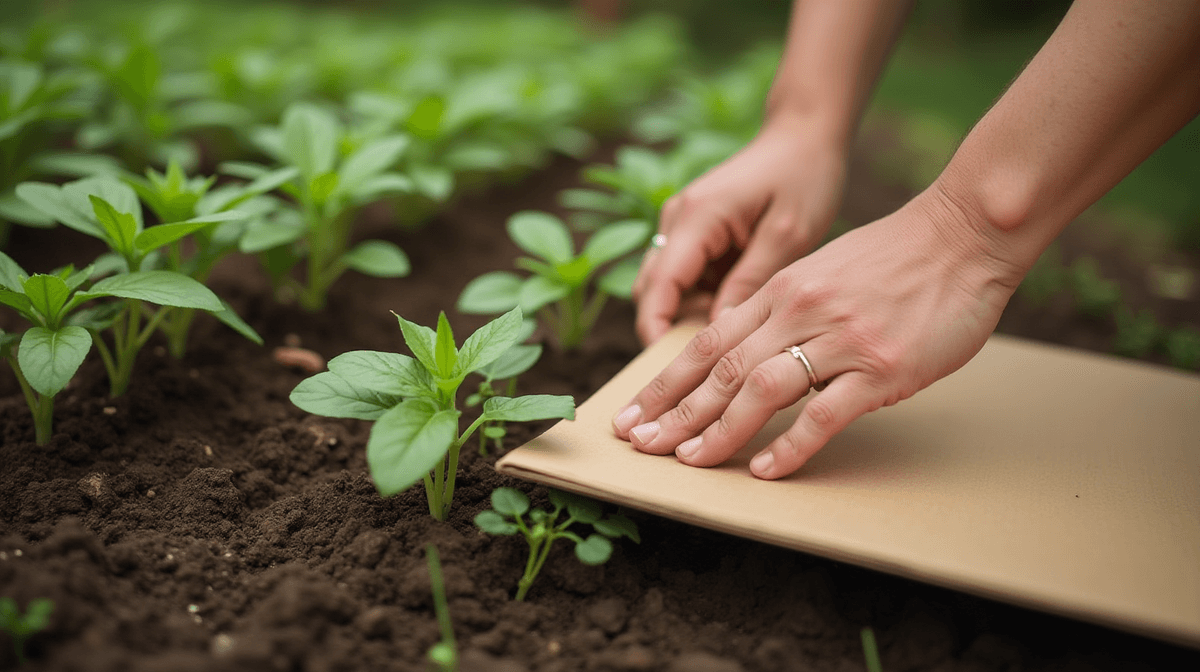
- Lay the Cards: Lay your sheets down, overlapping them as mentioned before. If you have a long row for tomatoes, try to keep the edges as straight as possible to make your future walking paths easier.
- Mop or Soak It Down: This is the step many people skip. Once the cardboard is down, spray it thoroughly with water from a hose. You want it soaked through so it settles into the ground and begins the process of breaking down immediately. If it's bone-dry, it can be hard to work around later.
- Add Your Top Layer: Cardboard alone isn't your final mulch; it’s just the base layer. Immediately cover the cardboard with 2–3 inches of a "top" mulch like straw, shredded leaves, or wood chips. This protects the cardboard from direct UV rays and gives you something to walk on that won't get muddy as quickly as the paper will when it starts decomposing.
Timing matters: When to do this job by zone.
The best time to put down your cardboard depends heavily on where you live and what your local growing season looks like. Generally, you want to do this "heavy lifting" during a transition period—either in late fall before the ground freezes or in early spring before the main planting begins. In warmer zones, getting it done before the summer heat hits is critical for moisture retention.
| Region | Typical Zone Range | Best Timing Window | Why? |
|---|---|---|---|
| Southern/Warm | Zones 7–9 | Late Fall or Early Spring | Get it down before the high-heat months to lock in moisture and stop summer weeds. |
| Northern/Cool | Zones 4–6 | Early Spring (Post-Frost) | Establish the barrier early so soil can warm up, but get it done before your primary crops are planted. |
In my experience in Zone 7, getting this down in late fall is a game changer. It allows the cardboard to sit over the winter and start breaking down while the ground is dormant, meaning by the time you're out there planting your first peppers in April, the "base" of your garden is already much healthier than it would have been otherwise.
Beyond weed control: What you get out of it next season.
While we started this conversation talking about the headache of weeds, the real reward for taking the time to lay down cardboard is what happens beneath the surface where you can't see it. Because the cardboard stays in contact with the soil for months, it acts like a sponge. It holds onto moisture much longer than bare dirt does. This means that during those "dry spells" in July or August when everyone else is running their irrigation systems every day just to keep their plants from wilting, your beds will stay consistently moist and cool.
Furthermore, you’re building soil structure. As the cardboard breaks down, it encourages earthworms and other beneficial organisms to move into your garden beds. They tunnel through the layers, aerating the soil and bringing nutrients up to the root zone of your vegetables. You'll notice that the soil feels "chunkier" and less like a dusty brick after a season with a good cardboard base. It’s about moving away from just "feeding the plant" and toward "building the soil." When you have healthy, moisture-rich soil, your plants are naturally more resilient to stress, leading to better yields and much fewer headaches for you in the long run.
Your turn
Have you used cardboard before? What was your biggest unexpected success or failure with this method? Share a picture of your mulched bed below!
🌿 Get Seasonal Gardening Tips
New guides, planting reminders, and growing tips — straight to your inbox.
No spam. Unsubscribe anytime.
About the Author
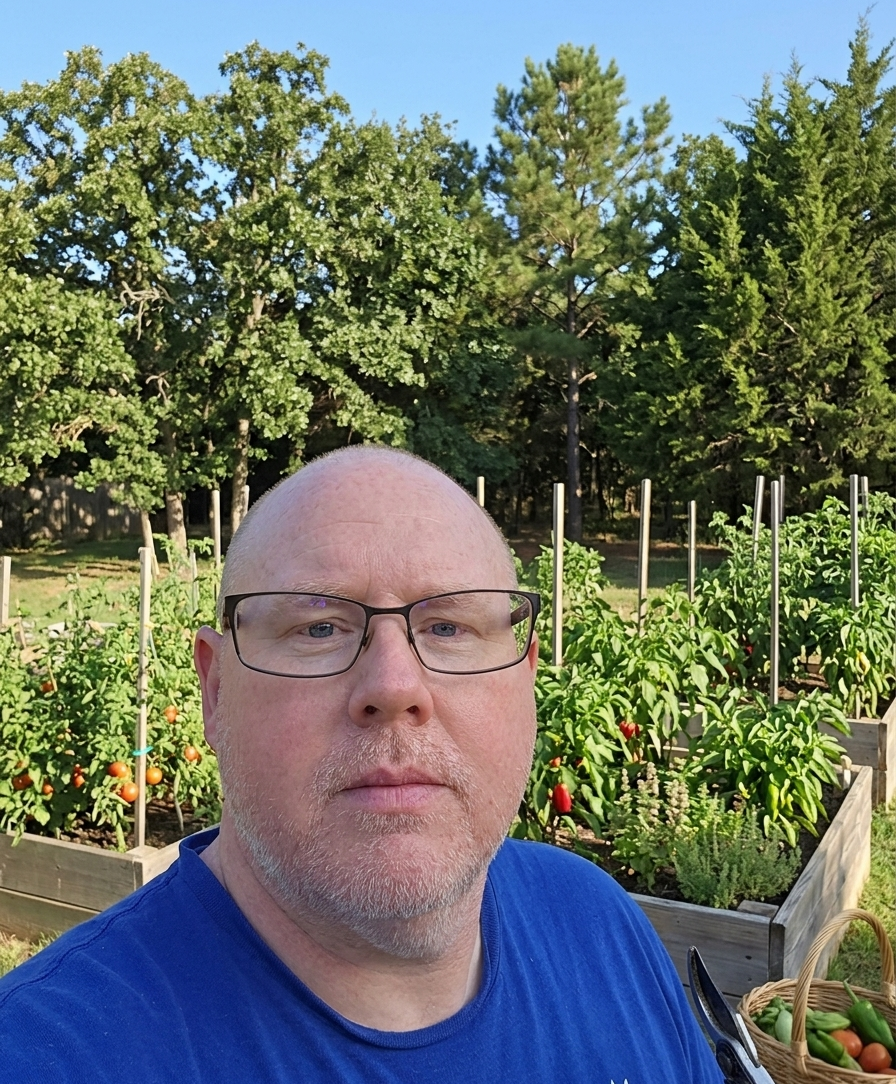
David Rodgers is the Founder & Head Gardener of Planting Atlas. With over 40 years of hands-on gardening experience in Oklahoma's Zone 7 climate, he researches, writes, and personally tests every guide on the site.
David draws from real backyard trials, soil testing, and trusted sources like Oklahoma State University Extension and USDA data to deliver practical, zone-specific advice that actually works.
Read more about David and Planting Atlas →