Loading…
←Back to Newsletters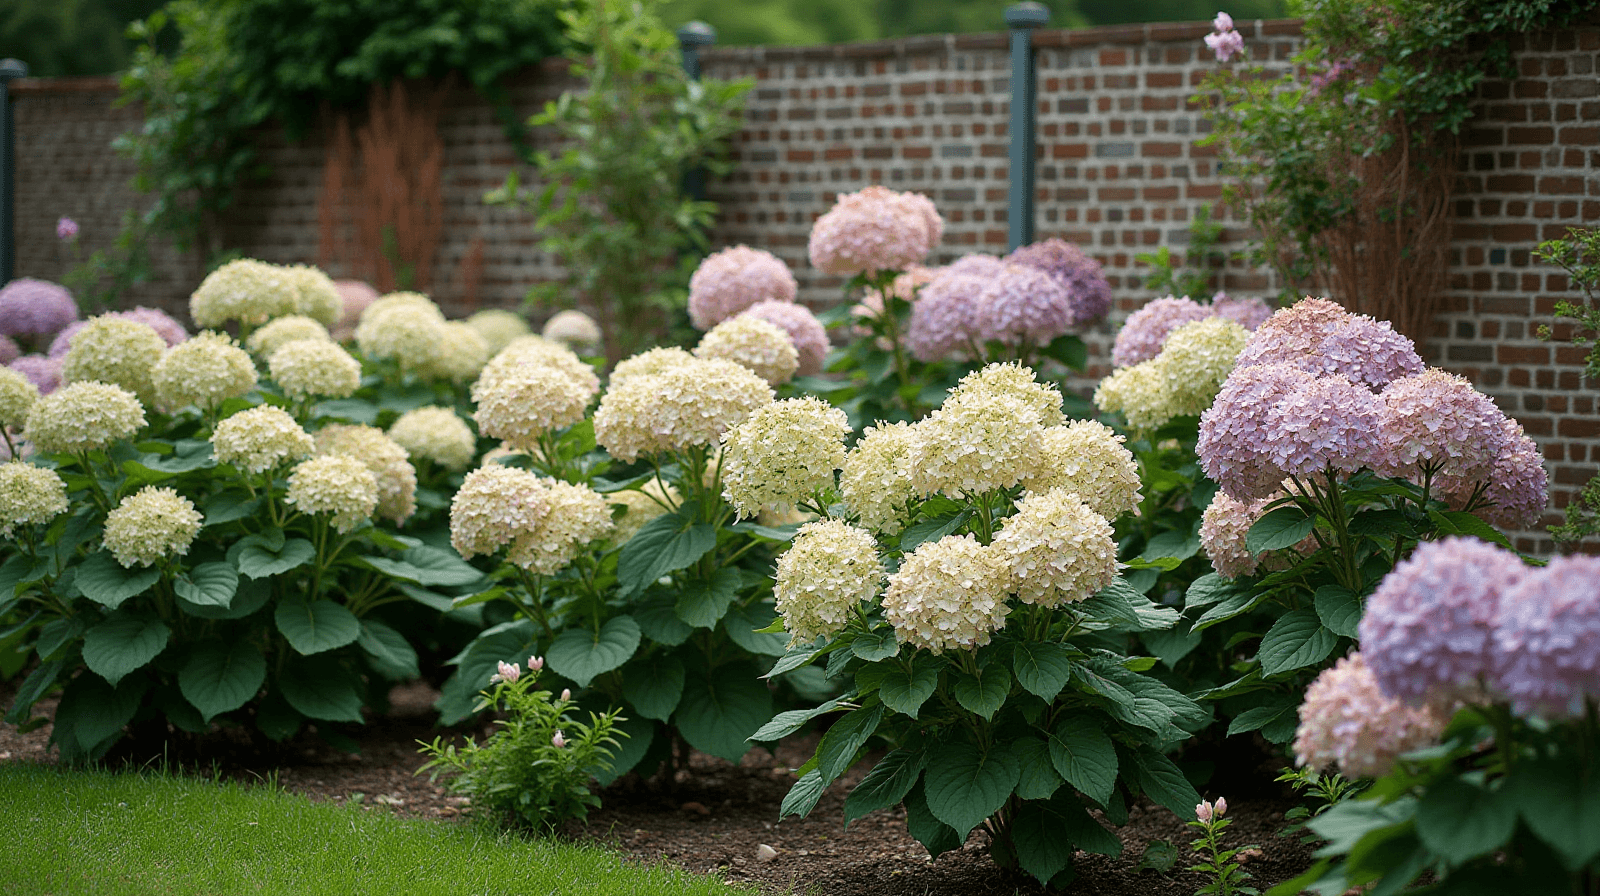
Making Your Yard Bloom: A Guide to Mass Planting Hydrangeas
Written by David Rodgers — 2026-09-11
How planning and specific care can turn perennial borders into major landscape features.
The newsletter for backyard growers tired of advice that ignores their actual climate and desire to make a visual impact.
HydrangeaPerennialsLandscape DesignPlanting Strategy
Start by looking at the bones, not just the flowers
It’s easy to get swept up in the excitement of a nursery's hydrangea display—those massive, heavy blooms are hard to ignore. But if you want these plants to actually survive more than two seasons in your yard, you have to look past the petals and focus on the "bones" of the landscape first. Before you ever put a shovel in the ground for a shrub, you need to evaluate the site’s infrastructure: drainage and sun exposure.
I've seen too many folks plant beautiful hydrangeas into low spots where water sits after a heavy rain. In my experience, if your soil stays soggy for days because of poor grading or a lack of drainage, even the heartiest hydrangea will eventually succumb to root rot. You have to be honest about what the land wants to do. Is that corner of the yard a bowl? If so, you need to address the grade before planting. Similarly, don't guess on the light. Spend a full day watching how the sun moves across that specific patch of dirt. A hydrangea in a spot that gets blasted by harsh afternoon sun without enough water will bake; one tucked into a permanent shadow might struggle to bloom well. Get the bones right first—drainage and light—and you’ve already won half the battle.
Why we group them: The power of mass planting over single specimens
There is a massive difference between having a "hydrangea" in your yard and having a "hydrangea border." When I talk about mass planting, I'm talking about grouping several similar varieties together to create a cohesive visual anchor. A lone hydrangea often looks like an afterthought—a lonely shrub trying to fill a gap. When you plant them in groups of three, five, or more, they start to function as a single unit of design.
Grouping them isn't just for show; it has practical horticultural benefits too. By planting several together, you create a "microclimate" where the root systems can establish a shared zone and the foliage provides a collective barrier against wind and excessive evaporation from the soil. From a design standpoint, massing creates what I call a visual wall or an anchor point. It allows the eye to rest on one large, intentional feature rather than jumping between individual plants. If you want that "wow" factor of a professional-looking landscape without the high cost of constant redesigns, group your shrubs by type and size. This ensures they grow into a cohesive mass rather than looking like scattered dots in the grass.
The 'right' hydyangeas for big shows (and what they need)
Not all hydrangeas are created equal when it comes to large-scale landscaping. For a backyard that needs to make an impact, I typically point people toward varieties like 'Annabelle,' 'Incrediball,' and various Panicle types. These aren't just popular because they look good; they are chosen for their ability to handle different conditions while still putting on a show.
However, these "showstoppers" have non-negotiable requirements that you can't skip:
- Annabelle & Incrediball: These are fantastic for large displays because of their massive white and pale pink mophead blooms. They are generally more tolerant of some sun than other varieties, but they still need consistent moisture to keep those heads from wilting in the heat.
- Panicle Hydrangeas: These are often my go-to recommendation for folks who want a long blooming season and a bit more "toughness." They handle fuller sun better than many others and offer a range of colors that change as the season progresses.
The core rule here is balance. You need enough sun to produce flowers, but not so much that the plant becomes stressed. If you choose an Annabelle for a spot with high-intensity afternoon sun, you have to be prepared to water it deeply and frequently during the peak of summer.
Getting the bed ready: More than just digging a hole
This is where most home gardeners run into trouble. They buy the shrub, dig a hole exactly the size of the root ball, drop it in, and walk away. That's how you end up with plants that struggle to establish themselves. To get a mass planting successful, you have to prepare the "bed"—the entire area where the group will sit.
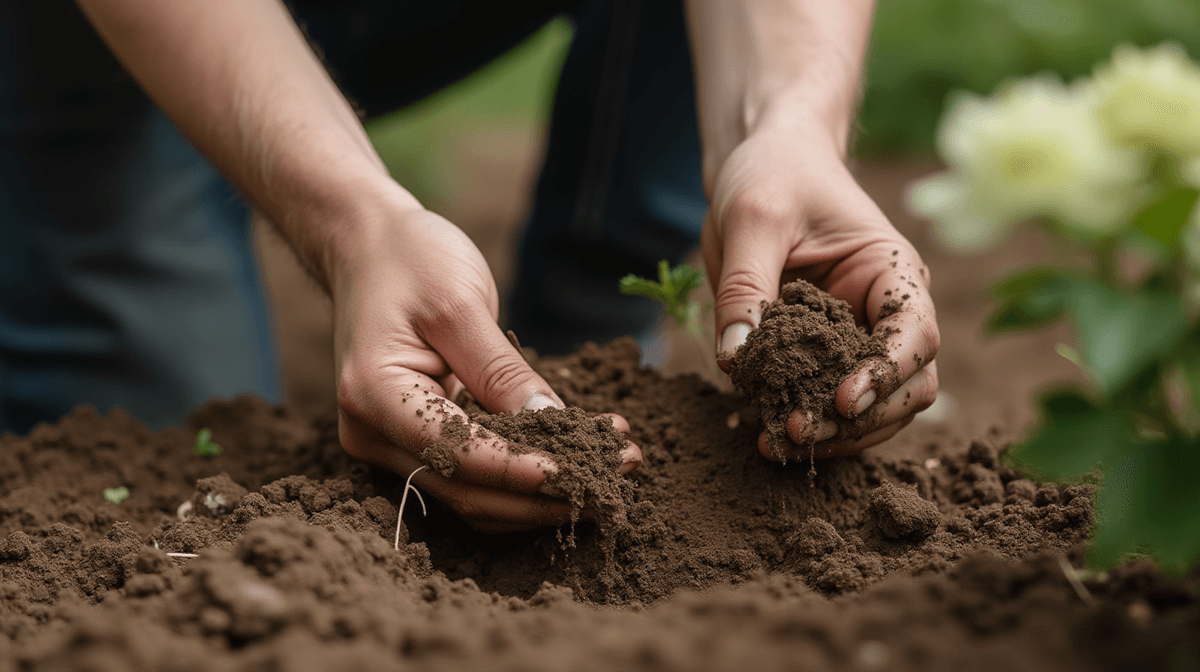
First, address the soil texture. If you have heavy clay (common in many regions), it can act like a brick when dry and a sponge when wet. You need to work in organic matter—compost or aged manure—to open up that structure. Second, check your grading. Ensure the ground slopes slightly away from where the main root balls will sit so water doesn't pool at the base of the stems. Finally, you have to think about the "zone" of the bed. If you’re planting a row of five hydrangeas, they share a common space. You need to prepare that entire strip of land, not just five individual spots. This includes clearing out invasive weeds and grass roots which will compete with your new shrubs for nutrients and water during those critical first two years.
Planting tips—don't crowd them, but don't space 'em out
When you’re planting a massed area, the spacing is a delicate balance of math and foresight. You want enough room for each plant to breathe and grow into its own shape without being smothered by its neighbors, but you also want them close enough that they eventually knit together into one continuous visual "wall."
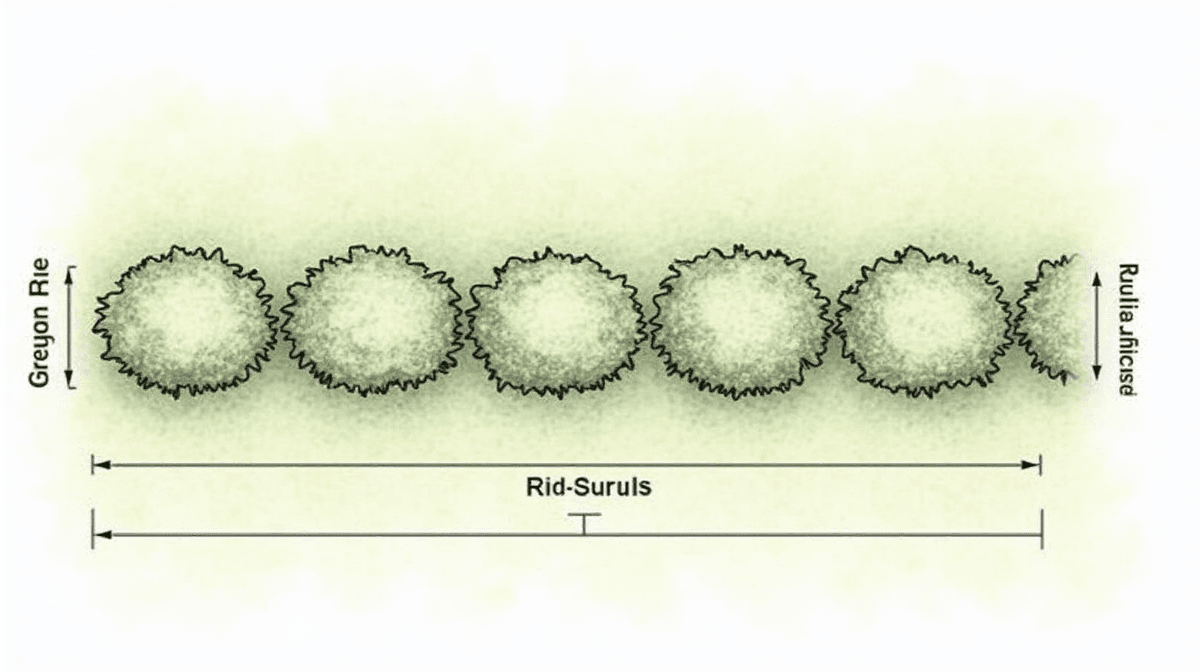
For most large-flowering hydrangeas like 'Incrediball' or Panicle types, I recommend spacing them about 3 to 5 feet apart, depending on the specific variety’s mature width. If you space them too far apart, you’ll see patches of dirt between them for years, which ruins the "mass" effect. If you crowd them too close—like planting them in a tight cluster as if they were individual pots—you're inviting issues with airflow and moisture management; when one gets sick or develops a fungus, it will spread to its neighbors instantly because there’s no gap between them.
During the first year, I call this the "establishment phase." Even if you have the perfect spacing, these plants are going to be focused on growing roots rather than putting on massive amounts of new wood. During this time, they need consistent moisture and a little extra attention to help them get past that initial hurdle of transitioning from a nursery pot to your backyard soil.
The crucial care routine: Mulch deep, water smart, prune right
Once they are in the ground, your job shifts to maintenance. This is where "lazy" gardening leads to dead plants. You need three pillars for success: mulch, water, and pruning.
Mulching is non-negotiable. A thick layer of wood chips or shredded bark (3–4 inches deep) keeps the soil temperature stable and slows down evaporation. It also suppresses weeds that would otherwise steal moisture from your hydrangeas. When it comes to watering, especially in our hotter zones, "deep" is the keyword. Instead of a quick sprinkle every day, you want a heavy soak once or twice a week (depending on heat) so the water reaches those deeper roots.
Pruning can be intimidating because people are afraid of cutting off next year's flowers. However, with Panicle and many modern hybrids, you can often just prune back the spent blooms in late winter to tidy them up without sacrificing size.
| Task | Frequency | Tip for Success |
|---|---|---|
| Mulching | Spring & Fall | Keep mulch away from the actual trunk (the "mulch volcano" will rot the bark). |
| Deep Watering | Weekly (Summer) | Focus on the root zone, not just the foliage. |
| Fertilizing | Early Spring | Use a slow-release balanced fertilizer to support growth before blooming starts. |
| Pruning | Late Winter/Early Spring | Remove dead or crossing branches; don't cut into old wood for many varieties. |
Keep it simple: keep the roots cool, keep them watered during dry spells, and only prune what needs to be removed. If you do those three things, they’ll reward you with a massive display every year.
Your turn
What’s the biggest planting mistake you made when trying to make a corner look better? Let me know below! And if this helped, share it with another gardener who needs some real-world advice.
🌿 Get Seasonal Gardening Tips
New guides, planting reminders, and growing tips — straight to your inbox.
No spam. Unsubscribe anytime.
About the Author
David Rodgers is the Founder & Head Gardener of Planting Atlas. With over 40 years of hands-on gardening experience in Oklahoma's Zone 7 climate, he researches, writes, and personally tests every guide on the site.
David draws from real backyard trials, soil testing, and trusted sources like Oklahoma State University Extension and USDA data to deliver practical, zone-specific advice that actually works.
Read more about David and Planting Atlas →