Loading…
←Back to Newsletters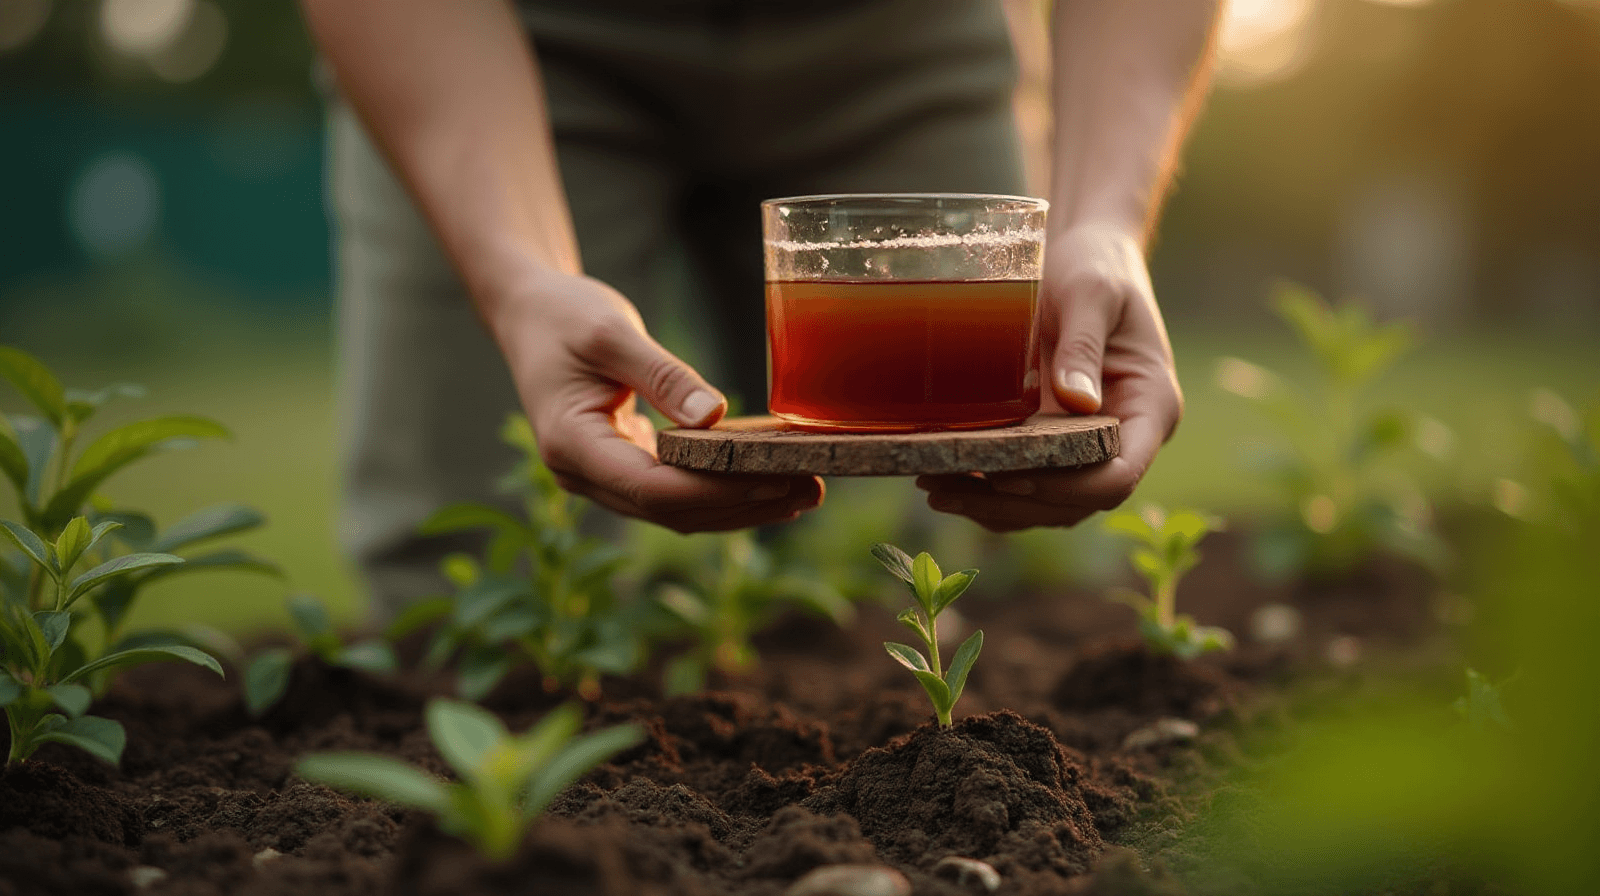

Making Your Own Aerated Compost Tea Brewer and Brew It Right
Written by David Rodgers — 2026-08-05
A simple guide to backyard soil boosters that go beyond the basic bucket soak.
The newsletter for gardeners who'd rather learn from a mistake made 40 years ago than repeat it themselves.
compostingsoil healthnatural amendmentsDIY
Why Bother with Compost Tea? What It Is, Really.
If you’ve spent any time looking into soil health, you've probably heard people talking about "compost tea." In my years in Oklahoma, I’ve seen plenty of folks get confused by this one—they think it’s just a fancy name for pouring composted water onto their plants to give them a quick boost. It isn't quite that simple, though it does help.
The real goal of making tea is to cultivate and multiply beneficial microbes—the tiny bacteria and fungi that do the heavy lifting underground. Think of your soil as a city; these microbes are the workers who break down nutrients into a form your plants can actually "eat." When you just dump compost on the ground, those workers have to find their way through the dirt to do their jobs. Making tea is like giving them a concentrated boost in a controlled environment before they hit the field. It’s not about feeding the plant directly; it's about feeding the soil life so the soil can feed the plant. When you aerate that mixture, you are ensuring those "good" microbes thrive while keeping the "bad," smelly ones at bay.
The Common Mistakes People Make Brewing This Stuff.
I’ve seen a lot of folks get frustrated because their tea didn't seem to do anything, or worse, it started to smell like a swampy, rotten egg mess. Usually, that happens for three very specific reasons: using the wrong "starter" material, letting it sit too long without enough air, or failing to understand what you’re actually trying to grow.
First, don't just grab any old stuff from your yard. If you use manure that hasn't been fully composted—or even some mulch with high salt content—you might be introducing pathogens or "bad" bacteria into the mix. Second, and most importantly, if it smells bad, throw it out. A "stinky" brew means it has gone anaerobic (lacking oxygen), which is where harmful microbes thrive. Finally, many people try to use tea as a "rescue" for a dying plant. It isn't a miracle cure-all; it won’t fix a wilted tomato plant from overnight heat stress or a nitrogen deficiency instantly. It’s a long-term investment in your soil's health, not an emergency medicine.
Putting the Brewer Together (The Build).
You don't need to go out and buy some industrial machine to do this right. I’ve found that a simple setup works just as well for most home gardens. You can build a basic aerated brewer using things you likely already have in your garage or shed.
To get started, find a clean 5-gallon bucket or a dedicated plastic tote. You need two main components: an air pump and "stones." I highly recommend grabbing a small aquarium air pump—they are inexpensive and designed to run for long periods. You'll also need some flexible tubing (the kind used in fish tanks) and a few large stones.
- The Intake: Drill a hole near the bottom of your bucket. Insert a short piece of tubing so it reaches toward the bottom, then place a stone over the hole to hold it in place.
- The Stones: Place several large stones at the bottom of the bucket. These act as "diffusers," breaking up the air bubbles from the tube into many tiny bubbles instead of one big blast that just makes the water splash around.
- The Setup: Connect your pump to the tubing and place it outside the bucket (or in a ventilated area). The goal is constant, gentle bubbling—like a jacuzzi for your microbes.
Brewing Success: The Recipe and Process.
Once you have your brewer set up, the actual "brewing" process follows a specific rhythm. You aren't just making tea; you are creating an environment where beneficial life can multiply quickly. For a standard 5-gallon batch, start with high-quality materials. I prefer using finished compost or well-rotted manure as the base.
| Ingredient | Amount / Ratio | Purpose |
|---|---|---|
| Water | 4 to 5 Gallons | The base medium (use filtered if your tap water is very heavy in chlorine). |
| Compost/Manure | 1-2 Buckets | Provides the "food" and habitat for microbes. |
| Molasses or Sugar | 1/2 Cup | Acts as a quick energy source to kickstart microbial growth. |
| Aeration Time | 24 to 48 Hours | The window of time where you actively pump air into the mix. |
Start by filling your bucket with water and adding your compost. Stir it in well until it looks like thick, muddy soup. Add your molasses or sugar—this is the "fuel" for the microbes. Turn on your air stone system and let it run continuously. You want a steady stream of bubbles that keeps the mixture moving. If you leave it to sit without air for more than 24 hours, those bad bacteria will take over, and you'll know by the smell.
How to Use It in Your Garden Beds (The Application).
Applying your tea is where many people get their expectations out of sync with reality. Because this is a biological product—not a chemical one—it works best when used consistently rather than as a "one-and-done" treatment. Think of it as a supplement for your soil's health.
When you’re ready to apply, I recommend using it as a soil drench. Pour the tea directly onto the soil around the base of your plants. Because the microbes are living things, they need time to establish themselves in the root zone. In my experience, applying a few gallons every two weeks during the growing season yields much better results than dumping 20 gallons on once a month.
Timing and Placement:
- Avoid Peak Heat: Especially here in Zone 7, don't apply your tea in the middle of a scorching July afternoon. The heat can dry out the top layer of soil too quickly, potentially harming the microbes you just worked so hard to grow. Early morning or late evening is best.
- Focus on Active Beds: Use it where things are growing actively—tomatoes, peppers, and leafy greens benefit from that consistent microbial boost.
- Don't Over-Apply: A little goes a long way. If the soil becomes excessively soggy or smells like sulfur after application, you’re using too much at once.
Quick Takeaways for Next Time.
If you want to keep your brewing process simple and successful every time, stick to these core principles:
- The "Sniff Test": Always smell your brew before applying it. If it smells like rotten eggs or a swamp, the aeration failed (or wasn't consistent enough). Toss it out and start over.
- Quality Matters: Use well-aged compost or manure. Avoid using "fresh" manure that hasn't sat for months; you want to build up good microbes, not introduce bad ones.
- Keep it Aerated: The air pump is the most important part of the machine. It keeps the environment aerobic so only the beneficial life thrives.
- Consistency Over Quantity: Use smaller amounts more frequently rather than one large application.
- Feed the Soil, Not Just the Plant: Remember that your goal is to build a living ecosystem in your garden beds. The tea is just the tool you use to jumpstart that process.
Your turn
Have you brewed compost tea before? What was the biggest lesson learned (good or bad)? Share your results below!
🌿 Get Seasonal Gardening Tips
New guides, planting reminders, and growing tips — straight to your inbox.
No spam. Unsubscribe anytime.
About the Author
David Rodgers is the Founder & Head Gardener of Planting Atlas. With over 40 years of hands-on gardening experience in Oklahoma's Zone 7 climate, he researches, writes, and personally tests every guide on the site.
David draws from real backyard trials, soil testing, and trusted sources like Oklahoma State University Extension and USDA data to deliver practical, zone-specific advice that actually works.
Read more about David and Planting Atlas →