Loading…
←Back to Newsletters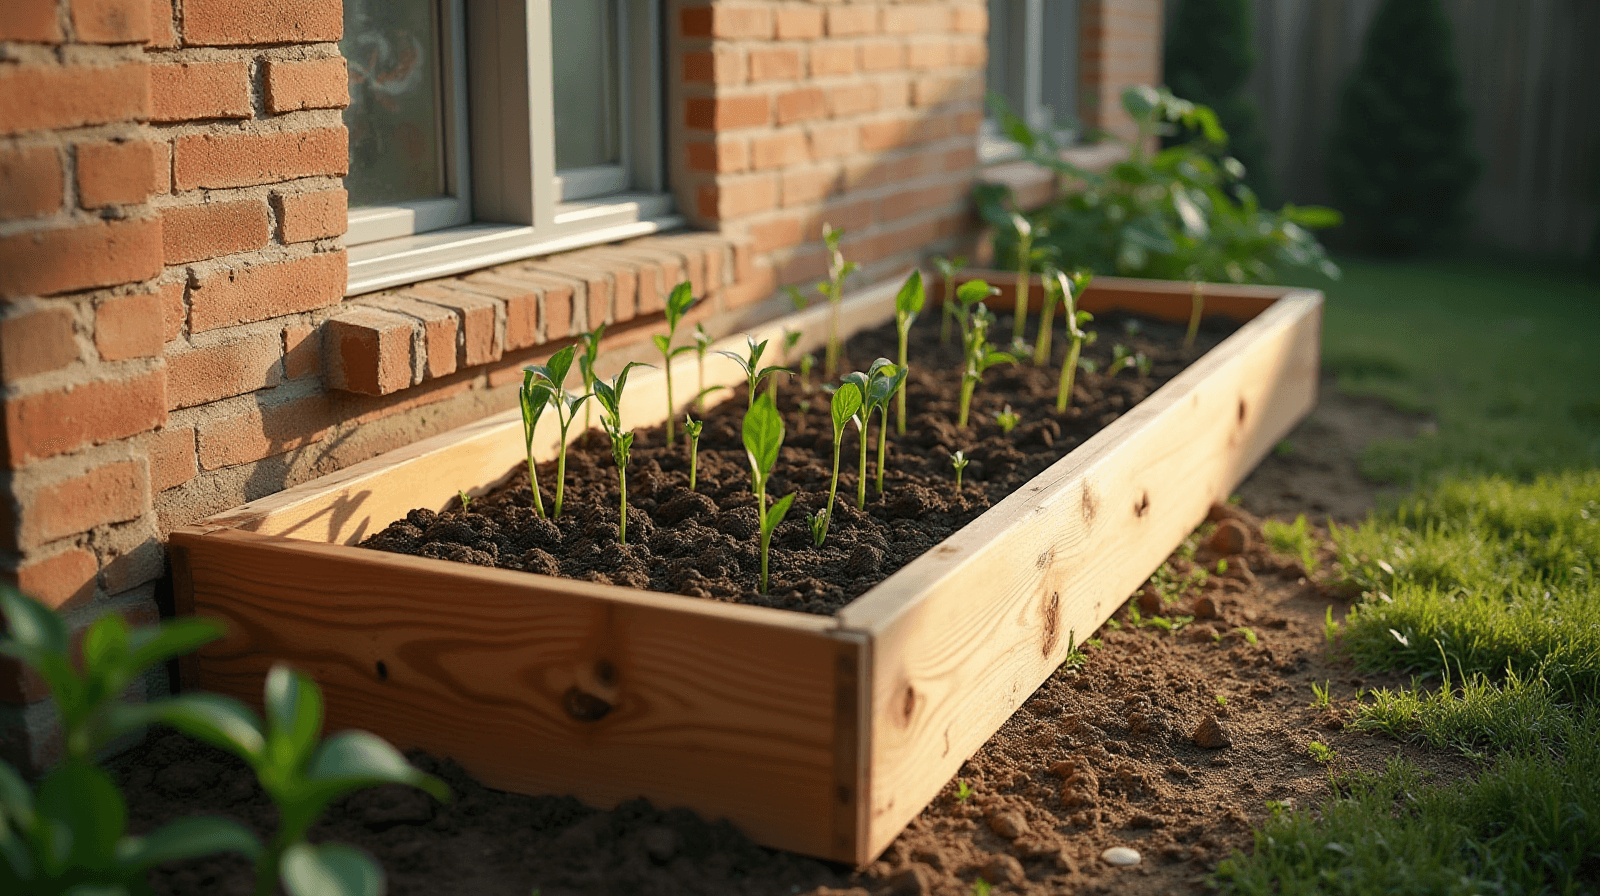
Keeping the Garden Going When Everything Else Stops
Written by David Rodgers — 2026-08-23
A simple guide to building a low-cost cold frame for late harvests.
The newsletter for backyard growers tired of advice that ignores their actual climate.
cold framesextension gardeningfall plantingDIY builds
Why we bother with these boxes in the fall
A lot of folks get confused when they first hear about cold frames because they assume they are just small greenhouses. They aren't. A greenhouse is designed to create a controlled environment where plants can grow in conditions that would otherwise kill them; a cold frame is much simpler than that. Think of it as a heavy blanket for your garden. Its primary job isn't to make the air inside hot like a furnace, but to trap the residual heat from the ground and protect your plants from the biting wind and light frosts of late autumn.
In my experience, these frames are about "buying time." By trapping that solar energy during the day and holding onto it as the temperature drops at night, you can keep crops like spinach or kale productive well into November. It’s a low-tech way to extend your harvest when the days get shorter and the ground starts getting chilly. You aren't trying to grow tropical fruit in here; you're just trying to keep what we already have from freezing too soon.
The biggest mistake people make when building them (and how it costs you a harvest)
The most common mistake I see—and one that can ruin your plans for an extended season—is poor site selection and bad sealing. If you build a beautiful frame but face it toward the north or east, it won't get enough consistent sunlight to actually generate any heat. In my yard, if I don't have that south-facing exposure, the ground stays cold even with a lid on top. You need those hours of afternoon sun to bake the soil and keep things going.
Another huge pitfall is "leaky" construction. If there are large gaps at the base where your frame meets the ground or the edges aren't tucked in tightly, wind will blow right under the cover. It’s like trying to keep a house warm with an open window; that little bit of moving air can strip away all the heat you managed to trap during the day. You want it sealed well enough that the "blanket" stays put, but still accessible enough for you to reach in and grab some greens without breaking your back.
Sourcing materials: what to look for in your yard and local dump
You don't need to spend a fortune at the lumber yard on specialty wood to make these work. In fact, using "premium" materials often just adds unnecessary cost to a project that is meant to be practical and low-cost. I’ve spent years pulling together what was available: scrap 2x4s for the main frame, old pallet slats for the sides, and even heavy bricks or cinder blocks for the base. If you can find them at a local dump or have remnants from a previous project lying around, use those.
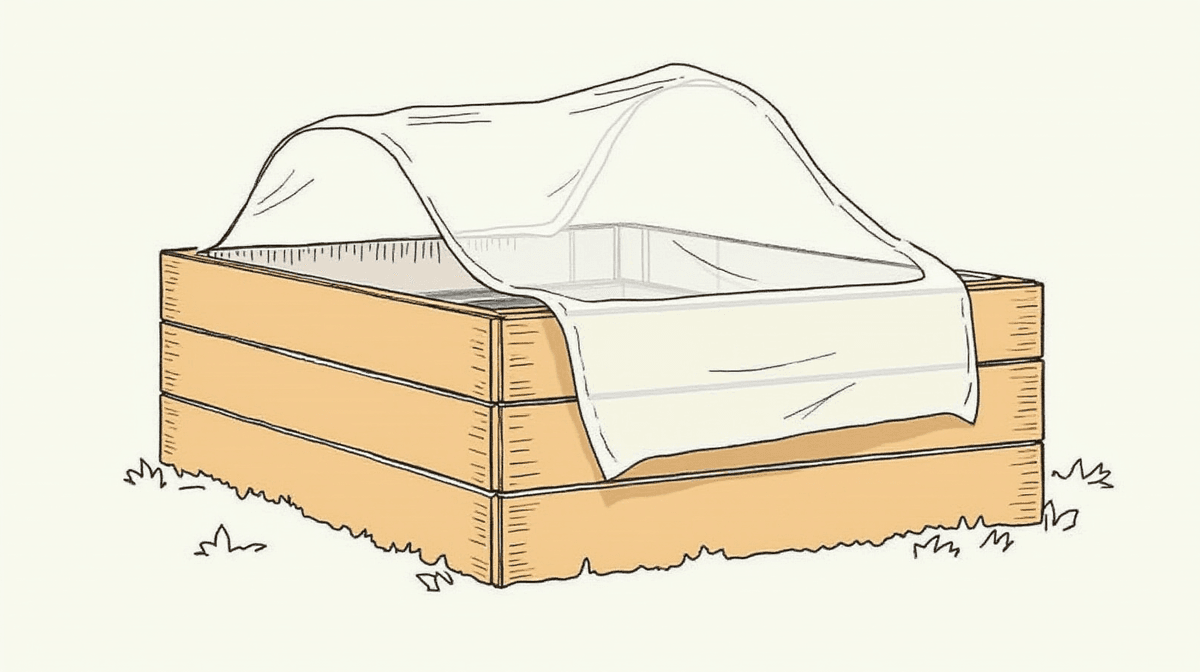
For the top, don't feel like you need high-end glass. Old storm windows are often available cheaply (or for free) and work perfectly because they are sturdy. You can also use heavy-duty clear polycarbonate panels or even thick, clear polyethylene plastic sheeting if you’re on a budget—just make sure it’s heavy enough that it won't flap around in the wind. The goal is to find materials that provide structure and protection without making the project more expensive than necessary.
Setting up the structure: placement and prep work
Before you hammer a single nail, you have to pick the right spot. You want your cold frame placed where it can catch as much sun as possible, ideally against a south-facing wall or in an open area with no tall trees casting shadows in the afternoon. This extra bit of "radiant" heat from the wall helps keep things going when the sun goes down early.
Once you’ve picked your spot, you need to prep the ground. Don't just throw a frame over a patch of grass or weeds; it won't work well. You want a defined bed where the soil is loose and rich. If you are building this as a permanent fixture for late-season use, I recommend mixing in some composted manure or aged manure to give those final crops enough "fuel" to finish strong. Leveling the ground beneath the frame is also critical; if it’s lumpy, your framing will be harder to build and your water won't distribute evenly when you go to water the beds before a frost.
The actual build process, step by step
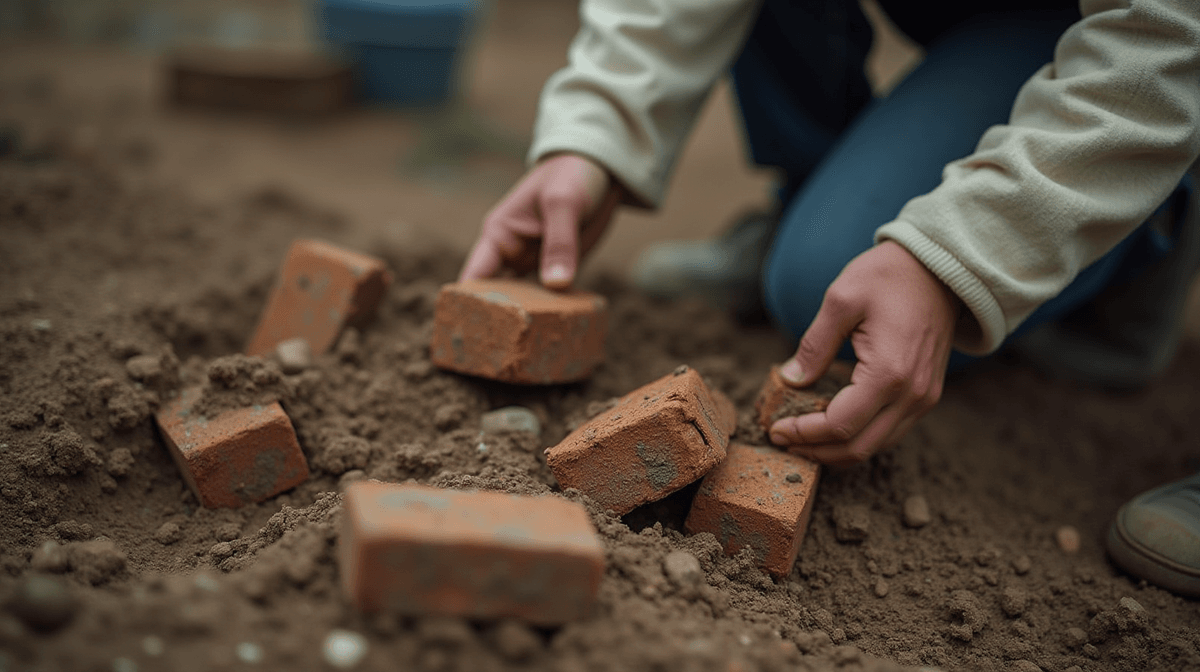
Building these should be straightforward enough for a weekend project. I recommend starting with a basic rectangular frame made of 2x4s or heavy-duty pallet wood. You want something sturdy enough that it won't shift when you lean against it to harvest your greens. If you are using bricks at the base, lay them in a solid row around the perimeter; this provides weight and helps hold the side panels in place while also acting as an extra layer of heat retention from the ground up.
- Construct the frame: Build a rectangular box that is roughly 3 to 4 feet wide and as long as your planting area requires.
- Secure the sides: Attach your side panels (wood slats or boards) to the base frame. Ensure they are sturdy enough to hold some weight.
- Install the top support: Add a "lip" or a secondary frame on top of the walls where your clear material will rest.
- Fasten the cover: Secure your glass, polycarbonate, or plastic over the top. If using plastic, use heavy-duty staples or clips so it doesn't flap in high winds.
- Anchor to ground: Use some long rebar stakes if you have a windy area; this keeps the whole structure from shifting during those late-autumn gusts.
Getting seeds in there: what to plant and when
The beauty of a cold frame is that it allows you to grow "cool-season" crops well into the time of year when most people are putting their tools away for winter. These plants actually prefer the cooler temperatures, but they just need that extra layer of protection from the wind and hard freezes. You want things that can handle a bit of chill without giving up.
I recommend focusing on hardy greens and root vegetables. Radishes offer quick results, while kale and Swiss chard are incredibly hardy and often taste sweeter after a light frost. If you're starting your seeds in late summer or early fall, the cold frame will give them that extra push to reach maturity before the ground freezes solid.
| Crop Type | Recommended Varieties | Typical Fall Window (Zone 6-8) | Note |
|---|---|---|---|
| Leafy Greens | Spinach, Kale, Swiss Chard | Sept - Nov | Very hardy; can often be left in the frame to frost. |
| Root Crops | Radishes, Carrots | Aug - Oct | Best for shorter cycles to get harvested quickly. |
| Brassicas | Broccoli, Cabbage | July - Oct | Need a head start but benefit from protection in late fall. |
Closing out the season: care until spring arrives
Once your final harvest is done and the ground starts to harden with the first real frosts of winter, you need to put the frame into "dormancy" mode. This means protecting it from heavy snow loads that could collapse the structure or break the glass. If you have a lot of space, move the frames closer together; if not, just make sure they are sturdy enough to stand on their own.
For the soil itself, I like to add a thick layer of straw or shredded leaves over the surface before winter sets in. This acts as mulch for your "soil bank." It keeps the ground from freezing solid too quickly and helps prevent erosion from heavy snowmelt. In early spring, you can simply pull back the straw and prep the area for its next cycle. By taking these small steps to care for the structure and the soil over the winter, you'll find that your garden is much easier to jump-start come spring.
Your turn
What’s the hardest thing for you to keep alive through winter? Send us a photo of your setup!
🌿 Get Seasonal Gardening Tips
New guides, planting reminders, and growing tips — straight to your inbox.
No spam. Unsubscribe anytime.
About the Author
David Rodgers is the Founder & Head Gardener of Planting Atlas. With over 40 years of hands-on gardening experience in Oklahoma's Zone 7 climate, he researches, writes, and personally tests every guide on the site.
David draws from real backyard trials, soil testing, and trusted sources like Oklahoma State University Extension and USDA data to deliver practical, zone-specific advice that actually works.
Read more about David and Planting Atlas →