Loading…
←Back to Newsletters
Hydroponics From Scratch · Part 1
Hydroponics Doesn't Have to Be Hard: Starting Simple in the Backyard
Written by David Rodgers — 2026-10-10
Choosing your first soilless system without breaking the bank or spending all weekend wiring it up.
The newsletter for backyard growers tired of overly complicated, high-tech gardening advice.
hydroponicsbeginner gardeningsoil-less growingzone specific
What is ‘soil-less’ growing, really?
When you hear the word "hydroponics," it’s easy to picture some high-tech laboratory or a massive commercial greenhouse filled with glowing lights and complex plumbing. It sounds intimidating, like something only a scientist could pull off in their backyard. But I want to strip away that mystery right now. At its core, hydroponics isn't magic; it is simply the method of growing plants without soil.
Think of soil as a delivery system. In a traditional garden, the dirt provides the physical structure for roots to grab onto and acts as a reservoir for water and nutrients. When we move to "soilless" systems, we aren't removing those needs; we are just changing how they are delivered. Instead of the roots searching through clumps of earth to find food, we provide a nutrient-rich water solution directly to them in a controlled environment. It’s about simplification for the root system. By removing soil, you eliminate many common problems like soil-borne diseases or heavy clay that won't drain, but it means you have to be more intentional about what your plants are "eating" since there is no dirt to buffer those choices.
Why does the root zone need air (and why isn't dirt enough)?
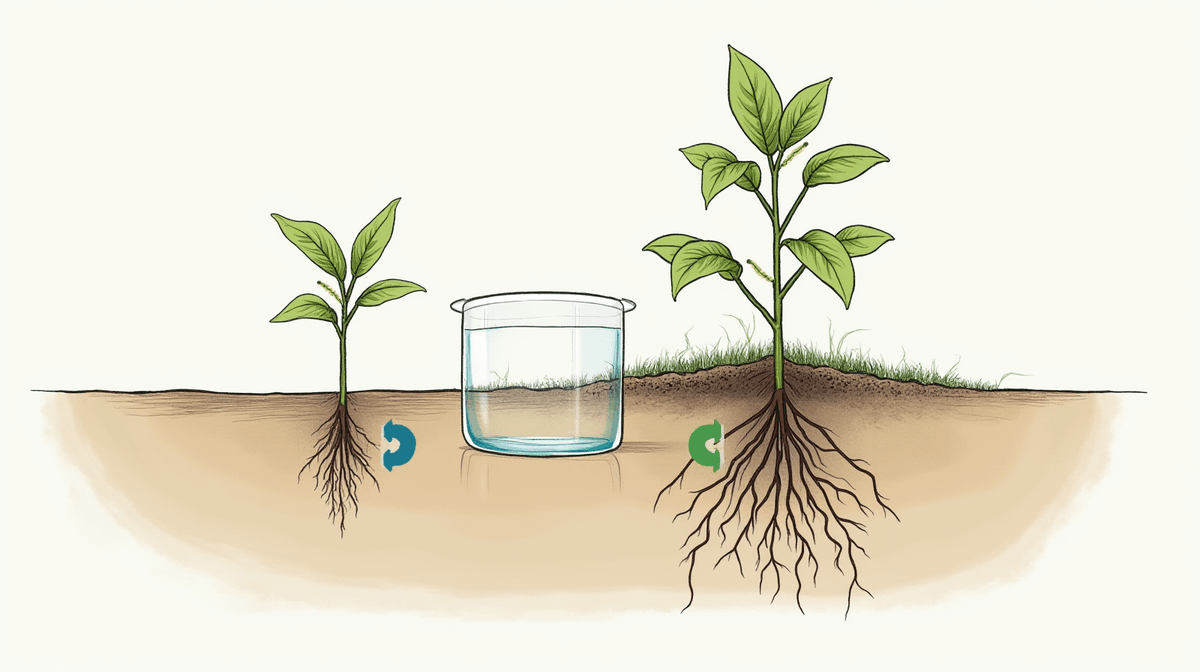
One of the biggest misconceptions I see beginners make—and one I learned through some pretty soggy failures in my own yard—is that roots just need to be wet to stay healthy. In a backyard garden, soil usually provides enough "pockets" of air for roots to breathe even when it rains. However, if your soil is heavy clay or stays saturated too long, those pockets fill with water and the roots essentially drown.
In a soilless system, because we aren't using earth as our buffer, oxygen becomes the most critical factor. Roots are living organisms; they need to "breathe" (respiration) just like we do. When we move to hydroponics, we have to ensure that dissolved oxygen is constantly available in the water or the growing medium. If a root zone becomes stagnant and anaerobic, it starts to smell—a swampy, rotten odor—and the roots will turn brown and mushy within hours. This isn't just about "keeping them wet"; it’s about ensuring they have access to oxygen at all times so they can actively pull nutrients from your water mix.
The simplest systems: Kratky vs. Deep Water Culture
When you are starting out, the goal is to find the path of least resistance. You don't need a complex recirculating system with pumps and timers on day one. There are two primary ways to start without soil, and I want to highlight the difference between them clearly so you can choose your entry point.
Kratky Method
The Kratky method is essentially "passive" hydroponics. The plant sits in a container where the roots are partially submerged in nutrient solution while the top part of the root system stays in an air gap as the water level drops over time. There are no pumps, no moving parts, and very little maintenance. It’s honest, simple, and highly effective for beginners who want to see results without becoming a plumbing engineer overnight.
Deep Water Culture (DWC)
Deep Water Culture is more "active." In this setup, you typically use an air pump and an air stone (similar to what you'd see in a large fish tank) to constantly bubble oxygen into the water. While DWC is incredibly effective for larger crops like tomatoes or peppers because it provides maximum oxygenation, it requires more equipment and constant monitoring of your mechanical parts.
For most backyard beginners, I strongly recommend starting with Kratky. It allows you to master the chemistry of plant growth before you have to worry about whether a pump failed in the middle of the night.
Your zero-stress starting setup with jars and buckets
If you want to get your hands dirty—or rather, keep them clean—this week, start here. You don't need a specialized "hydro kit" from a catalog; most of what you need is likely sitting in your garage or at the local hardware store. A Kratky system can be built using basic household items that provide both stability and ease of observation.
The Setup List:
- The Reservoir: Use a 5-gallon bucket with a lid or a large, heavy-duty plastic bin. These are great because they hold enough water to last several weeks without needing constant refilling.
- The Net Pots: You can buy these in bulk online, but you can also use small plastic cups with holes poked into the sides and bottom.
- Growing Medium: Since we aren't using soil, you need something that holds the plant in place while letting roots grow through it. I recommend expanded clay pebbles (those little brown "clay balls") or perlite. They are clean, won't rot, and provide great structure.
How to Assemble:
- Cut a hole in the lid of your bucket just large enough to hold the net pot snugly.
- Fill the net pot with your chosen growing medium (like clay pebbles) and nestle your seedling into it.
- Place the pot into the lid. The bottom of the net pot should sit just below the surface of the water, but as the plant "drinks" and the water level drops, a large portion of the root mass should remain in the air gap to breathe.
- Pro-tip: I always use dark-colored buckets because light hitting your nutrient water can cause algae growth, which is a headache you don't want early on.
The biggest beginner mistake: Thinking it's instant magic
I have to be honest with you: while hydroponics removes the "guesswork" of soil quality, it replaces it with the "precision" of chemistry. A common trap I see people fall into is thinking that once they set up their bucket and add water, they can walk away for a month.
Because there is no soil to act as a buffer, the environment in your container changes much faster than it does in the ground. You have three main things to watch:
- Nutrient Concentration: Plants need a specific balance of minerals. If you use too much "food," you can burn the roots; if you use too little, they will turn yellow and stunted.
- pH Levels: This is how acidic or alkaline your water is. Most plants want to be in a specific range (usually around 5.8 to 6.3 for hydroponics). If the pH drifts too far out of that window, the plant literally cannot "grab" the nutrients from the water, even if they are right there.
- Temperature: Because your roots are sitting in a concentrated pool of water, that water can heat up quickly in the summer. Warm water holds less oxygen and invites pathogens.
Don't let this discourage you; it just means you need to check your levels once or twice a week rather than once a month. It’s about learning the rhythm of the system.
Zone-Specific Timing Notes (When can you start?)
If you are in a region like mine (Zone 7), timing is everything. While hydroponics can be done indoors year-round, many people want to move their systems outside or into a greenhouse once the threat of frost has passed. However, moving from an indoor "controlled" environment to an outdoor one introduces new variables—specifically heat and humidity.
In warmer zones, your biggest enemy isn't just the cold; it’s the sun hitting your water reservoir. If you are growing outdoors or in a hoop house, you must ensure your containers aren't sitting in direct sunlight where they can cook. Also, remember that as the weather warms up, the "growth spurt" happens much faster in hydroponic systems than in soil.
| Growth Stage | Timing (Zone 7/High Heat) | Critical Factor |
|---|---|---|
| Seedling Start | Late March - April | Keep indoors to avoid late frost and high humidity. |
| Transplant Phase | May - June | Move to a shaded area or greenhouse if temps exceed 85°F. |
| Peak Production | July - August | Monitor water temperature; keep below 75°F for optimal oxygen. |
Start your seeds indoors in early spring so they are established enough to handle the transition to larger containers as the weather warms up.
Takeaways: Start small, watch closely.
If you're feeling overwhelmed by all the talk of pH levels and nutrient concentrations, here is my best advice from 40 years in the garden: Start with one. Don't build a massive multi-tank system yet. Grab one five-gallon bucket or even just a large jar for some lettuce or herbs.
The goal right now isn't to become a master of fluid dynamics; it’s to get comfortable with the "soilless" mindset. By starting small, you can observe how your plants react to the water and nutrients without the high stakes of a massive setup. Check your water levels every few days, make sure the roots aren't smelling like swamp water, and enjoy the fact that you’re growing food in a way that is much cleaner and more controlled than traditional dirt. Once you have one successful harvest from a simple Kratky bucket, then—and only then—should we talk about adding pumps, timers, and bigger systems.
Keep it simple, keep it local, and let's get those first roots growing.
Your turn
What’s the biggest fear holding you back from trying new gardening methods? Let me know in the comments below! Got a neighbor who needs this simple guide? Forward it to them.
Next issue
Next time, we'll tackle your first crop: setting up and managing the iconic Kratky jar. It’s easier than boiling an egg—I promise.
Apply this next
🌿 Get Seasonal Gardening Tips
New guides, planting reminders, and growing tips — straight to your inbox.
No spam. Unsubscribe anytime.
About the Author
David Rodgers is the Founder & Head Gardener of Planting Atlas. With over 40 years of hands-on gardening experience in Oklahoma's Zone 7 climate, he researches, writes, and personally tests every guide on the site.
David draws from real backyard trials, soil testing, and trusted sources like Oklahoma State University Extension and USDA data to deliver practical, zone-specific advice that actually works.
Read more about David and Planting Atlas →