Loading…
←Back to Newsletters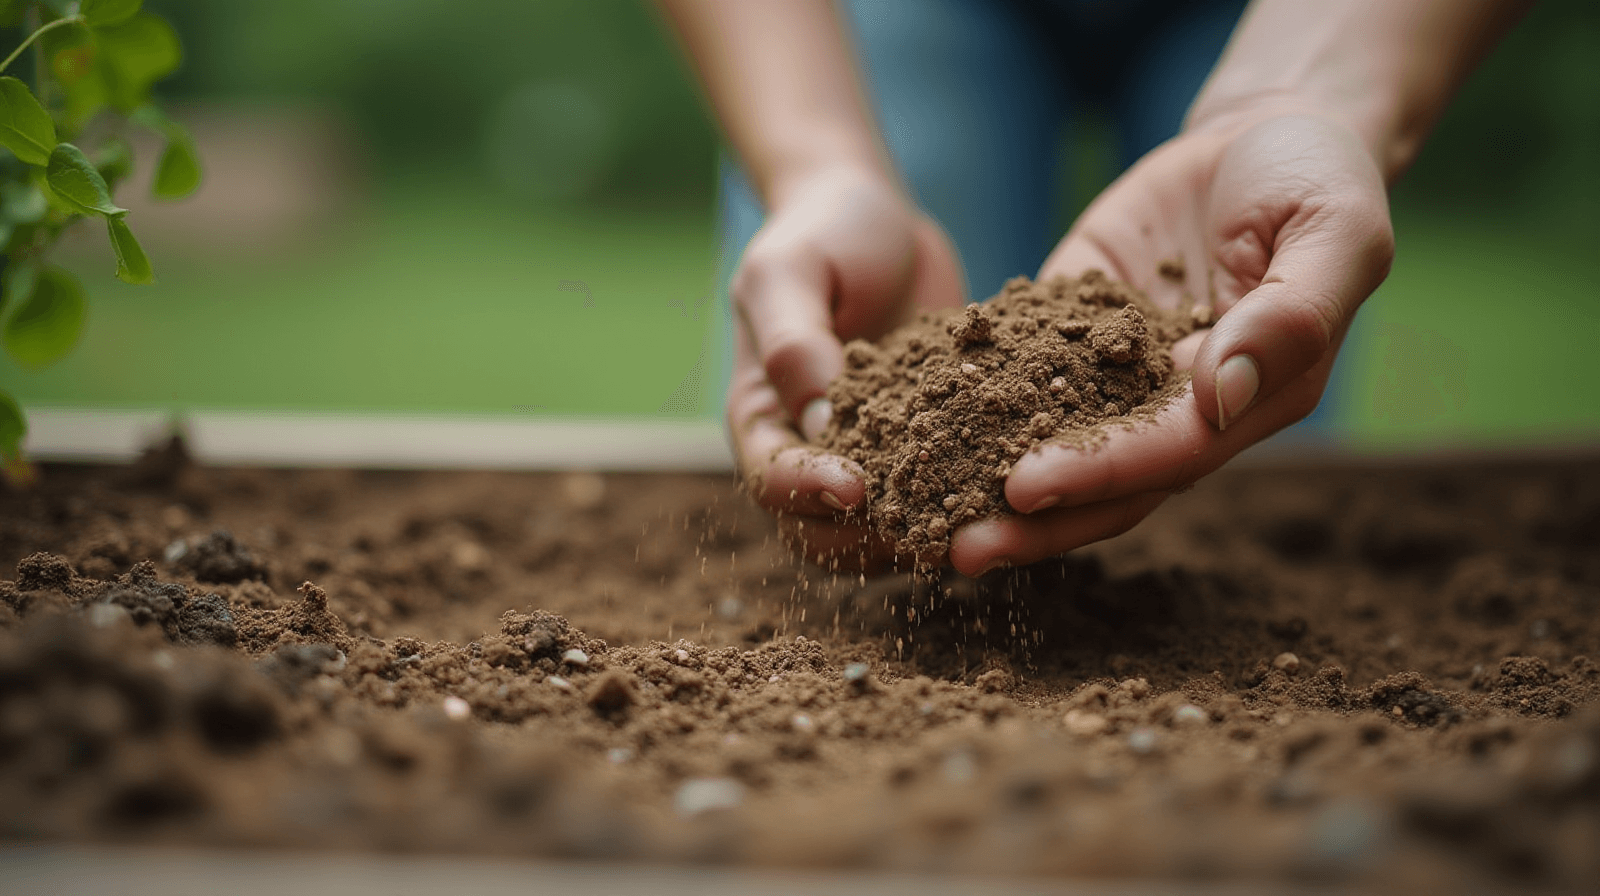
How to Manage Drainage in Your Backyard Garden
Written by David Rodgers — 2026-09-25
Simple ways to handle excess water without calling a professional engineer or plumber.
The newsletter for gardeners who'd rather learn from a mistake made 40 years ago than repeat it themselves.
drainagewater conservationrain gardenssoil health
The Biggest Mistake: Thinking all soil is the same (and why it matters)
If you’ve ever spent a frustrating afternoon watching water pool in your garden beds instead of soaking into the ground, your first instinct might be to blame the amount of rain we're getting. But after forty years in Oklahoma gardens, I can tell you that "too much rain" is rarely the actual problem—it’s usually the structure of the soil beneath your feet. In many parts of our region, especially where heavy clay is the norm, the issue isn't just what's in the dirt; it's how packed down that dirt has become.
When we walk over a bed to weed or when construction equipment moves through a yard, we compress those tiny air pockets in the soil. When you lose those spaces, your soil becomes like a brick. Water can’t move through bricks, and it won't move through compacted clay either. I learned this the hard way early on; I used to think my garden was just "heavy," but I eventually realized that by over-working the ground or letting foot traffic go unchecked, I was essentially sealing off the roots from oxygen and making drainage impossible. Understanding your soil’s structure is the first step toward a fix because you can't just "water away" a compaction problem; you have to physically change how the earth holds space.
Fixing the Foundation: Amendments for Better Drainage
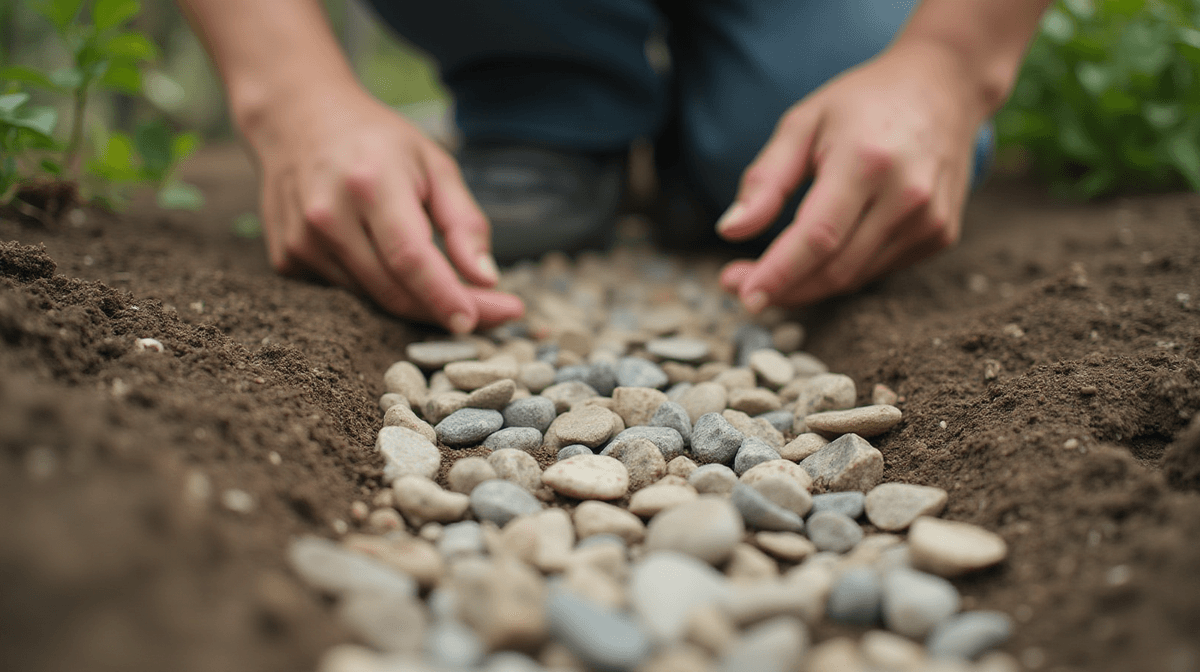
Once you realize that your soil is struggling with its own weight, you need to introduce materials that won't break down or pack down as easily as dirt does. You can’t just throw a bag of "garden mix" on top and hope for the best; you have to get into the structure of the bed itself. I recommend incorporating coarse materials like grit, pea gravel, or coarse sand into your primary planting areas. These don't decompose, so they provide permanent pathways for water to travel downward even during a heavy downpour.
If you are starting a new bed from scratch, this is the time to be aggressive with it. You want to incorporate these materials deep enough that they aren't just sitting on top like a layer of mulch. For existing beds where roots are already established, "deep aeration" is your best tool. This isn't just skimming the surface; it’s using a broadfork or a heavy-duty aerator to break up those compacted layers and allow air—and water—to penetrate deeper. By creating these physical channels, you give the water somewhere to go instead of letting it sit at the surface where it can rot your roots or encourage fungal issues in the heat.
Working with Excess Water: Rain Gardens and Dry Beds
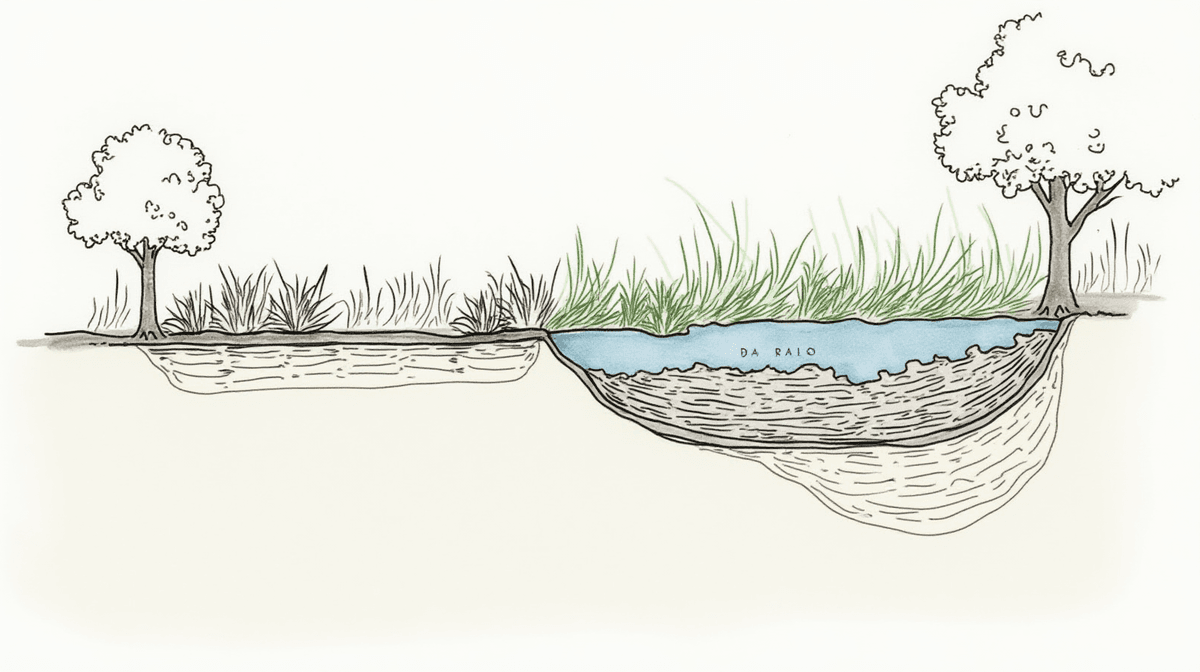
Sometimes, no amount of soil amendment is enough to handle a heavy runoff from a nearby driveway or a sloped area of the yard. In those cases, trying to force water into one specific spot often leads to failure. Instead of fighting the water's path, I recommend working with it by creating "zones" designed specifically for drainage. A rain garden is essentially a low point in your landscape planted with deep-rooted perennials and grasses that can handle both periods of saturation and dry spells.
By directing excess surface water into these designated areas, you let nature do the heavy lifting. The plants' roots act like tiny pipes, breaking up soil and pulling moisture away from your more sensitive vegetable crops or prize flowers. Dry beds work similarly; they are designed to hold some water temporarily but allow it to drain through a porous base layer before it can sit long enough to rot anything. This "zoning" approach is crucial in our climate because it prevents the entire yard from becoming a swamp during a heavy spring storm, while still using that water to nourish your landscape rather than letting it run off into the street.
| Feature | Purpose | Best Use Case |
|---|---|---|
| Rain Garden | Captures runoff and filters it through deep-rooted plants. | Low spots in the yard or at the end of a driveway. |
| Dry Bed | A basin with a gravel/stone base to hold water temporarily. | Areas where you want high drainage for heavy feeders. |
| Bioswale | A shallow, vegetated channel to move water slowly across land. | Sloped areas where water moves too quickly toward neighbors. |
The Simple Stuff: Permeable Paths and Edging
One of the most overlooked aspects of backyard drainage is how we walk through our gardens. If you have solid concrete paths or heavy pavers that aren't laid on a proper gravel base, you create "dam" points where water can pool or run off onto your neighboring beds. To keep things simple, I always recommend permeable surfaces for any walking path within the garden. This means using materials like crushed stone, pea gravel, or even thick layers of wood chips and mulch.
These materials allow rainwater to soak directly into the ground where it falls, rather than running off and creating muddy puddles that you have to deal with later. It makes for a much cleaner experience when you’re out there in your boots. Additionally, using "soft" edging—like large stones or heavy timbers instead of solid concrete borders—allows water to move more naturally across the transition between paths and beds. A thick layer of mulch (at least 3 inches) is also one of my best secrets for managing surface runoff; it acts like a sponge, slowing down the speed of raindrops so they have time to soak in rather than hitting the soil with enough force to cause erosion or compaction.
Water Collection 101: From Runoff to Resource
In our region, we often deal with two extremes: too much water during heavy spring rains and not enough during those scorching July droughts. It makes a lot of sense to capture that excess from your roof or driveway and save it for when the heat kicks in. Setting up rain barrels is one of the easiest ways to start this process without needing a professional plumber. You just need a basic barrel, a diverter for your gutter system, and a way to get the water out—usually a simple spigot at the bottom.
For those who want something larger, a cistern can hold hundreds of gallons of "free" water that hasn't been treated with chemicals or sitting in an underground pipe. This is especially useful for watering thirsty fruit trees or large garden beds during the peak of summer. When you use harvested rainwater, it’s often cooler and contains more nutrients than city water, which your plants tend to appreciate. It’s a simple way to turn a drainage problem into a resource management win. Even if you only have one barrel at the end of a downspout, that's enough to keep several large pots happy during a dry week.
What To Look Out For Next Season
As you look toward next year, the best thing you can do is spend some time just watching how water moves through your yard when it actually rains. Take note of where it pools and where it flows. Use these observations to plan your layout; if there’s a spot that stays soggy for more than 24 hours after a rain, don't put heavy-feeding vegetables or poorly-drained shrubs in that specific spot. Instead, move those items toward higher ground and use the low spots for hardy grasses or native plants that enjoy a "soak."
Before you start digging major new features like rain gardens or large gravel beds, it’s always wise to take a quick look at your local zoning rules regarding drainage—not because you want to get in trouble with neighbors, but because you don't want to accidentally redirect water onto someone else's property. Generally, the goal is "on-site" management: keep the water where it falls as long as possible. Planning these elements into your garden layout before the season starts means less time fighting puddles and more time actually enjoying what you grow. Good drainage isn't just a technical fix; it’s about creating a stable environment where your plants can thrive without being underwater or parched.
Your turn
Does your yard have a low spot that always collects puddles? Share a picture or tell us about it in the comments! If you want more local, hands-on advice like this, hit subscribe.
🌿 Get Seasonal Gardening Tips
New guides, planting reminders, and growing tips — straight to your inbox.
No spam. Unsubscribe anytime.
About the Author
David Rodgers is the Founder & Head Gardener of Planting Atlas. With over 40 years of hands-on gardening experience in Oklahoma's Zone 7 climate, he researches, writes, and personally tests every guide on the site.
David draws from real backyard trials, soil testing, and trusted sources like Oklahoma State University Extension and USDA data to deliver practical, zone-specific advice that actually works.
Read more about David and Planting Atlas →