The biggest mistake in designing your yard’s history
The most common trap I see folks fall into when planning their outdoor space is focusing entirely on "pretty" at the expense of "purpose." It’s easy to get caught up in making a garden look like a finished magazine spread—a static, perfect snapshot that looks great for a photo but doesn't tell any story. When you design only for immediate visual impact, you often overlook the history of the land and the journey it took to get there.
I learned this the hard way early on; I spent years trying to make my beds look uniform and "perfect," but they felt like a stage set rather than a living space because they didn't acknowledge the work that went into them. A garden should be more than just a collection of plants; it should be a record of your decisions, the failures you learned from, and the successes that took years to establish. When we ignore the timeline—the way a patch of ground was once a neglected lawn or how a specific corner survived a brutal drought—we lose out on the depth of the experience. A garden that doesn't document its evolution is like a book with only one page; it has no beginning, middle, or end.
What does it mean to make a story-driven landscape?
To create a story-driven landscape means prioritizing progression over perfection. Instead of trying to force every corner of your yard into a single "look" right now, you design for how the space will change and mature over time. It’s about showing the layers of the garden. For example, instead of just planting a row of shrubs that look uniform today, you might plant a mix that represents different eras: perhaps some are hardy survivors from your first year in Zone 7, while others are newer additions intended to fill out the space over the next decade.
This approach turns your yard into something more interactive and meaningful for both you and anyone walking through it. It allows you to celebrate the "middle" of the process. If a section is currently transitioning from an old orchard site into a native prairie, that transition is the story. You aren't just showing off what grew well this season; you are showcasing the evolution of the land itself. By focusing on progression, you remove the pressure to have everything "finished" by next summer and instead find joy in seeing how your choices from three years ago are still providing shade or fruit today.
Tools for recording your yard’s evolution (and how to keep them simple)
You don't need high-tech gadgets or fancy displays to tell the story of your land; you just need a few ways to make those milestones visible and tangible. I always recommend keeping these tools low-tech so they blend into the natural environment rather than looking like an eyesore. Here are a few ways to do that effectively:
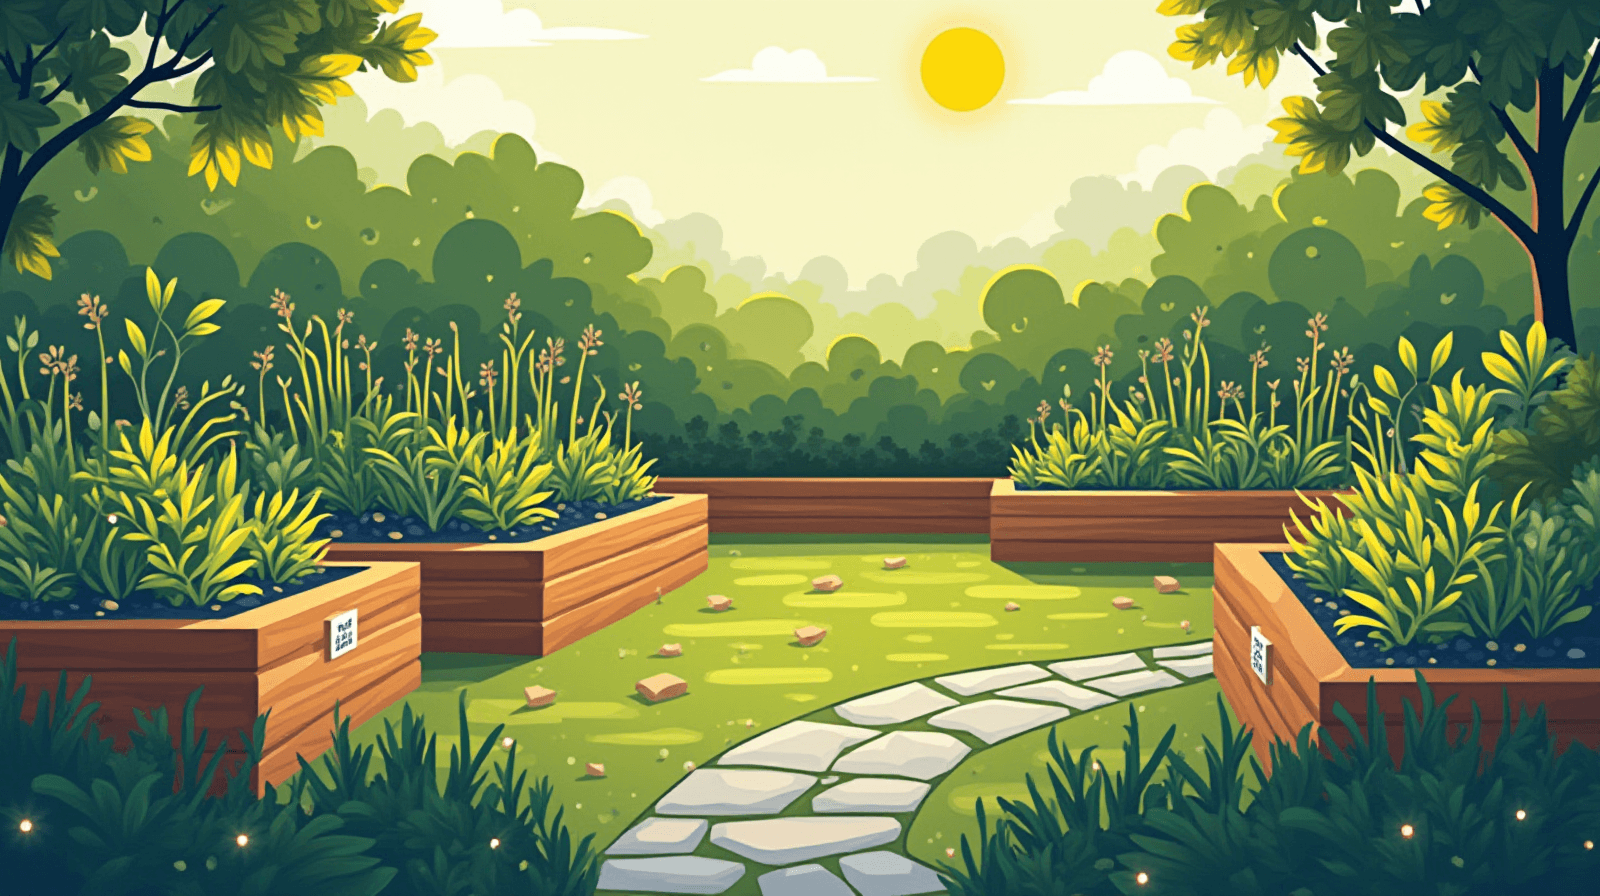
- Discreet Plaques: A simple, weathered bronze or stone marker can denote a significant change, such as "Old Orchard Site" or "Established 2018."
- Physical Markers: Use local stones or reclaimed wood posts to mark transition zones. These are durable and stand up well to the elements while providing clear visual cues of where one "chapter" ends and another begins.
- Photo Points: Create a small, permanent station—perhaps a simple frame on a post—where you can swap out photos showing what that specific spot looked like five years ago versus today.
The key is to keep it humble. You want these elements to feel like part of the furniture of the garden, not something tacked on for an audience. They should be durable enough to withstand our local weather while remaining small enough that they don't distract from the plants themselves.
Making the narrative work: linking plants and time
One of the most effective ways to weave a timeline into your design is by selecting plant types that naturally signal different seasons or historical "chapters." For example, you can group certain species together to mark specific phases of development or distinct themes in your plan.
For instance, use early-season bloomers like fruit trees and spring bulbs to represent the "awakening" of a space, while late-season performers like goldenrod or hardy shrubs can signal the enduring structure of the garden that stays through the frost. By intentionally grouping these, you create a visual rhythm for the visitor.
| Plant Category |
Narrative Role |
Typical Selection Example |
| Early Establishment |
Represents the first years/foundations |
Fruit trees (Apple, Pear), hardy shrubs |
| Seasonal Transitions |
Marks changes in time of year |
Spring bulbs, summer-blooming perennials |
| Legacy Growth |
Highlights long-term success |
Mature evergreens, established vines |
By using different varieties to mark these transitions, you create a "living" timeline. A visitor won't just see a collection of flowers; they’ll see the sequence of your decisions over several seasons and years.
Getting started: The ‘Before/After’ walkthrough approach
If this feels like a lot to tackle at once, my best advice is to start small—think of it as "room" by room rather than trying to overhaul your entire acreage in one go. Pick one specific area that has a clear history or a defined goal for the next few years, such as an entryway, a backyard patio area, or a specific garden bed.
Follow these steps to get started:
- Document the "Now": Take detailed photos and notes of the area exactly as it is today. Note what’s working, what isn't, and why you chose those specific spots for certain plants.
- Identify a Milestone: Choose one thing about this space that makes it special—maybe it was once a neglected corner or is your first attempt at a native garden.
- Map the Next Three Years: Instead of trying to "finish" it in months, plan for what will be added next season and the year after.
- Install a Simple Marker: Place one small plaque or stone that notes this specific area's journey.
By starting with just one section, you can see how documenting your progress changes your own experience of the garden. You’ll start to find more joy in the "becoming" of the yard rather than just waiting for it to be finished.