Loading…
←Back to Newsletters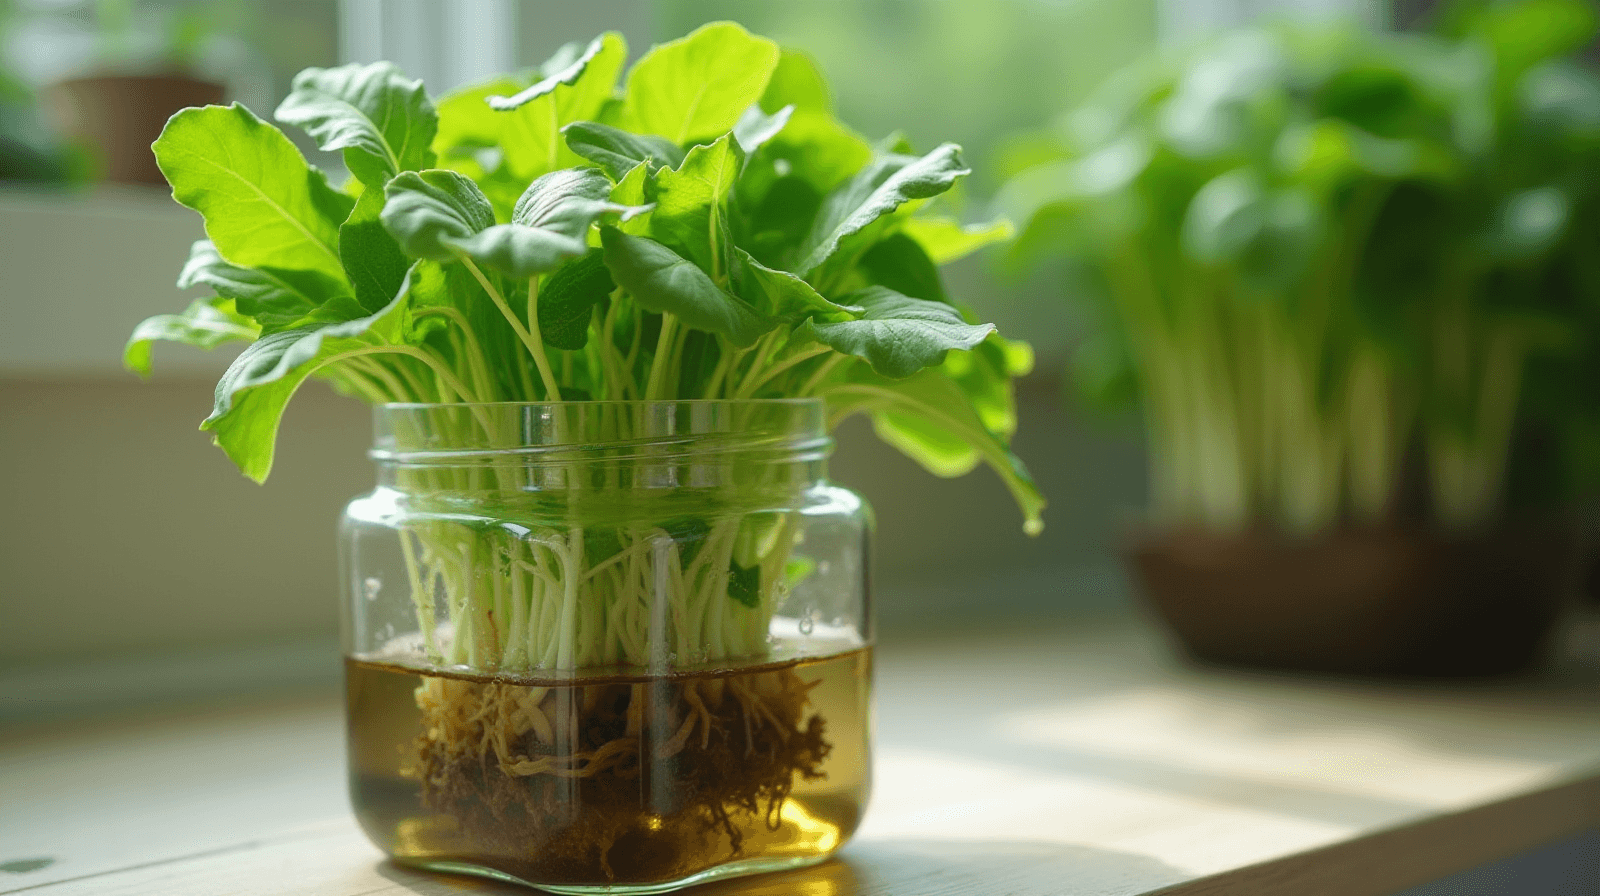
Hydroponics From Scratch · Part 2
How to Grow Greens Without Soil or Electricity
Written by David Rodgers — 2026-10-20
A beginner’s guide to keeping plants alive using simple containers (the Kratky method).
The newsletter for backyard growers tired of advice that ignores their actual climate and drainage issues.
hydroponicssoil-less gardeningbackyard growingbeginners
Why are we even talking about hydroponics? Because your backyard soil is making you miserable.
If you’ve ever spent a summer wrestling with heavy, gray Oklahoma clay or trying to find enough drainage for a simple row of lettuce in rocky ground, you know the frustration I mean. There is nothing quite as discouraging as spending hours prepping a bed, only to have your plants struggle—or worse, rot—because the soil just won't cooperate. In many parts of our region, especially here in Zone 7, the ground can be stubborn. It stays too wet for too long after a spring rain, then bakes into a brick-like consistency the moment the July heat hits.
I’m not suggesting hydroponics as some high-tech miracle cure; I'm talking about it because it offers an escape from those specific soil headaches. For many of us, "hydro" isn't about laboratory-grade science; it’s a practical way to get consistent results when your backyard geography is working against you. It allows you to move the growing process into containers where you have total control over the environment, regardless of what the ground beneath your feet is doing.
The simple idea behind the Kratky method (and why it's foolproof).
The reason I advocate for the Kratky method specifically is its simplicity. Most people hear "hydroponics" and imagine complex plumbing systems, expensive pumps, and constant electricity—things that are just another way to break something when a summer storm knocks out your power. The Kratky method strips all of that away. It’s what we call "passive" hydroponics.
The core idea is that the plant sits in a container with enough nutrient-rich water to last its entire life cycle without you ever having to turn on a pump or monitor it every hour. You aren't trying to outsmart nature; you are simply providing exactly what the plant needs in an organized way. It’s essentially "set it and forget it" gardening for people who want results without the headache of complex machinery. For someone just starting out, this is the most reliable bridge between traditional soil gardening and more advanced hydroponic systems.
| Feature | Traditional Soil Gardening | Kratky Hydroponics |
|---|---|---|
| Control | Dependent on local soil quality/drainage | Total control over nutrient delivery |
| Space | Requires ground space or large beds | Can be done in small containers |
| Complexity | Medium (requires weeding, mulching) | Low (passive system, no pumps) |
| Best For | Large scale crops, established gardens | Greens, herbs, and "problem" soils |
What is actually happening underground? Understanding root health.
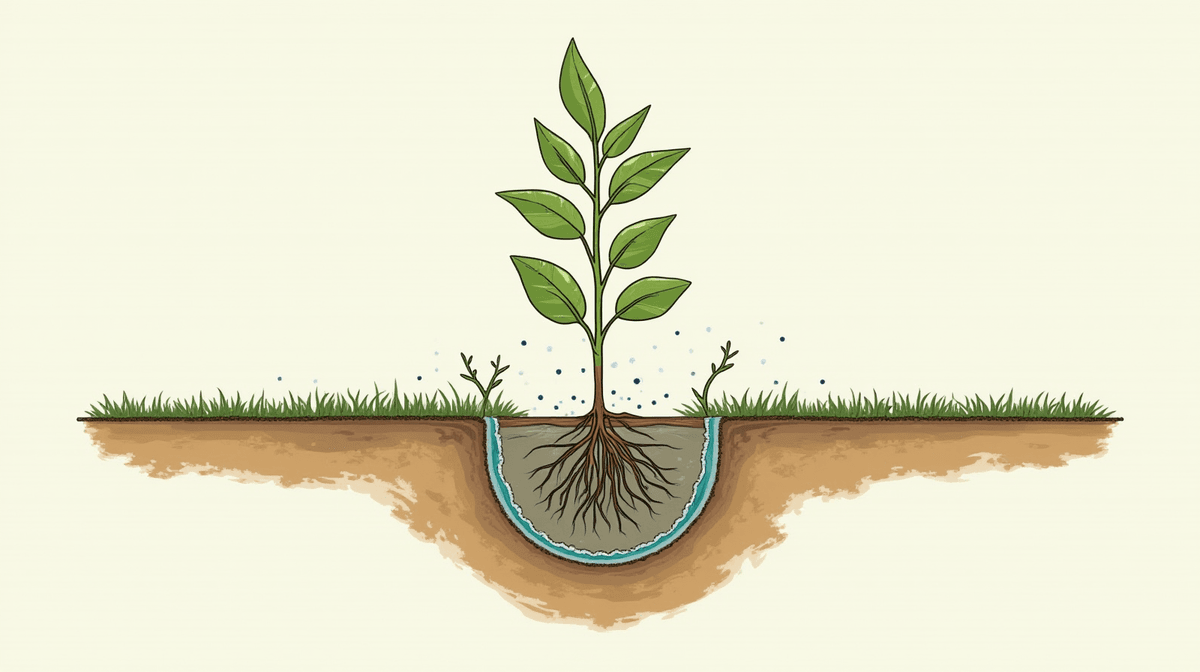
To understand why Kratky works without a pump, you have to look at what the roots are actually doing. In any hydroponic system—including this one—the goal is to give the roots two things: nutrients and oxygen. If they get only water but no air, they rot. If they get only air (like in some dry-media systems), they can't take up enough food.
The Kratky method solves this by using a "two-zone" system within your container. The bottom portion of the container holds the nutrient solution where the lower roots sit to drink. The top portion remains filled with an inert growing medium (like clay pebbles) and stays above the water line, allowing those upper roots to breathe air. This creates enough oxygen for the plant to thrive without needing a bubbler or pump to circulate it. When you understand this balance of "wet" and "dry" zones, the logic behind why these plants stay healthy becomes much clearer. You aren't just growing them in water; you are giving them a home where they can breathe as well as drink.
The biggest beginner mistake: thinking you can just dump anything in a jar.
I’ve seen many people start out with great intentions and end up with "zombie" plants because of two specific mistakes. The first is using the wrong container. If you use a clear glass jar or a translucent plastic bucket, sunlight will hit the water and trigger massive algae growth. Algae isn't just ugly; it competes with your plant for oxygen and can clog the system. You want something opaque—think heavy-duty buckets or dark nursery pots—so that no light reaches the reservoir.
The second mistake is a lack of specificity in your nutrients. You cannot simply use standard "garden" fertilizer meant for soil. Soil fertilizers are designed to be broken down by microbes and released slowly over time. In a Kratky system, there are no microbes; you need a dedicated hydroponic nutrient solution. These are formulated to be immediately available to the plant roots. Additionally, watch out for salt buildup. Because there is no soil to buffer the minerals, it's easy to "over-feed," which can burn the roots and leave your leaves looking scorched or yellowed within days.
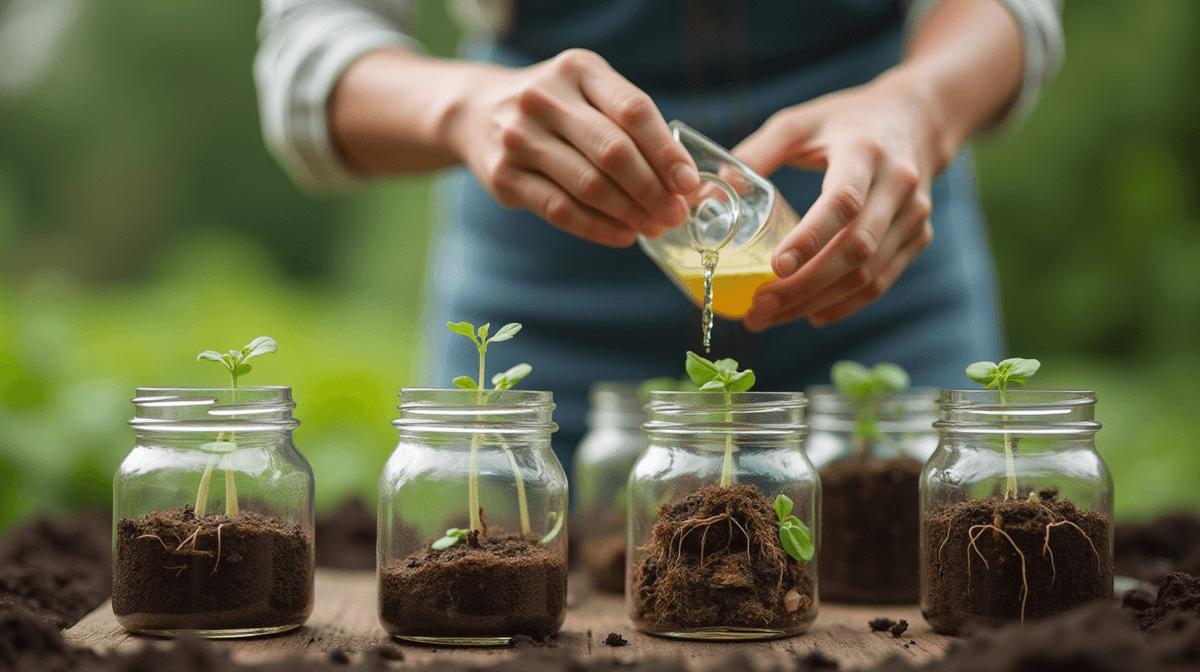
Step-by-step guide to setting up your first jar (The 'How To').
Setting this up doesn't require a trip to a specialty hydro store; you can get most of what you need at a local garden center. Here is how I’d recommend starting:
- Select Your Container: Find an opaque bucket or large tub with a lid. It needs to be deep enough that the plant roots have plenty of room to grow downward.
- Prepare the Top. Cut a hole in the lid (or use a "net pot" insert) just large enough for your plant's base.
- Choose Your Medium: Fill the top section with something like LECA (clay pebbles) or washed river stones. These are great because they don't break down over time and provide those vital air pockets we talked about earlier.
- The Initial Fill. This is critical: fill your container with your nutrient solution, but do not fill it to the very top. You must leave a gap of several inches between the bottom of the net pot and the surface of the water.
- Planting: Place your seedling into the net pot nestled in the clay pebbles. The base of the stem should stay dry, while the roots grow down into the medium to find that "sweet spot" of moisture.
Beyond the jars: Keeping it going through the season.
Once you have your system running, maintenance is much lower than with soil, but it isn't zero. In a hot Oklahoma summer, evaporation is real. As the plant drinks and some water evaporates from the top, the level will drop. However, I want to stress this point: do not simply "top off" the container every time you see it getting low. If you add just enough water to reach the brim of the net pot every time, those upper roots will lose their air pocket and begin to rot.
Instead, think of your refills as a "replacement" strategy. When the level drops significantly (say, by 1/3 or more), replace that volume with fresh nutrient solution. This ensures you maintain that vital gap between the water line and the top of the net pot. Every few weeks, take a quick look at the leaves. If they start to turn yellow or pale, it might be time for a full "flush"—dumping out the old reservoir entirely and replacing it with fresh nutrients. It’s much easier to catch these issues early by observing your plants daily than waiting until everything turns brown.
Your next steps in soilless gardening.
The Kratky method is an excellent entry point because it proves that you don't need a high-tech laboratory to grow high-quality greens. Once you have mastered the basics of keeping a plant alive without soil, your next logical hurdles will be understanding pH levels and specific nutrient ratios for different types of plants (like tomatoes versus lettuce).
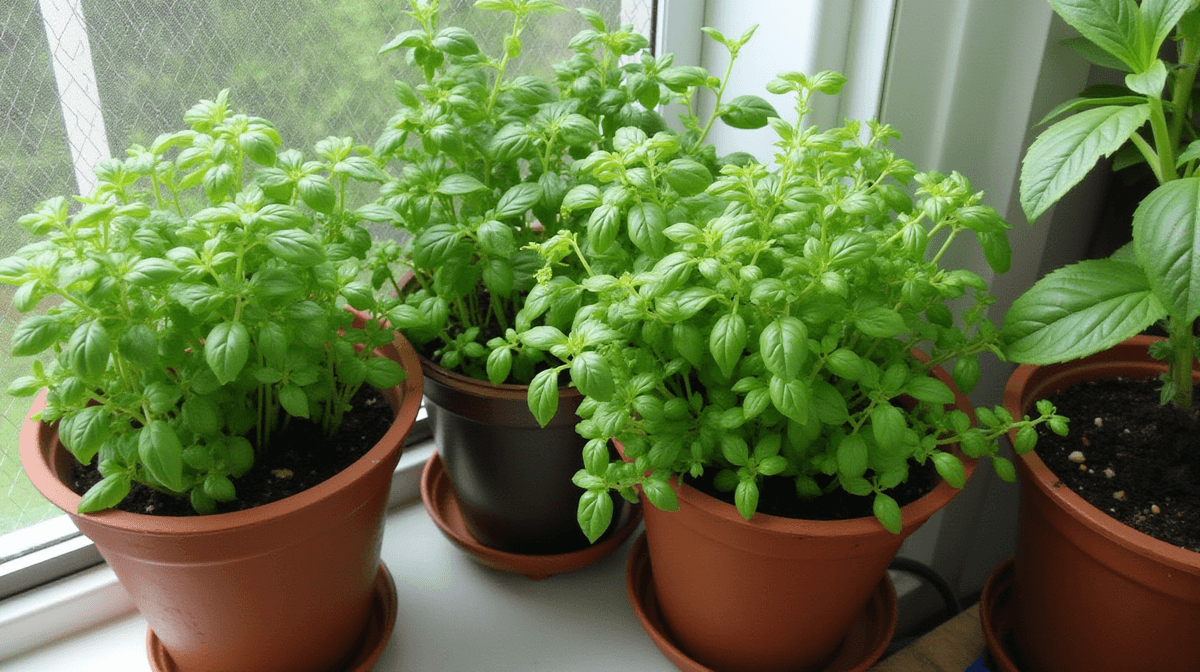
Don't feel like you have to master all of that at once. Start with something simple—a head of lettuce or some basil. Get used to the rhythm of checking your water levels and watching how the plant responds to its environment. If you find yourself wanting more control over growth rates or larger yields, then we can start talking about "Deep Water Culture" (DWC) systems or automated dosing. For now, just focus on getting that first jar running. It’s a rewarding way to bypass the frustrations of your local soil and get something delicious onto your dinner table.
Your turn
Does this make sense enough to try? What are the first herbs you plan on giving a shot in jars?
Next issue
Next time, we'll talk about the three numbers that decide if your hydroponic crops will thrive: nutrients, pH, and EC. Don’t skip it.
Apply this next
🌿 Get Seasonal Gardening Tips
New guides, planting reminders, and growing tips — straight to your inbox.
No spam. Unsubscribe anytime.
About the Author
David Rodgers is the Founder & Head Gardener of Planting Atlas. With over 40 years of hands-on gardening experience in Oklahoma's Zone 7 climate, he researches, writes, and personally tests every guide on the site.
David draws from real backyard trials, soil testing, and trusted sources like Oklahoma State University Extension and USDA data to deliver practical, zone-specific advice that actually works.
Read more about David and Planting Atlas →