Loading…
←Back to Newsletters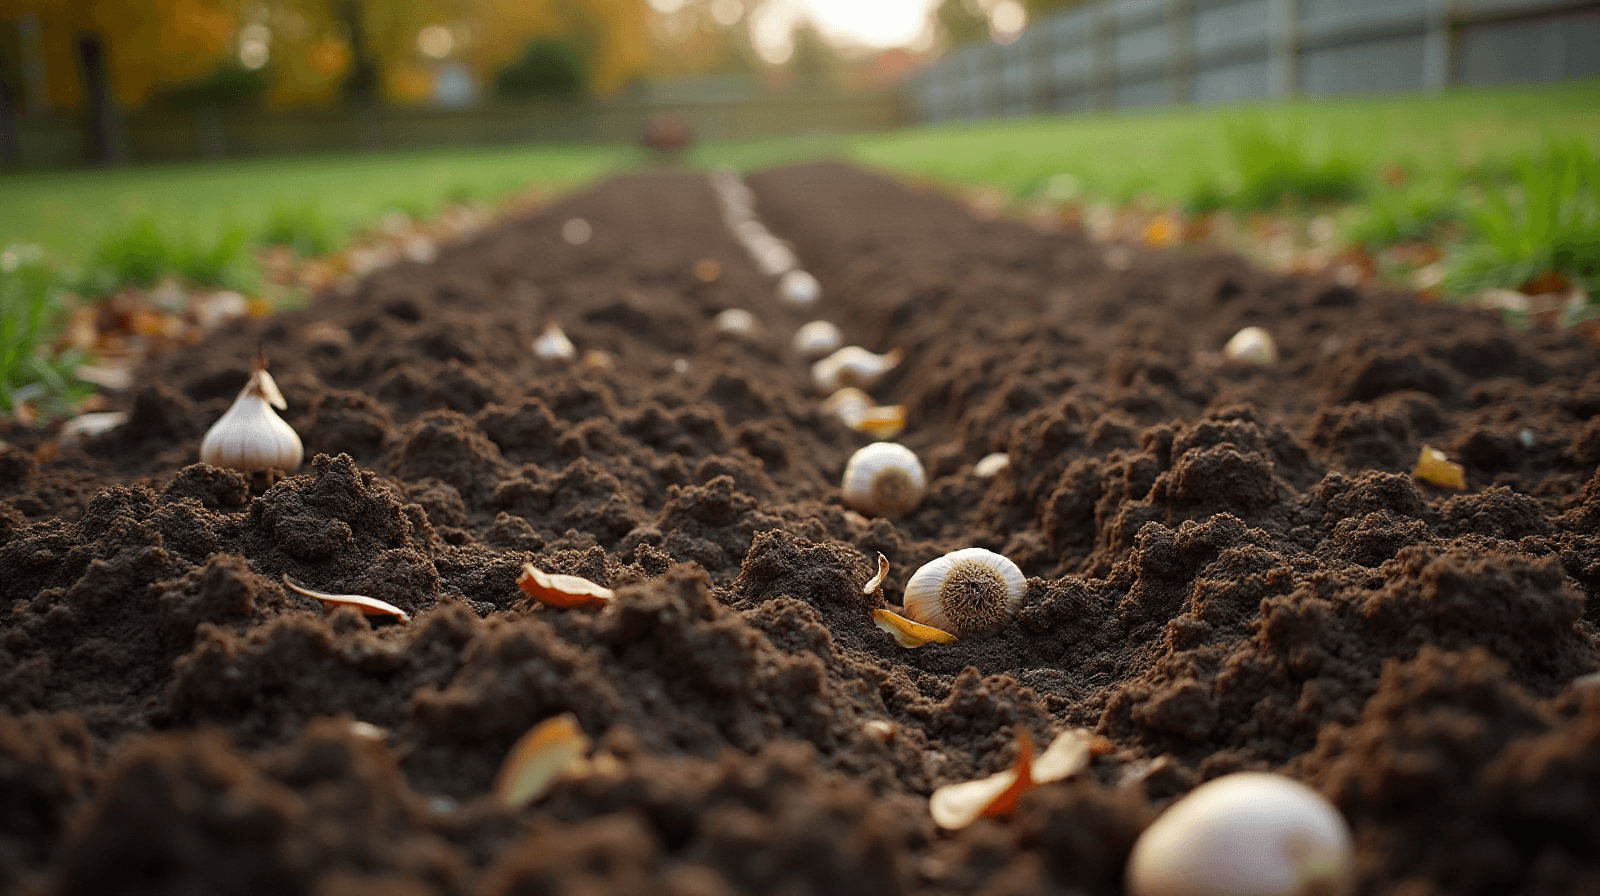
How to Get Giant Garlic Bulbs This Year: Depth and Timing Are Everything
Written by David Rodgers — 2026-10-21
A guide on planting deep enough for massive cloves and strong root systems.
The newsletter for gardeners who'd rather learn from a mistake made 40 years ago than repeat it themselves.
GarlicBulb CropsAutumn GardeningSoil Health
Getting to big cloves: Why planting depth matters (and what it has to do with root structure)
If you’ve ever dug up a garlic bulb and found something that looked more like a snack for a mouse than a full head of roasted garlic, the problem usually started before the first green sprout even broke the surface. I spent my first decade in Oklahoma thinking that if I just bought "premium" seeds, the size would take care of itself. It didn't.
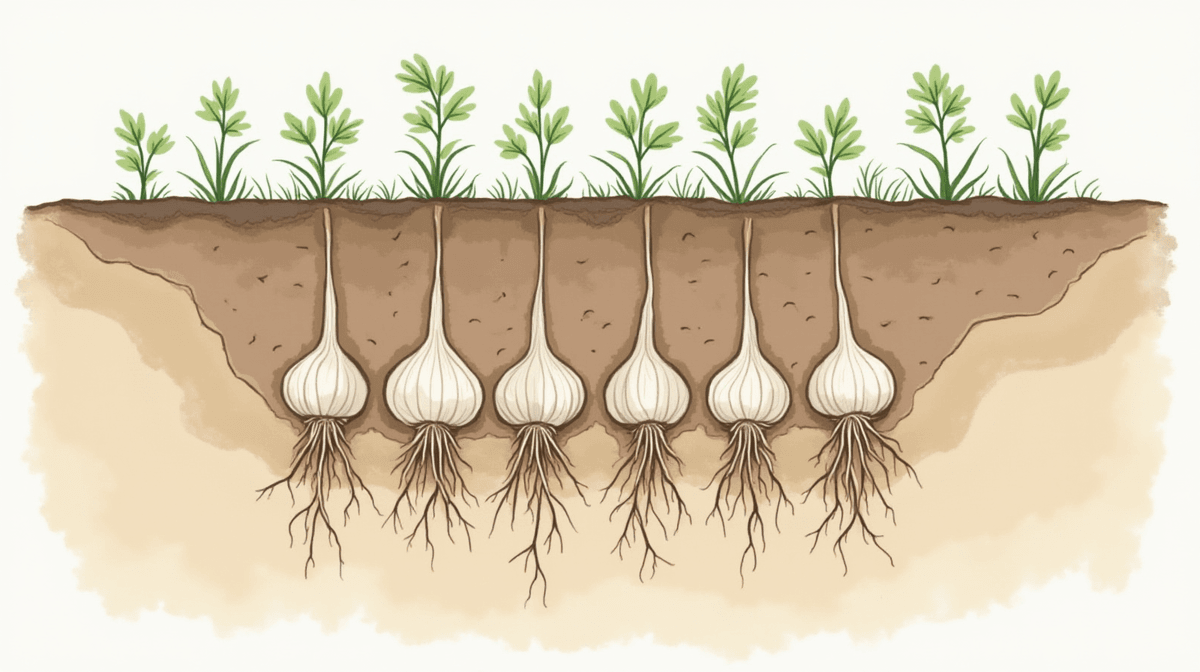
The secret to those massive, meaty cloves—the kind that actually make a difference in your winter cooking—is all about root architecture. When you plant garlic too shallow, the plant doesn't have enough room to establish a deep, expansive root system quickly. Instead, it settles for a "lazy" root system near the surface. In my experience, if the roots aren't established deeply within the first few weeks of emerging from dormancy, the bulb won't have the "plumbing" it needs to pull in enough nutrients and water during its growth spurt in late spring.
Think of the soil as the infrastructure for your garlic. If you only provide a shallow foundation, the plant can only produce a small amount of output. By planting deep—usually at least 4 to 6 inches depending on your specific local conditions—you give those roots the space they need to push down and out. This creates a robust "anchor" that allows the bulb to expand significantly as it matures. When you see those huge cloves, you aren't just looking at better genetics; you’re seeing the result of a plant that had a massive, well-fed root system from day one.
The biggest mistake I see people making with other garlic
The most common frustration I hear from neighbors is: "I planted it in October, but the bulbs are tiny." Most of the time, this happens because the cloves were sitting too close to the surface or were tucked into heavy, poorly drained soil where they essentially sat in a puddle.
When you plant garlic shallowly—meaning less than three inches deep—you expose the "neck" and the base of the clove to several hazards. First, there's the risk of frost damage; if that tissue is too close to the surface, a hard freeze can literally fry the growing point before it even gets started. Second, and more commonly in my neck of the woods, shallow planting leads to stunted growth because the roots hit "resistance" almost immediately.
Another huge mistake is ignoring soil drainage during the initial setup. If you're planting into heavy clay without addressing how water moves through that dirt, your garlic isn't just growing poorly—it’s struggling to survive. In my own garden, I lost entire rows of 'Music' and 'Spanish' varieties because they were tucked into a low spot where water sat for too long after a fall rain. If the roots are sitting in "muck," they rot instead of growing. To get those big bulbs, you have to ensure that every clove is buried deep enough to stay protected from frost and situated in soil that drains well enough to let them breathe.
When to buy, when to plant, and where it all fits into your zone timeline
Timing isn't just about the calendar; it’s about how much time you are giving the garlic to "wake up" before the ground freezes for the winter. In my experience in Zone 7, that window is critical. You want the garlic to establish its root system and start its initial growth phase while the soil is still workable but before the deep freeze sets in.
Depending on where you live, your timeline will shift based on your USDA zone. Generally, you want to be getting your bulbs into the ground between late September and early November. The goal is for them to have a few weeks of "settling" time. If you wait until the first frost hits to put them in the ground, they won't have enough time to establish those deep roots I mentioned earlier before the winter shut-down.
| USDA Zone | Typical Planting Window | Preparation Goal |
|---|---|---|
| Zones 3-5 | Sept - Oct | Establish root system before heavy snow/deep freeze. |
| Zones 6-8 | Oct - Nov | Ensure growth starts before the ground freezes solid. |
| Zone 9+ | Late Fall (Nov) | Focus on establishing roots for early spring push. |
I always recommend buying your garlic in late summer or early fall. This gives you a few weeks to prep your beds and "harden off" the soil with some compost before you even move a clove into the ground. Don't rush the process just because the weather is turning; give yourself that buffer of time so you aren't scrambling when the first frost hits.
The step-by-step process: Preparing the site for maximum plumpness
If you want to see results, you have to treat the planting day like a construction project rather than just "putting seeds in dirt." You need to prepare the ground so that it offers no resistance to those growing roots.
1. Improve the Drainage
Before anything goes in the ground, work in some organic matter—compost or aged manure is perfect for this. This breaks up heavy clay and helps water move through the soil rather than sitting on top of it. If you have a particularly swampy spot, consider mounding the soil slightly to create "hills" that allow gravity to do some of the work for you.
2. Digging the Hole
Don't just poke a hole in the surface. You want to dig a trench or individual holes that are about twice as wide as the space needed for the bulb itself. This gives the roots room to expand outward without hitting packed earth immediately.
3. The Depth and Spacing Rule
I follow a simple rule: plant your cloves at least 4 inches deep (or slightly deeper if you're in a colder zone). You want about 2-3 inches of soil over the top of the clove. As for spacing, give them room to breathe—about 6 inches apart is a good standard for most varieties. If they are too crowded, they won't have the "elbow room" to swell into those big bulbs we’re aiming for.
4. Placement
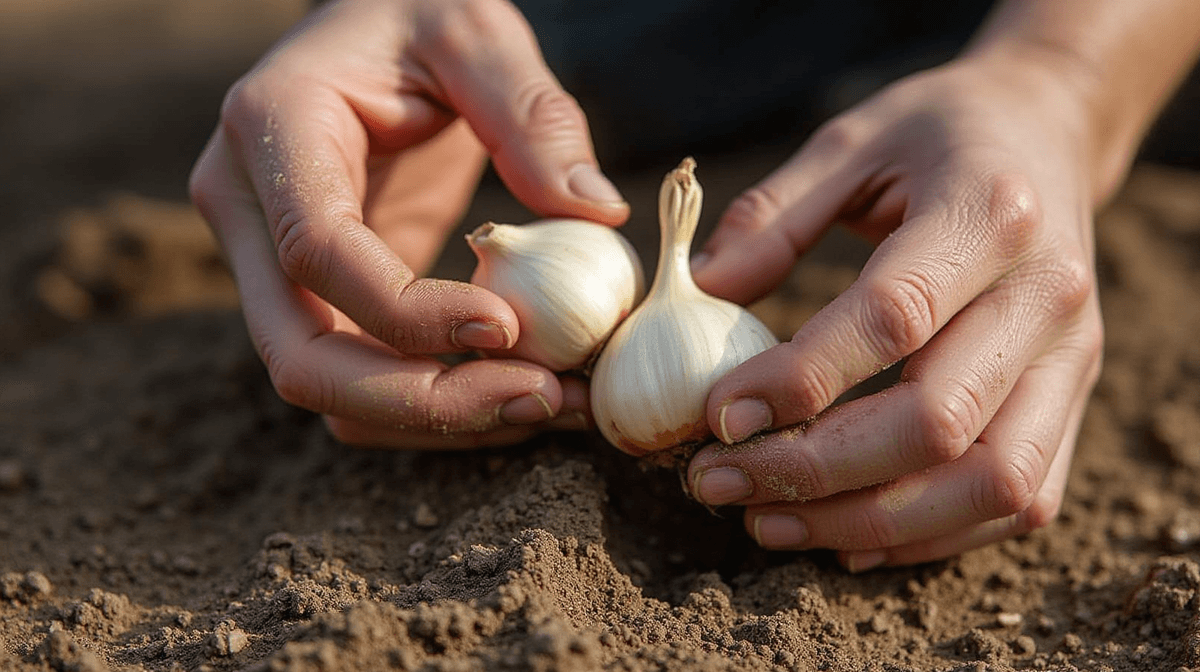
Place your cloves with the pointed end facing up (or slightly angled). This helps with initial growth and ensures that as the bulb expands, it does so evenly. Firm the soil down around each clove—not pack it like a brick, but enough to remove large air pockets where moisture could evaporate too quickly.
Don’t forget the follow-up care: Watering and mulching after planting
Once you've got them in the ground, your job changes from "construction" to "maintenance." The goal now is consistent moisture without creating a swamp.
Irrigation Strategy
In the weeks following planting, keep the soil consistently moist. You aren't trying to soak it every day; you want it like a wrung-out sponge. In my experience, a deep watering once or twice a week (depending on your local rainfall) is much better than a light sprinkle every day. Deeper water encourages roots to grow deeper into the soil profile where they stay cooler and more stable.
The Importance of Mulch
Mulching isn't just for looks; it’s a protective blanket. After you plant, cover the area with 3-4 inches of straw, shredded leaves, or grass clippings (the dry kind). This does three things:
- Temperature Regulation: It keeps the soil temperature stable during those wilder swings in late autumn and early spring.
- Moisture Retention: It prevents the sun and wind from drying out the top layer of soil where the new roots are trying to establish.
- Weed Suppression: It stops weeds from stealing nutrients meant for your garlic.
A good mulch also protects those newly planted cloves from being washed away or exposed by heavy rains during the transition into winter.
What if I don't have raised beds?
Many of my neighbors are working with "legacy" soil—heavy clay, rocky ground, or just pieces of land they didn't choose for themselves. If you aren't using a raised bed to manage your drainage and soil quality, you can still get great results by focusing on local improvements.
The Mounding Method
If you have heavy clay that holds water too long, don't fight the ground; work with it. Create "hills" or mounds of soil. By lifting the garlic up a few inches above the surrounding grade, you ensure that even if a big rain hits and the lower areas get muddy, your garlic is sitting on higher, better-drained ground. This is an old trick that works wonders for improving drainage without needing to build any structures.
Targeted Soil Amendments
If your soil is "tight" (hard to dig into), you can still succeed by focusing on the specific area where you're planting. Instead of trying to fix your whole backyard, just focus on a 12x12 foot patch for your garlic. Dig it deep—at least 8-10 inches—and mix in a massive amount of compost and aged manure. This creates a "soft zone" specifically for the garlic roots to thrive in.
Choosing Your Variety
If you're struggling with soil quality, choose hardier varieties like 'Spanish' or 'Creole.' These are often more forgiving of less-than-perfect conditions than some of the more finicky specialty bulbs. Regardless of your bed type, the key is always the same: ensure that those roots have enough room to grow deep and plenty of space to expand into something substantial by next summer.
Your turn
What are your biggest challenges with bulb crops? Let me know below! If this guide helped you plan a bumper harvest, share it with another gardener who needs to stop guessing.
🌿 Get Seasonal Gardening Tips
New guides, planting reminders, and growing tips — straight to your inbox.
No spam. Unsubscribe anytime.
About the Author
David Rodgers is the Founder & Head Gardener of Planting Atlas. With over 40 years of hands-on gardening experience in Oklahoma's Zone 7 climate, he researches, writes, and personally tests every guide on the site.
David draws from real backyard trials, soil testing, and trusted sources like Oklahoma State University Extension and USDA data to deliver practical, zone-specific advice that actually works.
Read more about David and Planting Atlas →