Loading…
←Back to Newsletters

Hydroponics From Scratch · Part 2
Growing Food Without Dirt? A Jar of Lettuce and Basil.
Written by David Rodgers — 2026-09-27
A simple walk-through for your first attempt at hydroponics using the Kratky method.
The newsletter for backyard growers tired of advice that ignores their actual climate and what actually works in your yard.
HydroponicsBeginnersIndoor GardeningKratky Method
Why bother with hydroponics? What problem are we solving?
If you’ve ever looked at a small patio or a tiny balcony and felt frustrated that there wasn't enough room for even a basic herb garden, you aren't alone. Many of my neighbors in Oklahoma deal with the same issue—we have space, but it isn't "gardenable" space because of heavy foot traffic, poor drainage, or just plain old lack of yard.
Hydroponics is how we solve that problem by taking the soil out of the equation entirely. Instead of worrying about whether your backyard soil has enough nutrients or if a flower bed will drain properly after a heavy summer rain, you’re growing in a controlled environment. It isn't just for high-tech labs; it's a practical way to get consistent results when space is tight. By using water and a nutrient solution instead of dirt, we can grow things like lettuce and basil much faster because the plants don't have to "work" as hard to find food. You aren't just growing a plant; you’re creating a system where the plant has everything it needs right at its roots.
The simplest system: what is the Kratky method really?
When people hear "hydroponics," they often imagine complex PVC pipes, noisy pumps, and high-tech sensors. While those systems exist, they are overkill for most home gardeners just trying to get some fresh basil on their table. That’s where the Kratky method comes in.
Kratky is what we call a "passive" hydroponic system. In plain terms, it means there are no moving parts and no electricity required. You aren't circulating water; you’re letting the plant sit in a reservoir of nutrient-rich water. The secret to why this works—and how it keeps the plants alive without a pump—is the "oxygen zone." By designing the container so that only part of the root system is submerged while the rest sits in an air gap, the roots can still breathe while drinking. It’s arguably the most honest way to start: no fancy gadgets, just basic physics and biology doing the heavy lifting for you.
Setting up your first crop (supplies list)
Before you get started, don't go out and buy a "hydroponic kit" from a big-box store. They often come with extra bells and whistles that will just clutter up your space. You only need a few basic components to get a Kratky jar running effectively.
What you’ll need:
- A Reservoir Container: A large glass jar, a plastic bucket, or even a 5-gallon container works. It needs to be opaque enough that light doesn't get inside (which prevents algae growth).
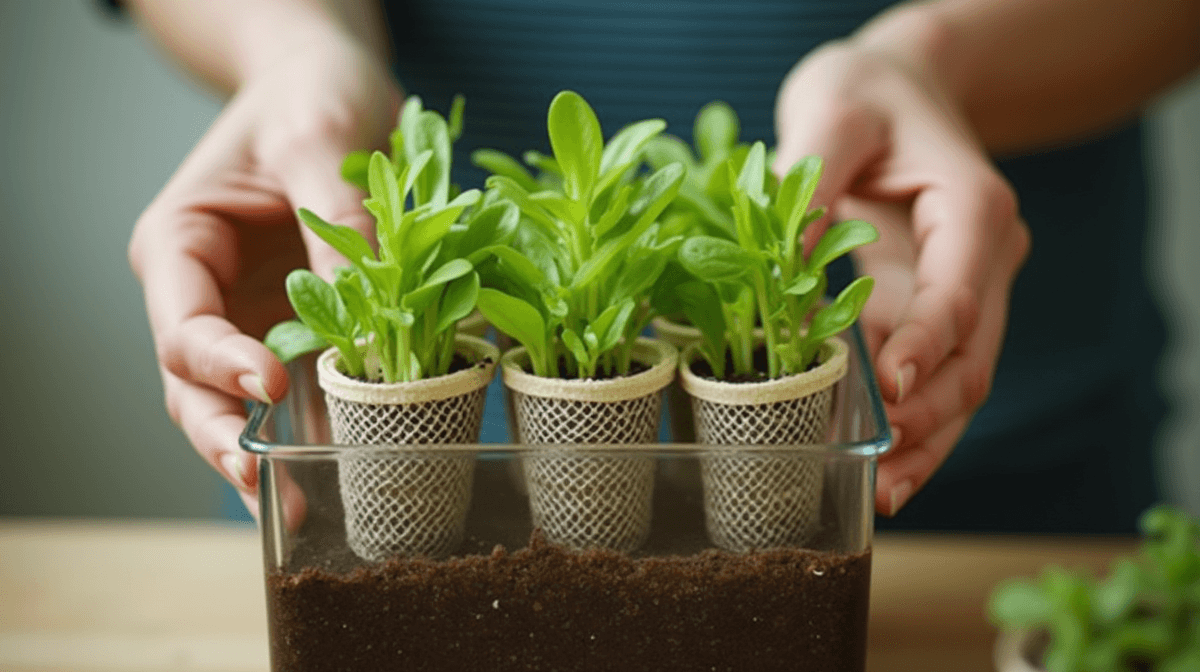
- Net Pots: These are small mesh cups that hold the plant in place while allowing roots to grow through the sides into the water.
- Growing Medium: You need something "inert" (it doesn't provide food, just support). I recommend clay pebbles or rockwool. Avoid soiled potting mix here; it will clog your system and rot.
- Nutrient Solution: A standard hydroponic nutrient mix (liquid or powder) designed for leafy greens.
- Seedlings or Seeds: Start with something hardy like lettuce or basil.
| Item Type | Recommended Material | Why it works |
|---|---|---|
| Container | Opaque plastic/glass | Blocks light to prevent algae |
| Support | Clay pebbles (Leca) | Doesn't break down in water |
| Nutrients | Hydroponic-specific blend | Provides all minerals missing from water |
Planting the jar: step-by-step.
Once you have your supplies gathered, the actual assembly is straightforward. You want to move as quickly as possible once you open your nutrient bottles to keep things clean.
- Prepare the Net Pot: Place a few clay pebbles into the bottom of your net pot. This provides a stable base for the plant's root ball.
- Seat the Plant: Gently place your seedling into the center of the net pot. Fill the remaining space around the stem with more clay pebbles until it’s firm enough that you could turn the pot upside down and the plant wouldn't fall out.
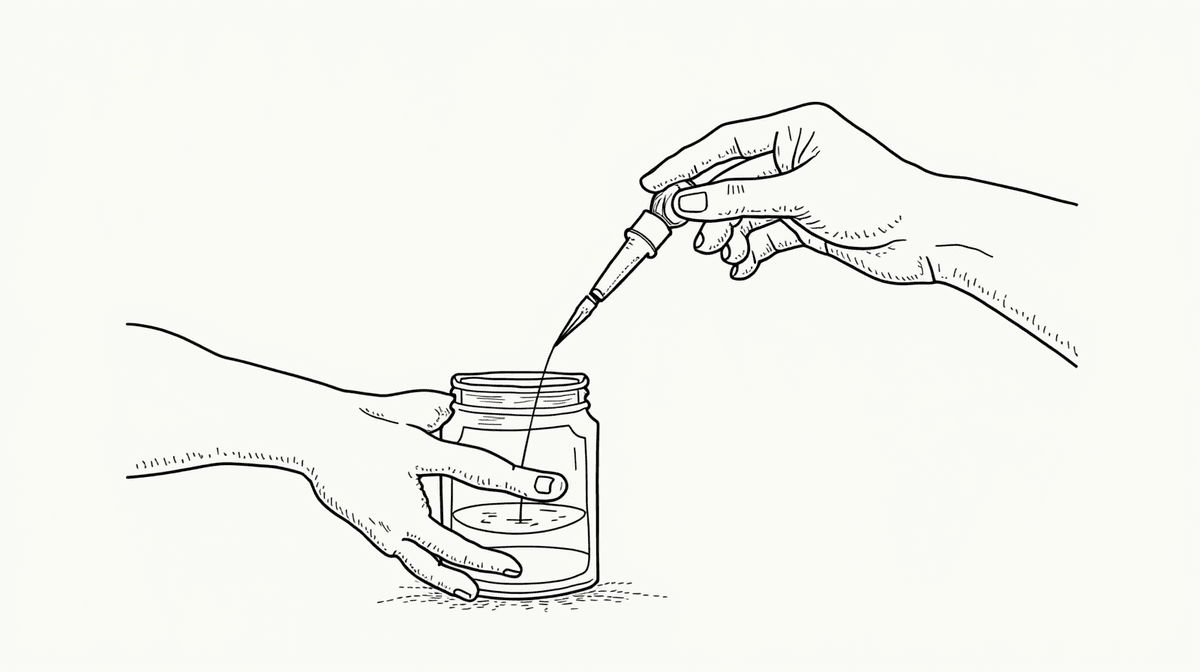
- Prepare the Reservoir: Fill your main container with water. Add your nutrients according to the instructions on the bottle (usually a few tablespoons per gallon). Tip: Always add nutrient to water, never water directly into concentrated nutrients.
- The Setup: Place the net pot into the top of your reservoir. The bottom of the net pot should be submerged in the water by about 1-2 inches initially. As the plant grows and drinks the water, the level will drop, creating that "oxygen zone" for the upper roots to breathe.
The common pitfalls (and how to avoid them)
I learned some hard lessons with my first few jars, and I don't want you to have to go through them as well. The most common failure in a Kratky system is root rot. This happens when the water becomes stagnant or gets too warm, and the roots lose their access to oxygen. If your leaves start turning yellow or the stem feels mushy at the base, the roots are suffocating. To prevent this, make sure your reservoir isn't sitting in direct, scorching sunlight all day—this keeps the water temperature stable.
Another common headache is pH swings. Plants have a "sweet spot" for acidity (usually between 5.5 and 6.5). If the water gets too alkaline or acidic, they won't be able to "eat" the nutrients even if they are present in the water. I recommend checking your pH with a simple test kit every two weeks rather than guessing. Finally, don't over-fertilize. Because there is no soil to buffer the chemicals, too much nutrient can "burn" the roots almost instantly. Stick to the recommended dose; more isn't better in this system.
What happens next? Care and harvest.
The beauty of the Kratky method is that it doesn't require daily hovering. Once you’ve set up your jar, you mostly just need to watch it like a hawk for the first two weeks as the roots establish themselves into the new environment.
Maintenance routine:
- Check Water Levels: Every few days, check how much water is left. If it drops below the level of the bottom of the net pot, add a little more nutrient solution to bring it back up.
- Monitor for Algae: if you see green "scum" forming on the surface or inside your jar, it means light is getting in. Cover the jar with a piece of heavy fabric or paint it.
- Harvesting: For lettuce, you can harvest individual leaves as needed. For basil, pinch off the top of the stem just above a leaf node; this encourages the plant to branch out and become bushier.
You should see significant growth within 3-4 weeks. Because these plants aren't fighting through soil to find nutrients, they often produce a much more intense flavor than what you’d find in a standard grocery store tray of herbs.
Your turn
Do you have any questions before you build your first setup? Tell me what crops you're thinking about growing in the comments, and let’s troubleshoot them together!
Next issue
Next up: We tackle the three numbers that decide if a hydroponic crop succeeds or fails—nutrients, pH, and EC. It sounds complicated, but it’s easier than keeping track of soil acidity.
Apply this next
🌿 Get Seasonal Gardening Tips
New guides, planting reminders, and growing tips — straight to your inbox.
No spam. Unsubscribe anytime.
About the Author
David Rodgers is the Founder & Head Gardener of Planting Atlas. With over 40 years of hands-on gardening experience in Oklahoma's Zone 7 climate, he researches, writes, and personally tests every guide on the site.
David draws from real backyard trials, soil testing, and trusted sources like Oklahoma State University Extension and USDA data to deliver practical, zone-specific advice that actually works.
Read more about David and Planting Atlas →