Loading…
←Back to Newsletters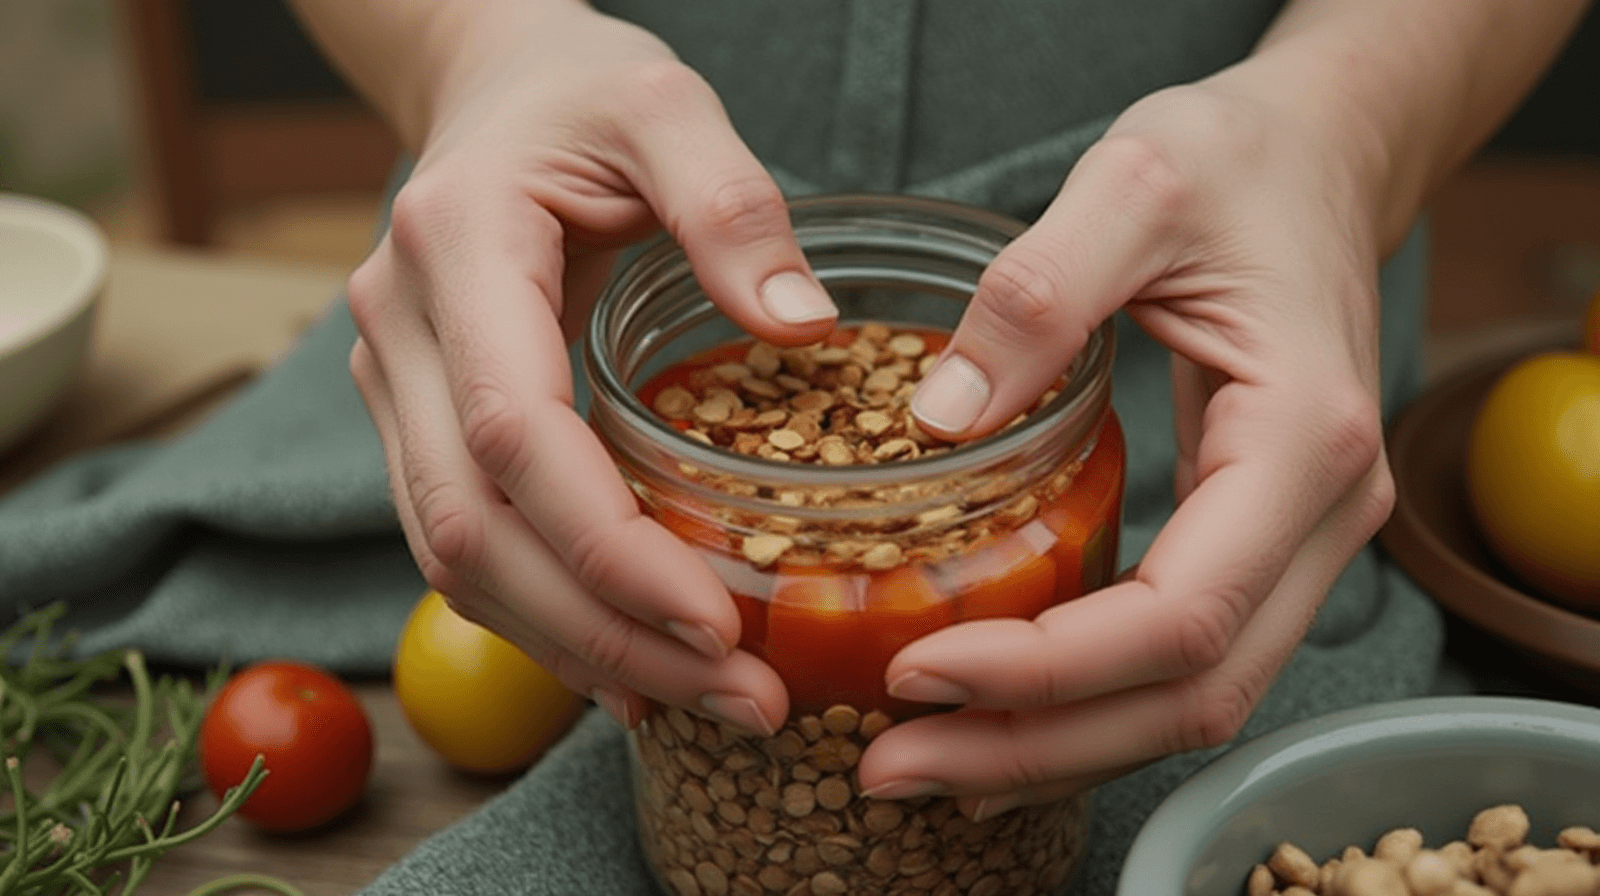
Fermenting Tomato Seeds for a Germination Boost
Written by David Rodgers — 2026-09-20
A simple way to prep those cherished heirloom seeds before they even touch soil.
The newsletter for backyard growers tired of advice that ignores their actual climate.
seed savingheirloom tomatoesfermentationgermination
First things first: Why bother fermenting your seed?
If you’ve been saving your own heirloom tomato seeds for a few years, you know that not every seed is going to wake up when it hits the soil. Some are just stubborn—they stay dormant or get "stuck" in their protective outer layers. Fermentation isn't some mystical gardening secret; it’s a natural process we can use to give those seeds a head move before they ever touch your dirt.
Think of fermentation as a deep clean and a wake-up call combined. By letting the seeds sit in water with specific "good" microbes, we break down the tough outer hulls and wash away pathogens that might cause rot before germination even starts. I’ve seen it work wonders for those heirloom varieties that seem to have a low success rate every year. It isn't magic; it just removes the physical hurdles that stop a seed from doing what it naturally wants to do: grow. Instead of hoping they sprout, you are actively preparing them so that when they hit the ground in your garden, they have the best possible chance of pushing through and becoming a plant.
What kind of seeds are best for this? (Heirloom vs. Hybrid)
When it comes to choosing which seeds deserve the extra effort of fermentation, we have to talk about what you’re actually trying to grow. In my experience, there is a big difference in how heirloom and hybrid seeds behave over time.
Heirloom Seeds
These are your "heritage" plants—the ones that have been passed down through generations because they taste great or stay true to their type year after year. Because these seeds can be saved for years (and even decades), it’s worth the extra work to ensure they remain viable. If you have a prized Brandywine or a unique Cherokee Purple, fermentation is a fantastic way to "refresh" those older seed stocks and increase your success rate in the spring.
Hybrid Seeds
Most hybrid seeds aren't meant for long-term saving; if you plant them next year, they might not look like the parent plants at all. However, some folks still save hybrids because they love a specific trait. If you are working with "F1" hybrids or any seed that isn't intended to be saved, fermentation is usually overkill unless you have a very specific reason for keeping those seeds in your rotation.
For my purpose here: if it’s an heirloom you want to keep and grow every year, give it the fermentation treatment. It pays off in the number of plants that actually make it past the seedling stage.
The simple steps: How to ferment your tomato seeds
You don't need a lab or fancy equipment to do this. You just need some containers, water, and a little bit of patience. I’ve found that keeping it simple is usually the best way to avoid mistakes in the backyard.
- The Initial Soak: Place your clean, dry seeds in a container (a bucket or large tub works great). Cover them with water. You want enough water to submerge everything by at least an inch.
- The Fermentation Period: Let them sit for 3 to 7 days. During this time, the "good" bacteria start breaking down the outer layers of the seed coat.
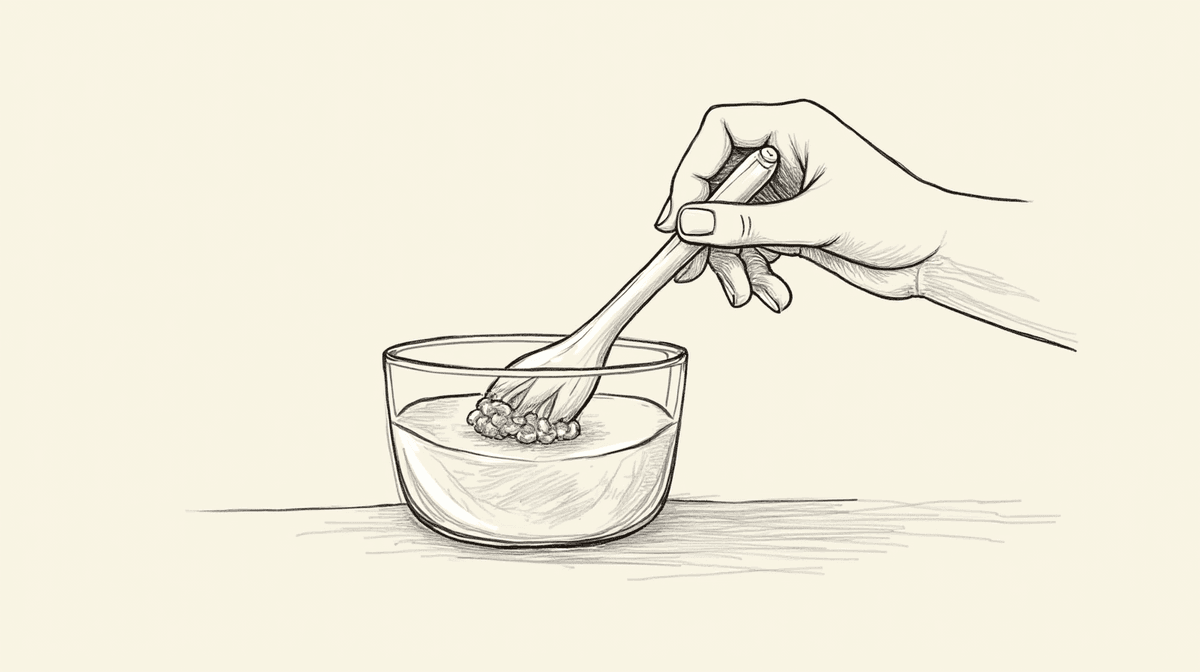
- Monitoring: Every day or two, give the container a quick stir and check it out. You want it to look active, not like a science experiment gone wrong.
- The Rinse: Once you're satisfied with the fermentation (usually around day 5), drain the water completely. Rinse the seeds thoroughly under running water until the water runs clear and no "sludge" remains from the process.
| Fermentation Stage | Goal | What to look for |
|---|---|---|
| Days 1-3 | Initial Breakdown | Water may turn slightly cloudy; this is normal. |
| Days 4-7 | Active Processing | Seeds should be "softened" but not falling apart. |
| Post-Ferment | Cleaning | Rinse until all residue is gone and seeds are clean. |
Troubleshooting common mistakes (and what they mean)
One of the things I love about sharing this process is being honest about when it doesn't go perfectly. If you see something weird happening, don't panic—it usually just means a step needs adjusting.
The "Bad Smell"
If your fermentation starts to smell like rotten eggs or straight-up swampy, it’s likely because the water became stagnant and "bad" bacteria took over. This usually happens if you aren't stirring enough or if there was too much organic debris (like dirt or old seed hulls) in the bucket at once. The Fix: Drain the container, rinse the seeds thoroughly under running water to wash away the nastiness, and start fresh with clean water.
The "Moldy Top"
Sometimes a thin layer of white or green mold will form on the surface of the water after a few days. The Fix: This is often just a sign that there's too much organic material in the water for the volume you have. Skim the top off with a spoon and replace about half of the water with fresh water to get some oxygen back into the mix.
Seeds Falling Apart
If your seeds start turning into mush or disintegrating, it means they sat in the water for too long or were handled too roughly during the stirring process. The Fix: In the future, shorten the fermentation window by a day or two and be gentler when moving them from one container to another.
The final prep: Getting them ready for planting
Once you’ve finished the fermentation and performed that final thorough rinse, your seeds aren't ready to hit the dirt just yet. They are currently "active," but they need to be stabilized before you put them in a seed packet or into the ground.
Drying Out
You must dry these seeds completely. Spread them out on a clean tray or a piece of mesh in a dry, well-ventilated area (not in direct sunlight, which can bake them). They should stay here until they are bone-dry to the touch and no longer feel "tacky" or sticky. If you skip this step and put damp seeds into a bag, they will rot before they ever have a chance to sprout.
Storage and Planting
Once dry, you can store these in your seed bank for next season's planning. When it comes time to plant them in the spring—whether you’re starting them in trays or directly in the ground—you’ll notice that many of these "hard" seeds will pop much faster than those skipped the fermentation process. In my experience, especially in our hot, dry zones, a seed that has been properly fermented and dried is like a seed with a head start; it's ready to do its job from the moment it hits the soil.
Your turn
What's the wildest thing you've tried growing from saved beans? Share it below! Did this guide convince you to save more seed this year?
🌿 Get Seasonal Gardening Tips
New guides, planting reminders, and growing tips — straight to your inbox.
No spam. Unsubscribe anytime.
About the Author
David Rodgers is the Founder & Head Gardener of Planting Atlas. With over 40 years of hands-on gardening experience in Oklahoma's Zone 7 climate, he researches, writes, and personally tests every guide on the site.
David draws from real backyard trials, soil testing, and trusted sources like Oklahoma State University Extension and USDA data to deliver practical, zone-specific advice that actually works.
Read more about David and Planting Atlas →