Loading…
←Back to Newsletters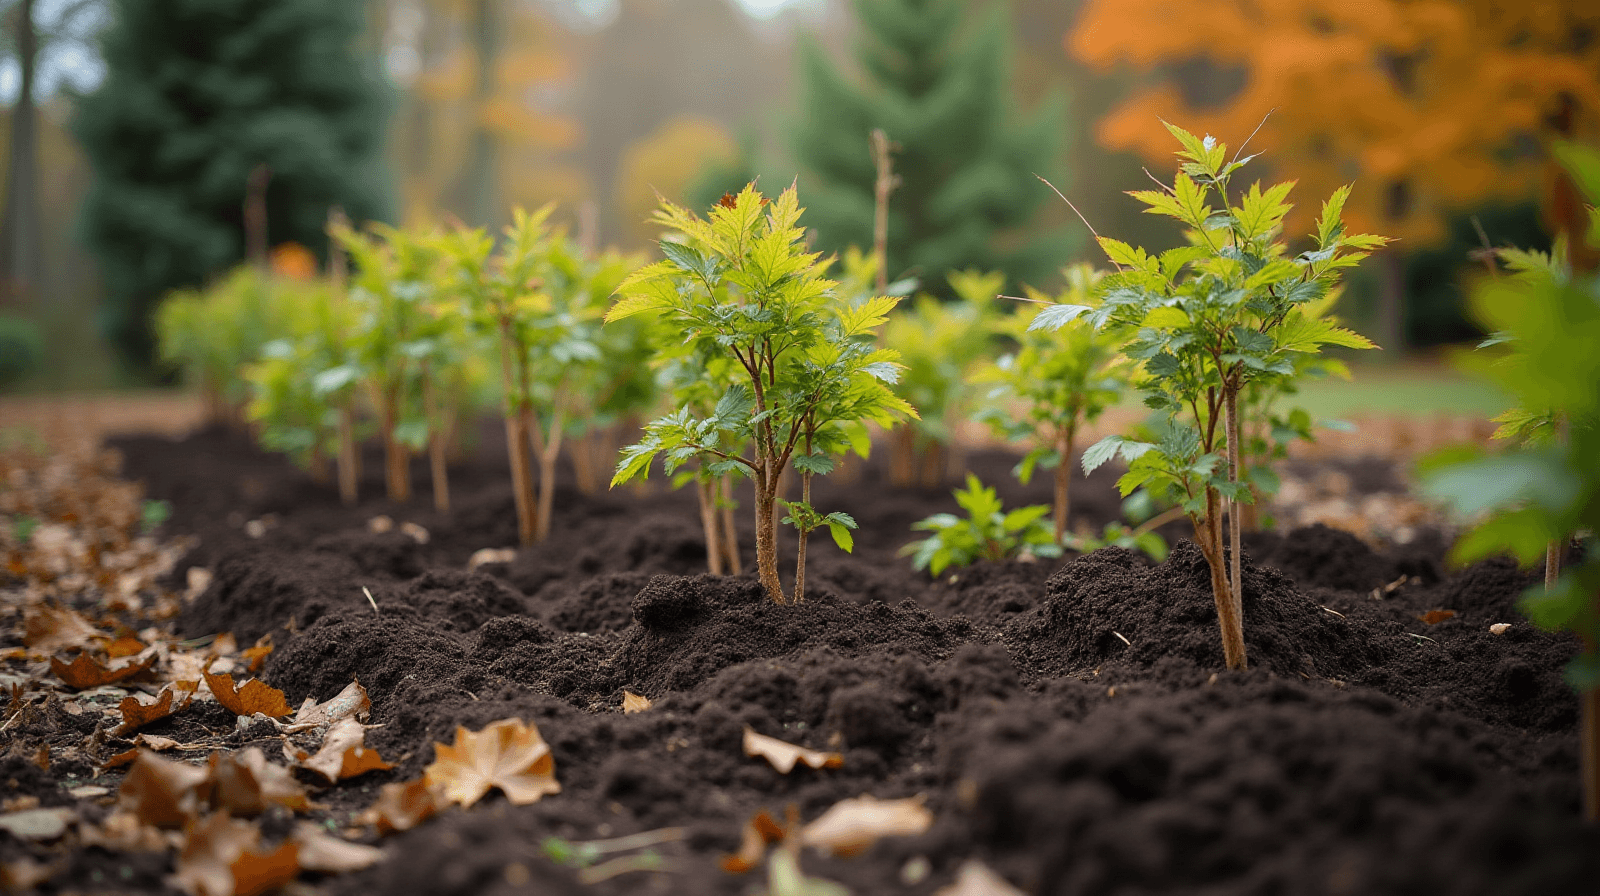

Don't Wait for Spring: Planting Shrubs That Look Good All Winter
Written by David Rodgers — 2026-10-15
Using fall planting to build lasting color and structural interest beyond the fleeting blooms of summer.
The newsletter for backyard growers tired of advice that ignores their actual climate.
FallPlantingStructuralColorNativePlantsShrubbery
Why Planting Now is Better Than Waiting
One of the biggest mistakes I made in my first decade of gardening was thinking that "garden" only meant "flowers and vegetables." It’s easy to get caught up in the excitement of spring bulbs or summer annuals—things that provide a quick burst of color but leave you with nothing but bare dirt once the heat hits or the frost returns. If you want a yard that feels full and intentional all year round, you have to think about structure.
Spring is for growth, but fall is for establishing your foundation. When we plant in the fall, we are giving our shrubs time to settle into their new home before the ground freezes or the summer heat tries to bake them dry. I’ve spent many winter mornings walking through my yard and realized that while my tulips were gone by July, the deep greens of a well-placed shrub stayed put. If you want to stop your garden from looking like a collection of "temporary" plants, start thinking about what stays behind when the blooms fade. Fall is the time to build those bones.
The Secret Weapons: Shrubs Built to Last
Not every shrub is created for winter interest; some are just there for their summer flowers and then they become "filler." I want you to look for plants that offer something even when they aren't blooming. These are your structural anchors.
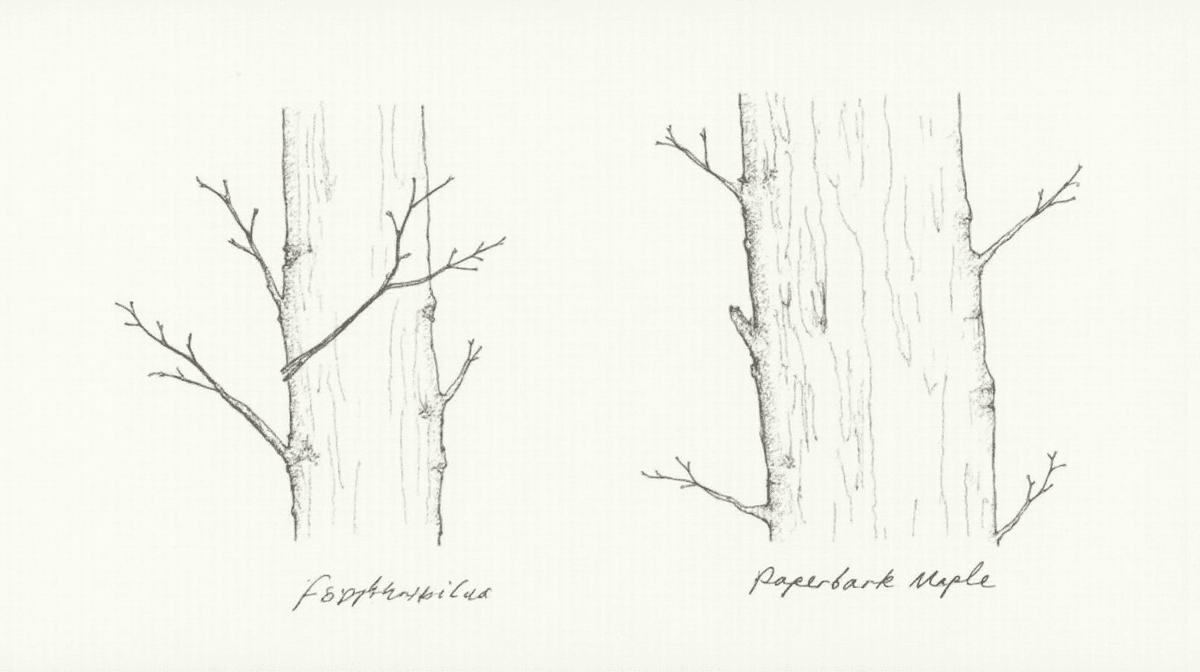
Take Fothergilla, for example. It has a wonderful, twisted habit and holds its form beautifully in the winter months. Then there’s Sweetspire (Spiraeaea); it’s incredibly hardy and provides reliable texture that stays consistent year after year. And let's not forget certain varieties of Maples. Some maples are chosen specifically for their bark—the way it peels or furrows into deep, interesting patterns in the winter.
When you choose these plants, don't just look at what they look like in a nursery catalog during June. Look at them in photos from January. You want something with "bones"—sturdy branches and interesting textures that provide visual weight even when everything else is dormant. If it looks good as a bare skeleton, it’s a winner for your landscape's long-term structure.
Timing is Everything: When You Plant in Your Zone
Timing isn't just about the date on the calendar; it's about what’s happening in the ground. In my neck of the woods (Zone 7), we have to be mindful of our specific climate quirks, like late-season frosts and the transition into winter. If you wait too long in the fall, the ground freezes before the roots can establish; if you go too early, a sudden snap of frost might damage tender new growth.
The goal is to get them in the ground while the soil is still warm enough for activity but cool enough that we aren't watering them twice a day just to keep them from wilting.
| Zone | Ideal Fall Planting Window | Key Consideration |
|---|---|---|
| Zone 7 (e.g., OK, GA) | Sept 15 – Nov 15 | Avoid early frost; ensure root establishment before deep freeze. |
| Zone 8 | Sept 1 – Nov 30 | Longer window; watch for late autumn heat waves. |
| Zone 6 | Aug 20 – Oct 30 | Earlier start needed to beat the first hard frost. |
In Zone 7, I personally aim to have my larger shrubs in the ground by early October. This gives them a solid "settling" period before the heavy winter weather sets in. When in doubt, check your local average first frost date and aim for at least four to six weeks of lead time before that date hits.
How to Prep the Spot Like a Pro Gardener
You can have the best shrub in the world, but if you just dig a hole and toss it in like a piece of furniture, its chances of survival drop significantly. Proper site preparation is what separates a garden that lasts five years from one that thrives for twenty.
First, check your drainage. If you have heavy clay (common in many parts of the South), don't plant in a low spot where water will sit like a pond after a rain. You want "well-drained" soil—not just a phrase people say, but actual ground that lets water move through it.
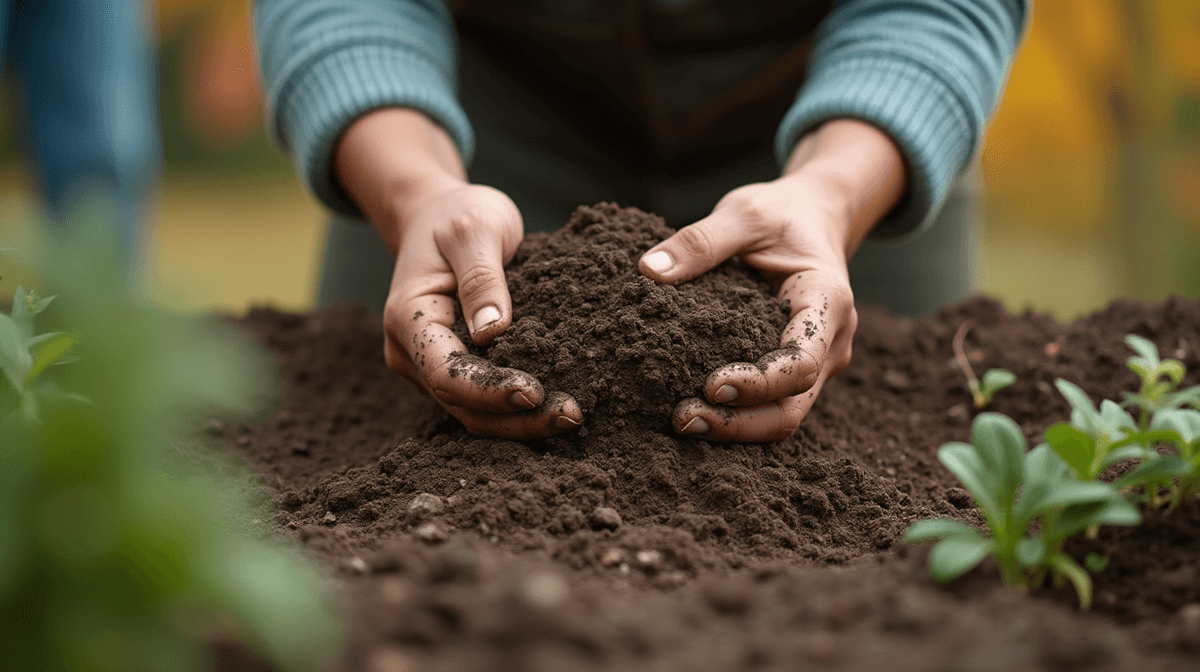
Next, let’s talk about your hole. Many folks dig holes that are too small or too deep. I prefer to dig the hole twice as wide as the root ball and no deeper than the root ball itself. This allows you to mix in some "good stuff." I recommend adding a generous amount of high-quality compost into the backfill. Don't just put it at the bottom; mix it with your native soil. This improves the texture and helps hold nutrients without making the soil too rich, which can actually lead to weak, leggy growth. Think of this as creating a "home" for the roots to move into easily.
Planting Day: The Technique That Makes It Stick
When you’re ready to put the shrub in the ground, focus on the placement. One of the most common mistakes I see—and one I made plenty of times early on—is burying the root flare too deep. The "flare" is where the trunk meets the roots; it should sit just at or slightly above the soil line. If you bury it, you risk rot and a crown that won't grow properly.
Follow these steps for a solid installation:
- Positioning: Place the shrub in your prepared hole. Ensure it’s centered so there is equal space between the branches and the edge of the hole to allow for future growth.
- Backfilling: Fill the hole with your soil/compost mix, tamping it down firmly as you go—not by stomping on it, but by firming it enough to remove large air pockets.
- Spacing: Don't plant them too close together just because they look good "now." Give them room to breathe and grow into their own space over the next three years.
- Final Leveling: Once filled, grade the soil around the base so it slopes slightly away from the trunk; you want water to run off the sides, not pool at the base of the stem.
What to Do After You Plant (Mulch and Mind)
Once that shrub is in the ground, your job isn't quite done. The first few weeks are critical for "settling." For the first year, you’ll want to water consistently—deeply enough that the moisture reaches those new roots. In our drier zones, this might mean a deep soak once a week during dry spells.
Then there is the mulch. Mulch is your best friend in the fall because it regulates soil temperature and keeps moisture consistent. However, you have to do it correctly. I call this "the donut." You want a thick layer of wood chips or shredded bark (about 2-3 inches deep) around the base, but do not let the mulch touch the actual trunk of the shrub. If the mulch piles up against the stem—what some people call a "mulch volcano"—it traps moisture and invites rot and pests.
Lastly, keep your pruning simple during this time. In the fall, you aren't looking to shape the plant into a masterpiece; just do some light cleanup of dead wood or crossing branches. You want to avoid heavy pruning in late autumn because it can stimulate new growth that won't have time to "harden off" before the frost hits. Just give them enough love to get through the winter, and they’ll reward you with a stronger structure come spring.
Your turn
What structural plant are you most excited about for a winter show? Share photos or questions below! If this guide saved you from another year of bland fall yard, share it with a fellow gardener!
🌿 Get Seasonal Gardening Tips
New guides, planting reminders, and growing tips — straight to your inbox.
No spam. Unsubscribe anytime.
About the Author
David Rodgers is the Founder & Head Gardener of Planting Atlas. With over 40 years of hands-on gardening experience in Oklahoma's Zone 7 climate, he researches, writes, and personally tests every guide on the site.
David draws from real backyard trials, soil testing, and trusted sources like Oklahoma State University Extension and USDA data to deliver practical, zone-specific advice that actually works.
Read more about David and Planting Atlas →